Reassembling the Computer
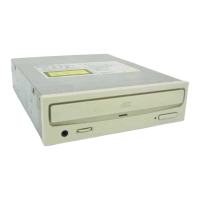
1 Reinstall the floppy disk drive in the top drive bay.
2 Reconnect the interface cables to the floppy disk drive.
3 Fasten the screws and front brackets as they were before.
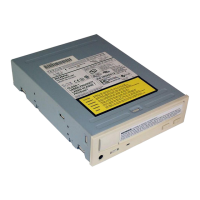
4 Tuck the cables behind the drives so that they do not protrude above the
power supply module.
5 After checking the following points, slide the computer’s cover on and
fasten the cover mounting screws at the back of the computer.
● Are the connections between the drive and computer correct?
● Are the jumpers set to the appropriate positions?
6 Remount the rear plastic panel and refer back to the proper installation
section if you answered “no” to either of the questions above.
Installing the Drive in Your Computer 17
Reinstall the floppy disk drive.
Tuck the cables.
Power supply
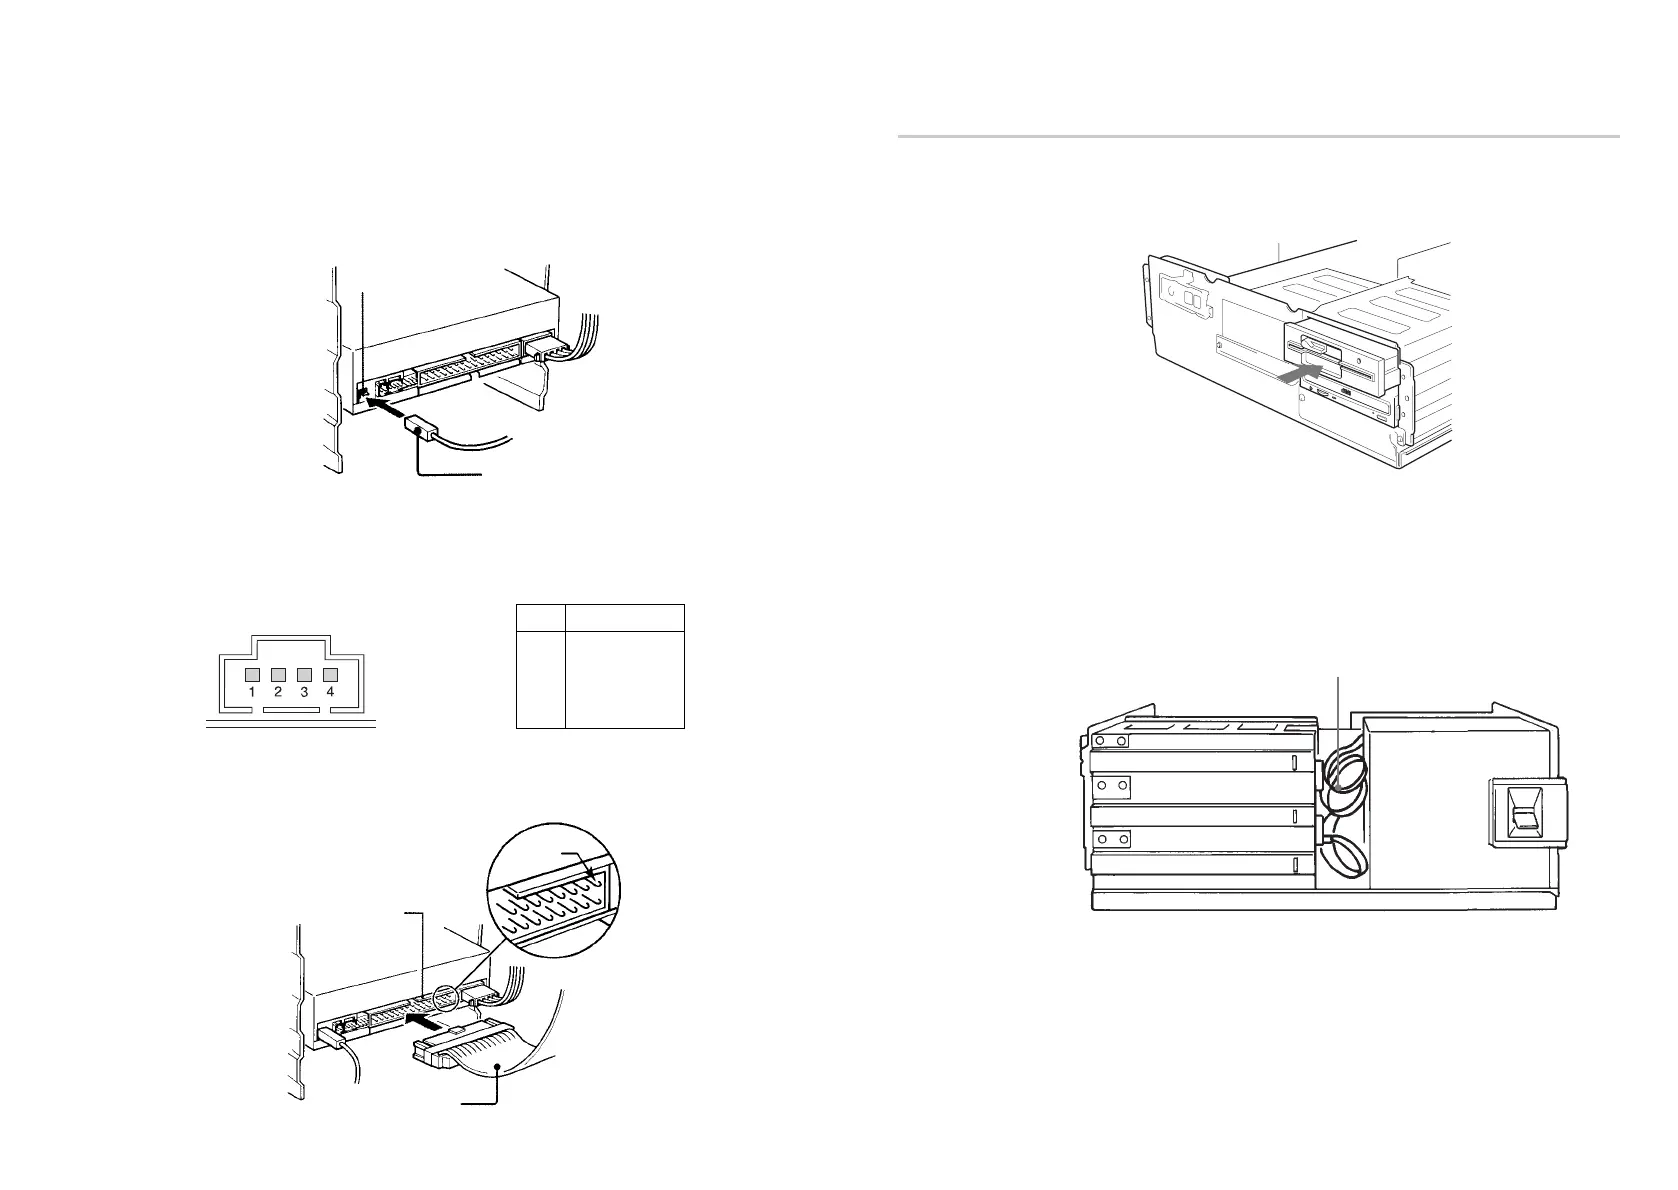
■ F. GND tab
Connect the F. GND tab to one of the host computer’s ground cables
unless the drive’s frame is in direct contact with the computer’s chassis
(a situation not likely under normal circumstances).
The frame ground cable recommended is the one using an AMP 1-480435-0
housing and 170203-2 or 60711-1 contact.
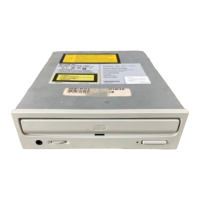
■ AUDIO OUT connector
The pin assignment is as follows:
■ INTERFACE connector
Firmly insert one end of the interface cable into the INTERFACE
CONNECTOR.
16 Installing the Drive in Your Computer
F. GND tab
Frame ground cable
pin Audio Signal
1 R signal
2 R ground
3 L ground
4 L signal
INTERFACE
CONNECTOR
Interface cable
Pin 1