28
GB
Tip
When you face the speaker towards the optimizer
microphone, you will get a more accurate
measurement.
1 Press AMP MENU.
“LEVEL” appears on the display.
2 Press V/v repeatedly until
“A.CAL MENU” appears, then
press or b.
3 Press V/v repeatedly until
“A.CAL START” appears, then
press .
Measurement starts in a few seconds.
While the time is counting down, stand
away from the measurement area to avoid
measurement error.
The measurement process will take
approximately 30 seconds to complete.
The table below shows the display when
measurement starts.
Notes
• If “CHECK MIC” appears, you cannot perform
the Auto Calibration. Connect the optimizer
microphone, then perform the Auto Calibration
again.
• If “PHONES” appears, you cannot perform the
Auto Calibration. Disconnect the headphones
from the S-AIR product you are using, then
perform the Auto Calibration again.
Tips
• When Auto Calibration starts:
– Stand some distance from the speakers and the
listening position to avoid measurement failure.
This is because test signals are output from the
speakers during measurement.
– Avoid making noise to get a more accurate
measurement.
• The Auto Calibration function will be canceled
when you do the following during the
measurement process:
– Press ?/1 or .
– Press input buttons on the remote or INPUT
SELECTOR on the subwoofer.
– Change the volume level.
– Press AMP MENU.
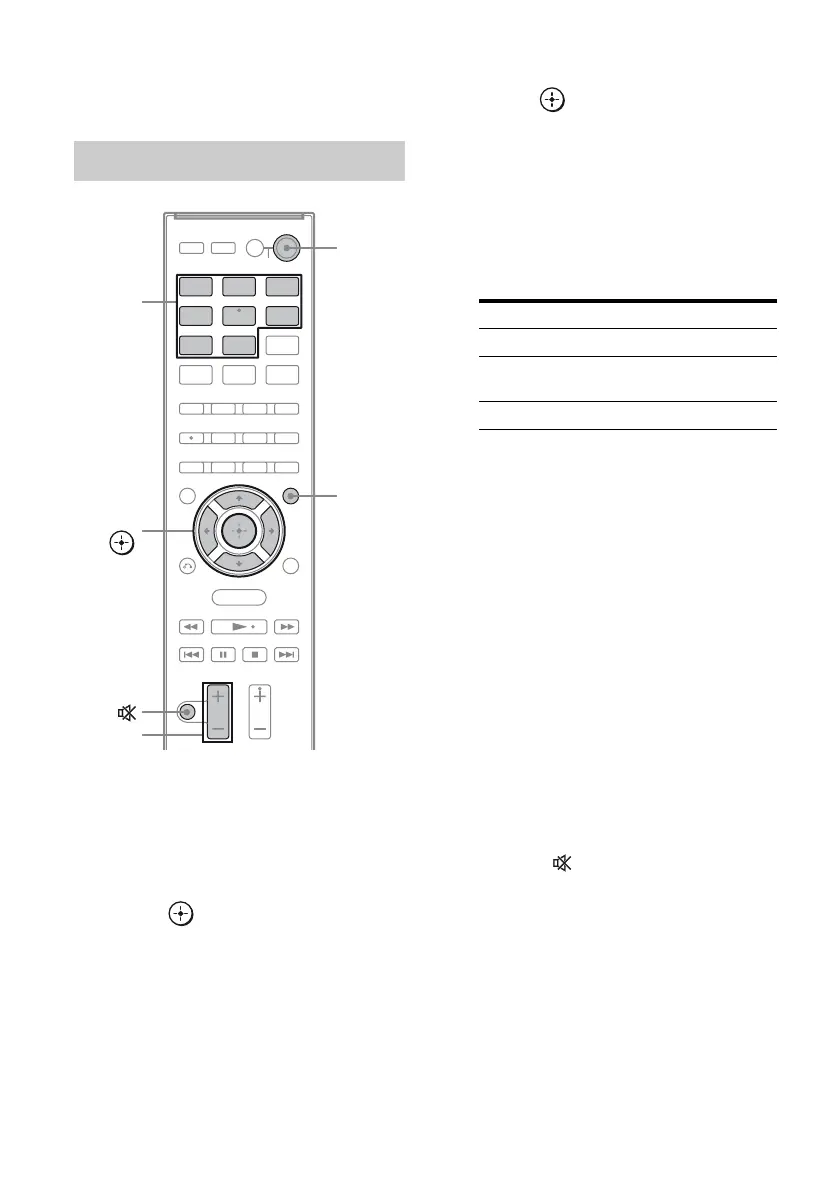
Performing Auto Calibration
BD DVD
SAT/
CATV
TV VIDEO
SA-CD/
CD
DMPORT
TUNER
MENU
Input
buttons
?/1
2 +/–
AMP
MENU
V/v/B/b,
Measurement for Display
Speaker existance TONE
Speaker gain, distance,
frequency response
T. S. P.
Subwoofer gain and distance SUBWOOFER