5-4
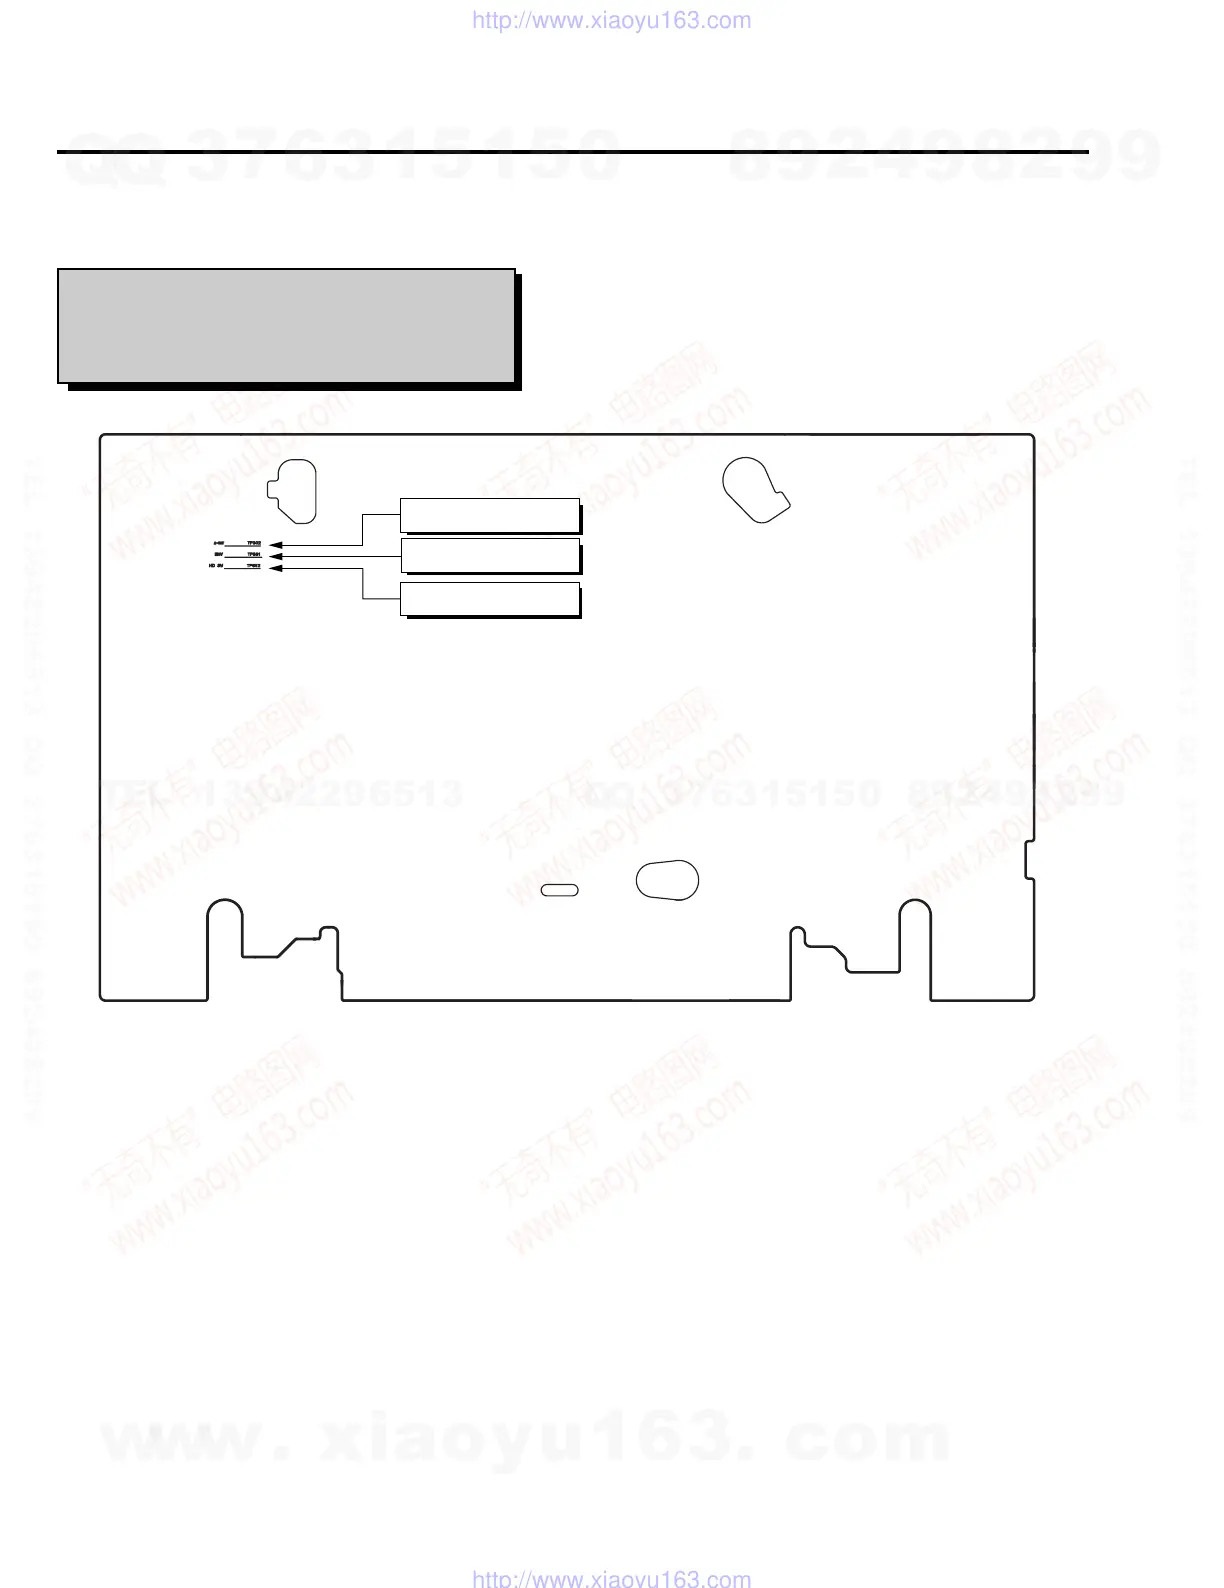
Fig. 5-4 Location of Test point (Main PCB-Top View)
AUDIO OUTPUT
HEAD SWITCHING
ENVELOPE
Test point : TP602 (H’D S/W -Trigger)
TP301 (Envelope)
TP302 (Audio output)
5-2 MECHANICAL ADJUSTMENT
Note : Refer to the Mechanical Manual for the adjustment and confirmation of ass’y deck.
5-2-1 The number and position of test point
5-2-2 ACE Head Position (X-Point) Adjustment
(See the 2-2-1(d) ACE Head Position (X-Point) Adjustment on
page 2-2 of the Mechanical Manual)
1) Playback the alignment tape (Color bar).
2) Press the “TEST” button on Main PCB/Function PCB to set
the adjustment mode.
(See Fig. 5-2 and 5-3)
3) Press the “5” button of remote control then adjustment is op-
erated automatically. (See Fig. 5-1)
4) Connect the CH-1 probe to TP301 (Envelope) the CH-2
probe to TP602 (H’D switching pulse) and then trigger
to CH-1.
5) Insert the (-) driver into the X-Point adjustment hole
and adjust it so that envelope waveform is maximum.
6) Turn the Power off.
w
w
w
.
x
i
a
o
y
u
1
6
3
.
c
o
m
Q
Q
3
7
6
3
1
5
1
5
0
9
9
2
8
9
4
2
9
8
T
E
L
1
3
9
4
2
2
9
6
5
1
3
9
9
2
8
9
4
2
9
8
0
5
1
5
1
3
6
7
3
Q
Q
TEL 13942296513 QQ 376315150 892498299
TEL 13942296513 QQ 376315150 892498299
http://www.xiaoyu163.com
http://www.xiaoyu163.com



 To Next Page