8
Getting Started
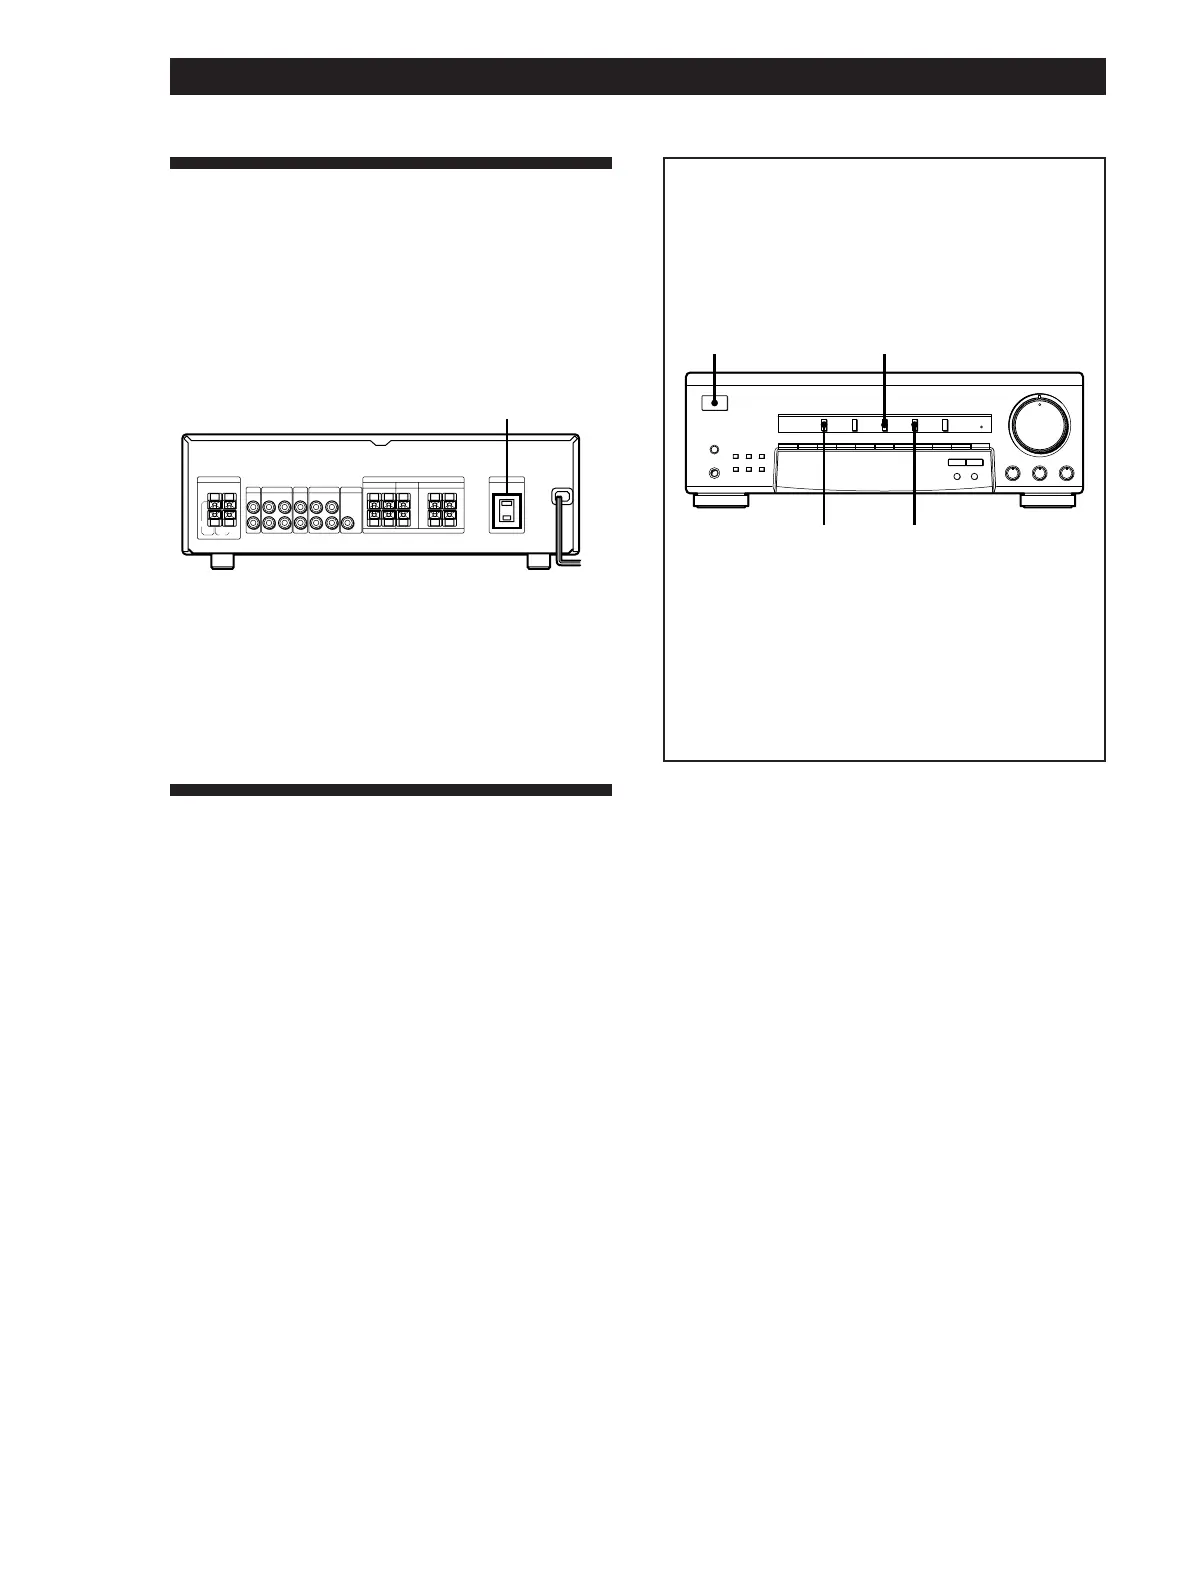
AC Hookups
Connect the AC power cord from this receiver and
from your audio/video components to a wall outlet.
If you connect a component to AC OUTLET on the
receiver, the receiver can supply power to the
connected component so you can turn on/off whole
system when you turn on/off the receiver.
AM
IN IN
REC
OUT
AUDIO
IN
AUDIO
IN
AUDIO
OUT
AUDIO
OUT
AC 120V 60Hz
SWITCHED 120V/1A MAX
IMPEDANCE USE 8-16Ω
ANTENNA
CD TAPE/MD
TV/DBS
VIDEO MIX
REAR CENTER FRONT
SPEAKERS AC OUTLET
R
+
–
+
–
+
–
+
–
LRL
L
R
FM
75
Ω
FM
300
Ω
y
AC OUTLET
b
to a wall
outlet
Caution
Make sure that the power consumption of the component
connected to receiver’s AC OUTLET does not exceed 120
watts. Do not connect high-wattage electrical home
appliances such as electric irons, fans, or TVs to this outlet.
Before You Use Your Receiver
Before you start using your receiver, make sure that
you have:
• Turned MASTER VOLUME to the leftmost position
(0).
• Set BALANCE to the center position.
Turn on the receiver and check the following indicator.
• Press MUTING on the remote if “MUTING” appears
in the display.
Before using the receiver for the first
time
Do the procedure below to set the receiver’s stored
parameters (preset stations, etc.) to their factory
settings.
1/u
VIDEO CD
TAPE/MD
SPEAKERS
SHIFT
DIRECT
1234567890
VIDEO TV/DBS TAPE/MD CD TUNER
BASS BOOST
SURROUND
BASS
•
MODE ON/OFF
EFFECT
DELAY TIME
SET UP
MEMORY
AM
–
TUNING
+
FM
PHONES
ØON øOFF
g
–10 10
TREBLE
MASTER VOLUME
•
–10 10
BALANCE
•
LR
100
1 Turn off the receiver.
2 While pressing down VIDEO, TAPE/MD,
and CD, press 1/u to turn on the receiver.
“INITIAL” appears in the display and the
stored parameters are set to their factory
settings.