Adjusting the Height of the Monitor (with SU-561 only)
16
Adjusting the Height of
the Monitor (with SU-561
only)
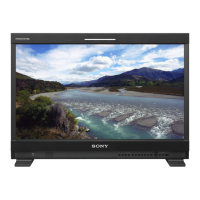
PVM-2541A and PVM-1741A can be mounted on the
optional SU-561 Monitor Stand. You can adjust the
height of the monitor on three levels (for PVM-2541A)
or four levels (for PVM-1741A) by changing the
position of the stand attachment bracket and the arm
attachment position.
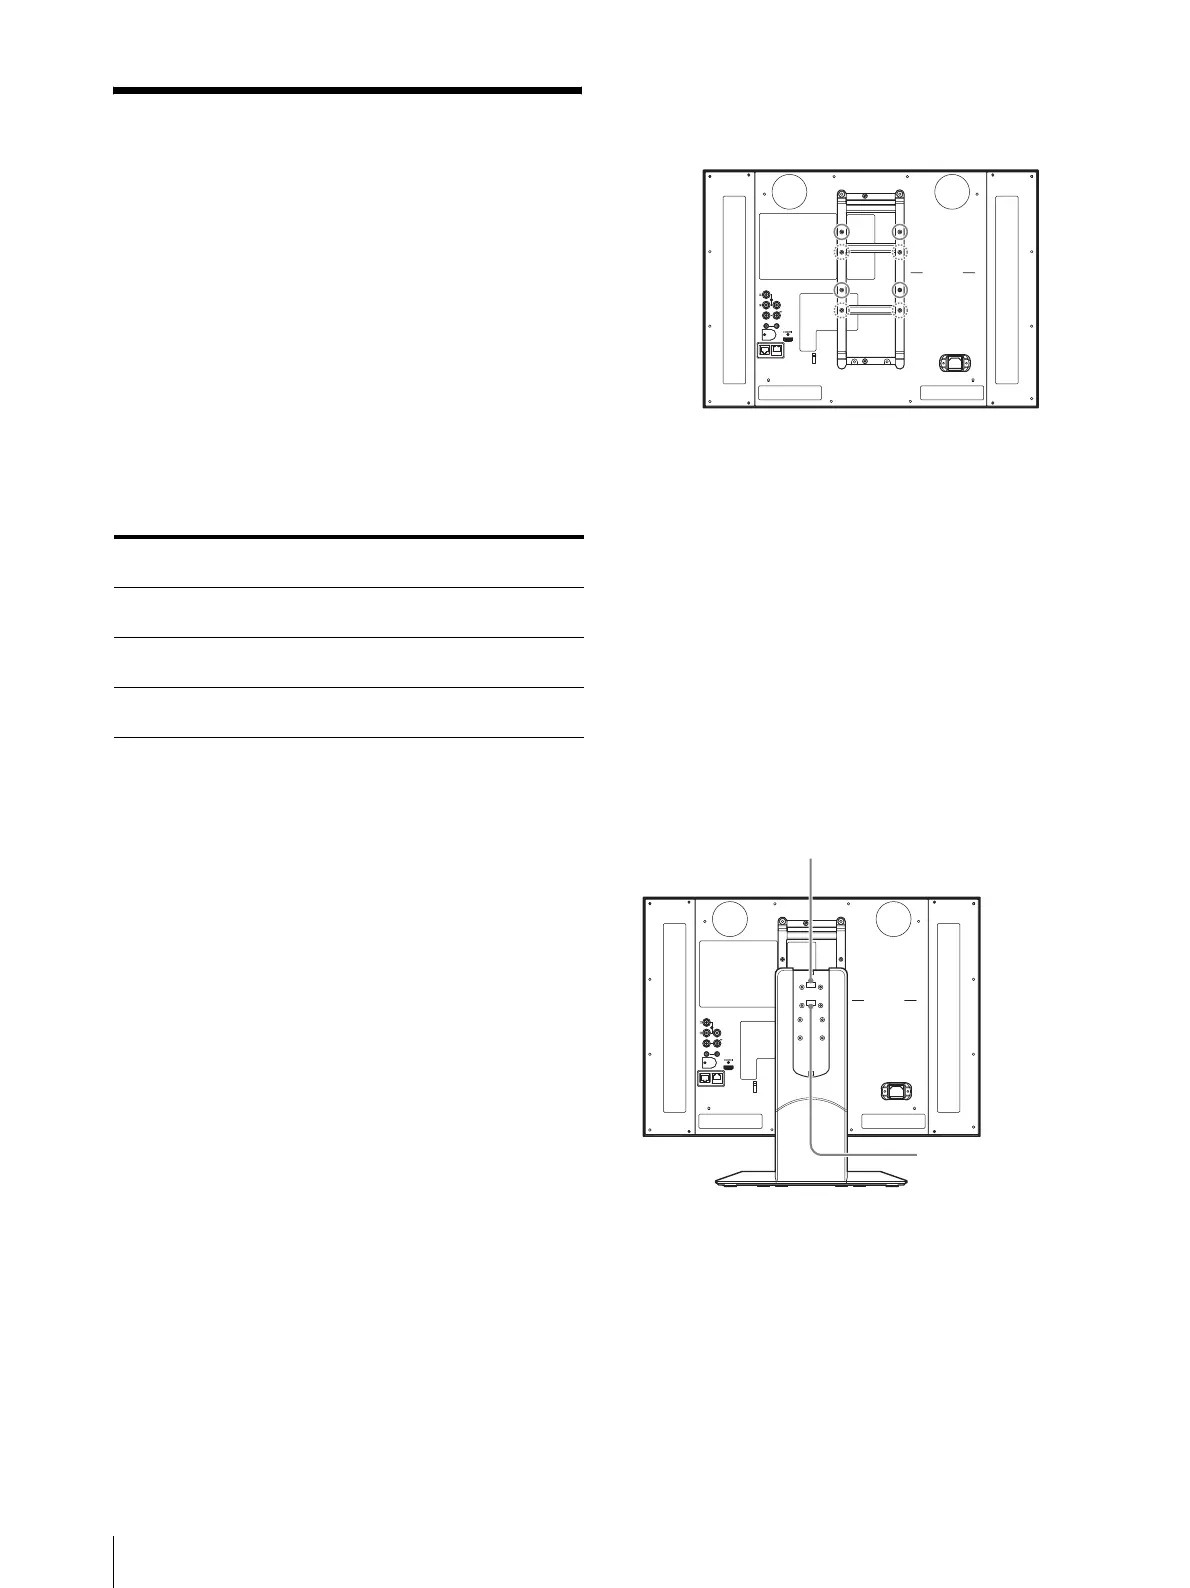
A and B in the following list indicate the screw holes
shown in the illustrations of steps 2 and 4.
Height of the monitor
Unit: mm (inches)
*1 You cannot attach the stand in combination of these
positions.
The following explains how to adjust the height of the
stand. For details on mounting the monitor on SU-561,
refer to the Mounting Instructions of SU-561.
1
With the pre-attached monitor stand
Remove the stand (see page 15).
With SU-561
Remove the stand and stand attachment bracket
(see page 17).
2
Attach the stand attachment bracket to the A or B
screw holes.
3
Attach the stand attachment bracket with four
screws.
When removing the pre-attached monitor
stand in step 1
Use the screws supplied with SU-561.
When removing SU-561 in step 1
Use the screws removed in step 5 of “To remove the
stand and stand attachment bracket” (see page 17).
4
Attach the arm.
5
Secure the arm with four screws.
When removing the pre-attached monitor
stand in step 1
Use the screws supplied with SU-561.
When removing SU-561 in step 1
Use the screws removed in step 3 of “To remove the
stand and stand attachment bracket” (see page 17).
Position of the stand
attachment bracket
AABB
Arm attachment
position
BABA
PVM-2541A –*
1
460
(18 1/8)
469
(18 1/2)
495
(19 1/2)
PVM-1741A 372
(14 3/4)
398
(15 3/4)
407
(16 1/8)
433
(17 1/8)
SDI
OUT
OUTIN
COMPOSITE
OUT
IN
IN
AUDIO
PARAL L EL
REMOTE
SERIAL
REMOTE
AA
BB
B
B
AA
A: Screw holes for low position
B: Screw holes for high position
SDI
OUT
OUTIN
COMPOSITE
OUT
IN
IN
AUDIO
PARALLEL
REMOTE
SERIAL
REMOTE
BB
AA
BB
AA
Hang the hook of the bracket
for using the A screw holes.
Hang the hook of the
bracket for using the
B screw holes.