Using the Menu
20
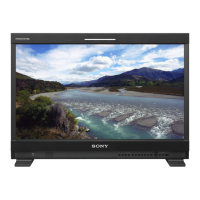
The setting items (icons) in the selected menu are
displayed in yellow.
4
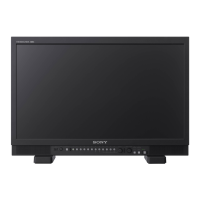
Turn the menu selection control to select
“LANGUAGE”, then press the menu selection
control.
The selected item is displayed in yellow.
5
Turn the menu selection control to select a
language, then press the menu selection control.
The menu changes to the selected language.
To clear the menu
Press the MENU button.
The menu disappears automatically if a button is not
pressed for one minute.
Using the Menu
The unit is equipped with an on-screen menu for making
various adjustments and settings such as picture control,
input setting, set setting change, etc. You can also
change the menu language displayed in the on-screen
menu.
To change the menu language, see “Selecting the Menu
Language” on page 19.
The current settings are displayed in place of the x
marks on the illustrations of the menu screen.
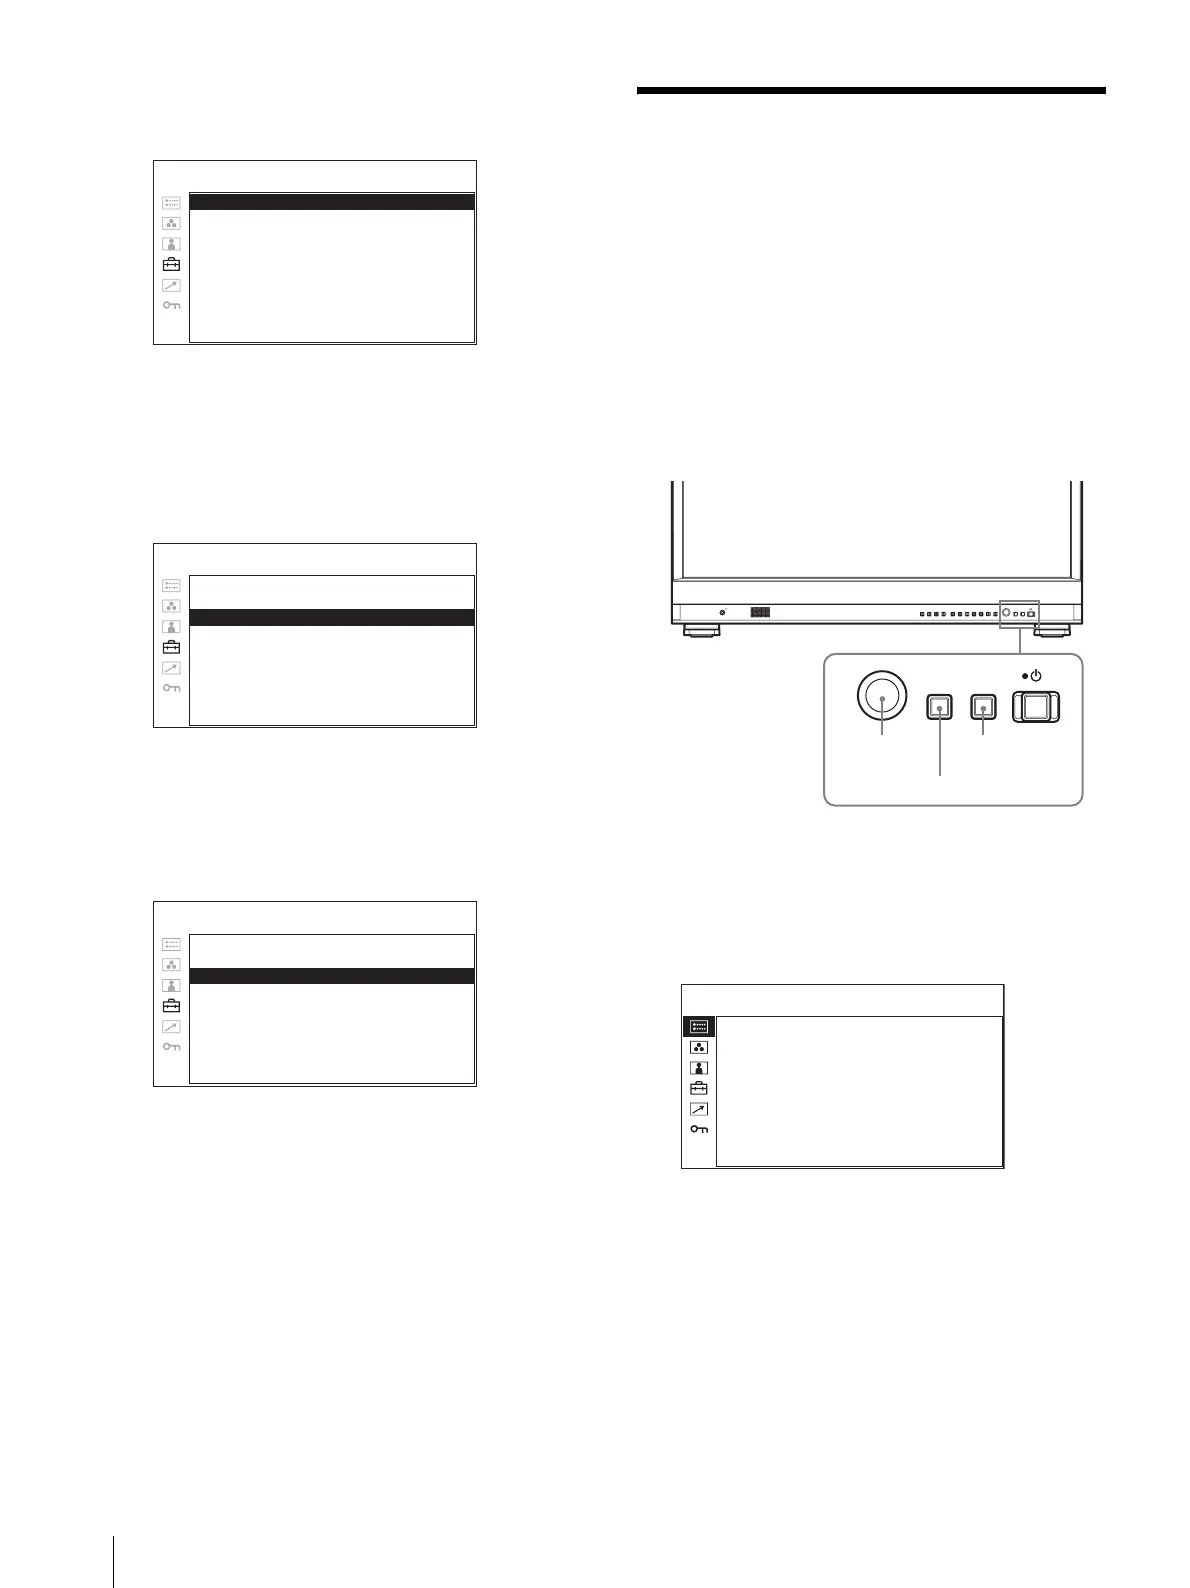
1
Press the MENU button.
The menu appears.
The menu presently selected is shown in yellow.
2
Turn the menu selection control to select a menu,
then press the menu selection control.
NTSC SETUP: xxxxxx
FORMAT DISPLAY: xxxxxx
LANGUAGE: ENGLISH
GAMMA: xxxxxx
I/P MODE: xxxxxxx
LED BRIGHTNESS: xxxxxx
RGB RANGE: xxxxxx
DVI: xxxxxx
SCREEN SAVER: xxxxxx
USER CONFIG – SYSTEM SETTING 1/2
NTSC SETUP: xxxxxx
FORMAT DISPLAY: xxxxxx
LANGUAGE: ENGLISH
GAMMA: xxxxxx
I/P MODE: xxxxxxx
LED BRIGHTNESS: xxxxxx
RGB RANGE: xxxxxx
DVI: xxxxxx
SCREEN SAVER: xxxxxx
USER CONFIG – SYSTEM SETTING 1/2
NTSC SETUP: xxxxxx
FORMAT DISPLAY: xxxxxx
LANGUAGE: ENGLISH
GAMMA: xxxxxx
I/P MODE: xxxxxxx
LED BRIGHTNESS: xxxxxx
RGB RANGE: xxxxxx
DVI: xxxxxx
SCREEN SAVER: xxxxxx
USER CONFIG – SYSTEM SETTING 1/2
SDI 1 SDI 2
F1 F2 F3 F4 F5 F6 F7
COMPOSITE
RETURN
MENU
HDMI
RETURN
MENU
12~4
RETURN button
FORMAT xxxxxxxxx
xxxxxxxx
COLOR TEMP xxx
HDMI FORMAT xxxxx
NTSC SETUP x
SCAN MODE xxxxxxxx
GAMMA xxx
I/P MODE xxxxxxx
FLICKER FREE xxx
STATUS 1 /2