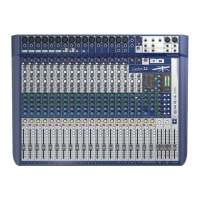
SOUNDCRAFT SIGNATURE MTK RECORDING GUIDE
12
14. When you are ready to record the show, select the master record button by the transport control to begin
recording! You will see waveforms starting to appear in the transport window indicating tracks are being
recorded and audio is being written to the hard disk.
15. Onceyouhavenishedrecording,simplypressthespacebaronyourkeyboardorpresstheSTOPkeyon
REAPER’s transport section. You will then be prompted with a dialogue requesting an action with your recently
recordedaudioles.PressSAVEALLifyouwishtokeeptheaudioorDELETEALLifyouwishtotryagain.
TIP: You can always delete unnecessary audio; you can’t make it up the event! We always suggest you
keep all takes and audio les until after everything can be reviewed in a different location with a fresh pair
of ears. You may have missed the magic take!
Multichannel playback using REAPER
®
Once your project has been created and tracks have been recorded, you can then follow a few more
steps to playback the channels from the DAW back through the console. To do this, we must assign the
outputs of each channel to the corresponding USB output. In REAPER, this can be done via the convenient
routing matrix screen.
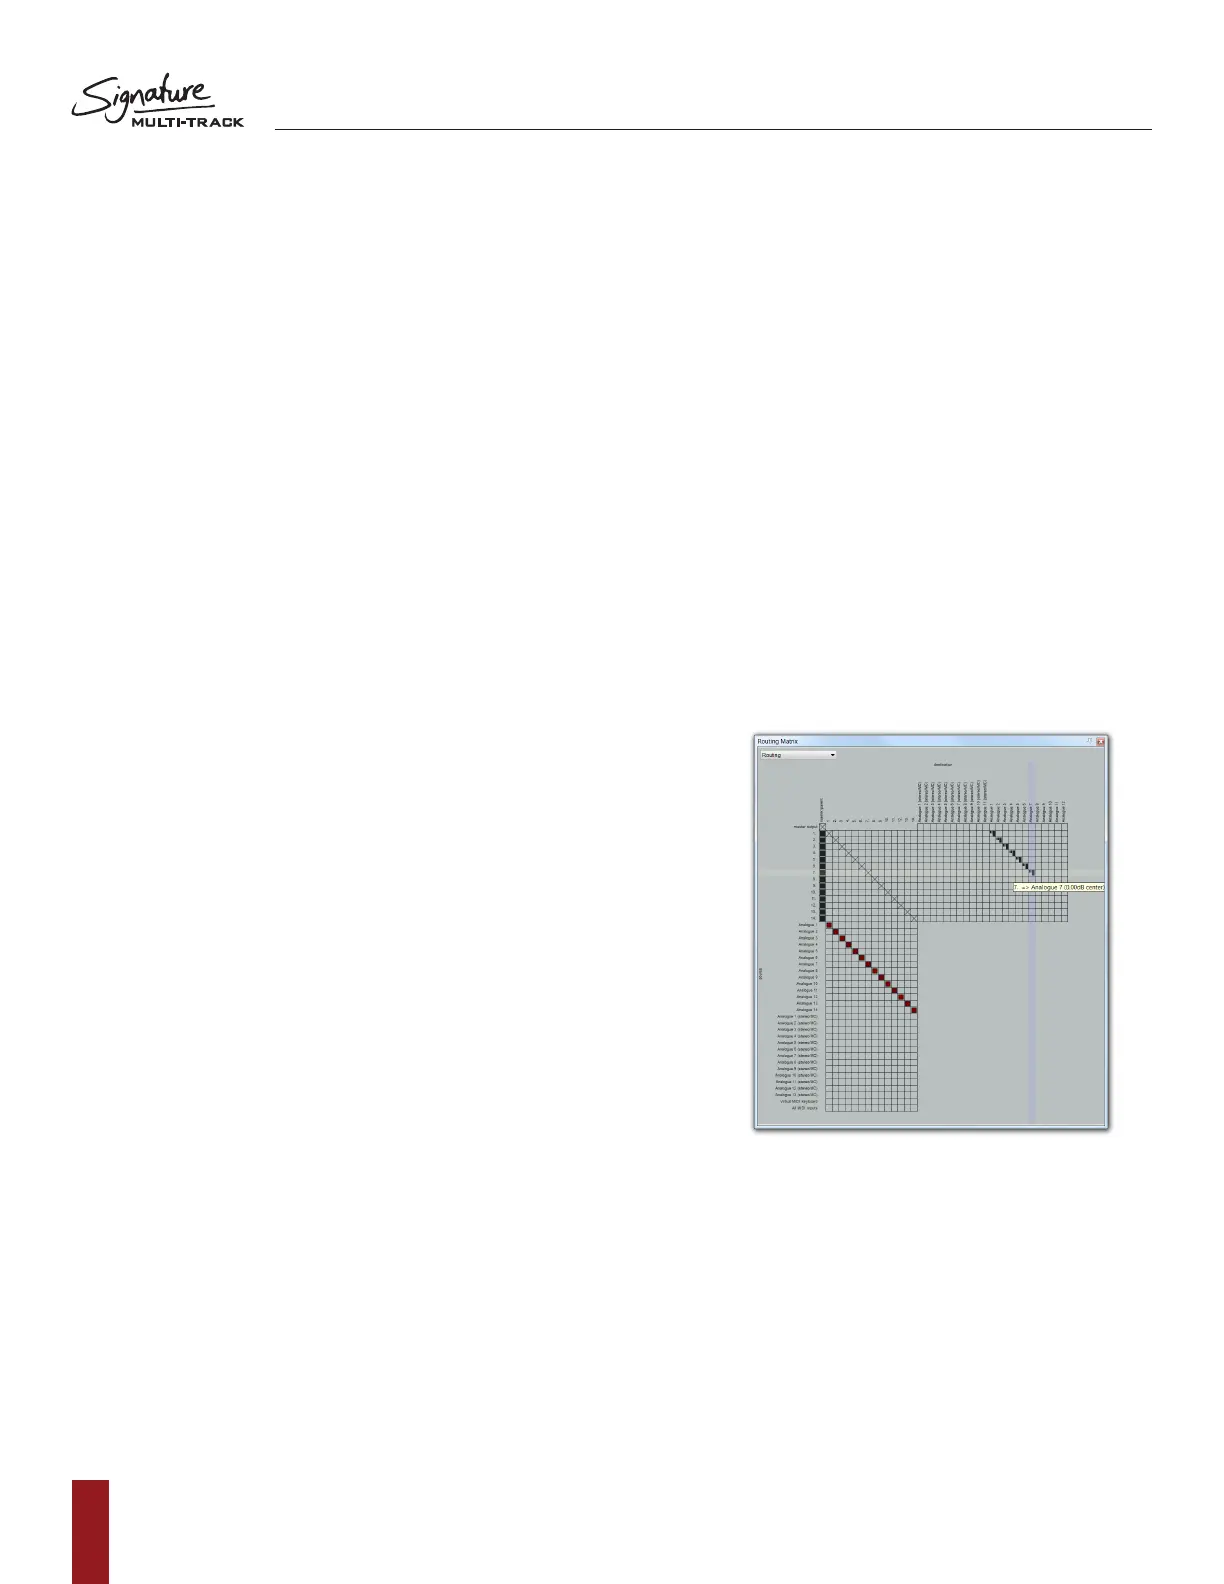
1. Firstly, open up the routing matrix via the ‘view’ menu at the top
of the screen.
2. Along the top of the grid you can see the possible destinations
(USB Outputs) and down the left of the grid you can see the
input channels laid out consecutively.
a.Wemustrstunassignthemasteroutputbydeselecting
the patch that is made by default connecting master
output to ‘Analogue 1’ (stereo).
3. Next,ndchannel1onthelefthandcolumnandfollowacross
the rows until you can see ‘analogue output 1’. Connect this
patch by clicking on the grid in the resulting box.
a. Then we must repeat the same steps for
channel 2 by connecting channel 2 to ‘analogue output 2’.
b. When all of the channels are patched, you will be left
with a diagonal line of patches indicating that the
channels within the DAW are patched to their
respective USB outputs.
4. Moving back to the console, next we must engage the USB RTN switch located
below the input gain control on the console channels.
a. Once switched, the console channels are ready to receive audio via USB.
5. BeforepressingplayonREAPER,youmustrstdeactivatetherecordenableswitches
located in the DAW channel strips.
a. This is for safety to avoid recording over your recorded show and also to avoid any
chance of feedback loops occurring etc.
6. Once the above steps are complete, you can press play on the transport controls within REAPER
and begin mixing the USB signals with the powerful mixing capabilities of the console.
 Loading...