SPHINX Project Two Mk2
8
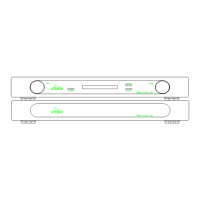
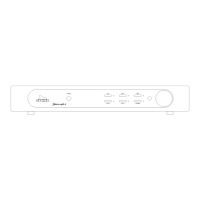
5. OPERATION
Connect the mains cable to a mains outlet. After you
have finished connecting all components, you can
power on the Project Two with the mains switch O / I
(26.).
The volume control will then automatically turn
counter-clockwise and during a certain period the
STANDBY LED will blink red/green after which it will
remain red. The preamp is now in standby mode.
From now on you only switch the amp on/off with the
STANDBY button.
That way all circuits will remain at optimum
operating temperatures and the audio quality will be
at 100% immediately after switching on. On top of
that it significantly increases the life span of the
component.
The Project Two is now in stand-by mode.
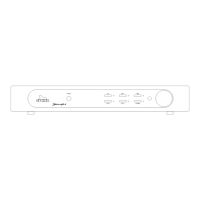
Power on
You switch the Project Two on with the STANDBY
button.
The preamp will select the CD SYM input after which
it un-mutes the output.
Selecting an input
You select the input with the large rotary knob
INPUT:
clockwise to the right of the selected one,
anti-clockwise to the left of the selected one.
Upon reaching LINE 3 or CD SYM you can't 'roll
over' to CD SYM of LINE 3 respectively.
As long as you move the knob only the LED's will
change: the current selected input remains active.
The new input only becomes active after you have
selected it and release the INPUT knob. You will
hear a 'click'. This is caused by the precision relays
for the inputs: the 'old' one is released while the new
one is energised.
Adjusting the volume level
The large VOLUME control to the right adjusts the
volume level from OFF to maximum (fully clockwise).
The level change is immediate.
Memory mode
The Project Two has a MEMORY mode: it
automatically selects the last input that was active
before you switched the component off with the
stand-by button.
Power off
You switch the Project Two off (to stand-by) with the
STANDBY button (2.).