IM-P713-01 CTLS Issue 1
15
AEL7 Series Electric actuator
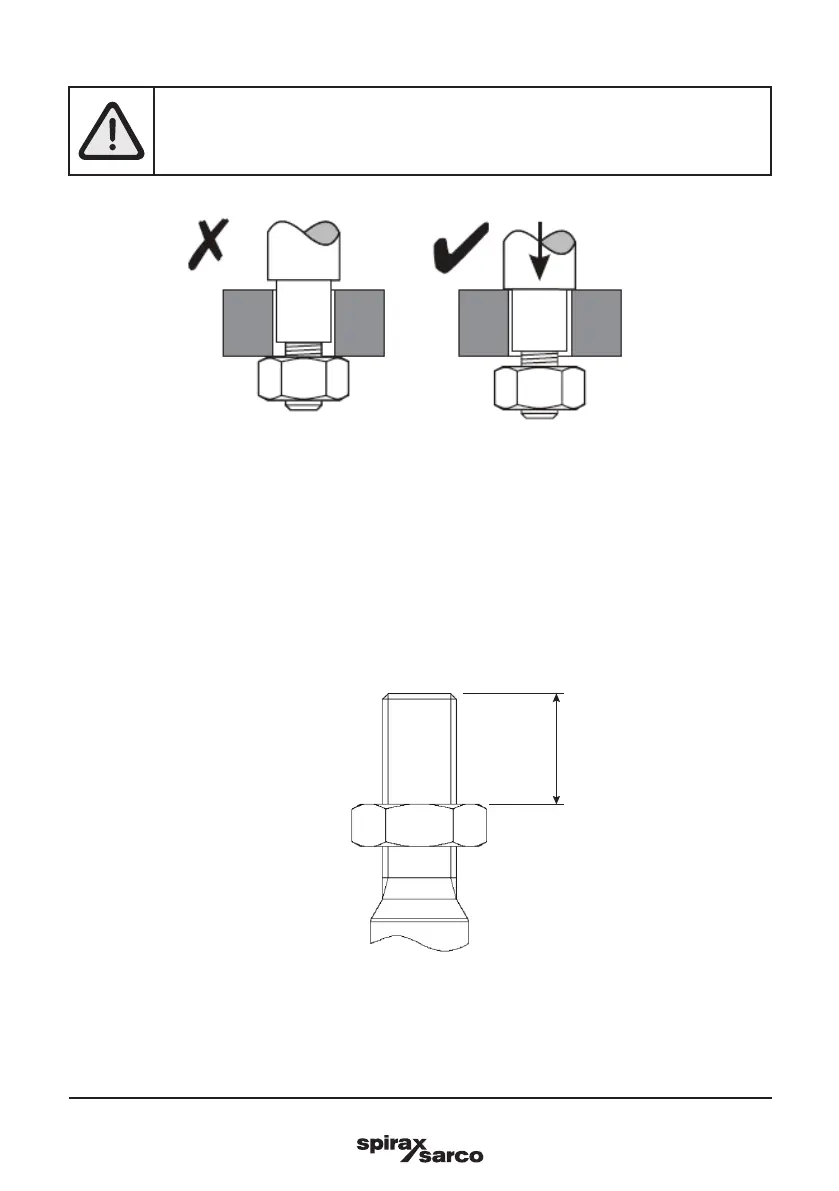
Before the pillar nuts are tightened, make sure that the pillar ends are completely inserted
into the bores of the valve mounting flange.If necessary, correct the position of the actuator
using the handwheel or hand crank.
Fig. 3
Using the handwheel, lower the actuator stem until it touches the valve adaptor.
With the valve adapter and actuator spindle aligned correctly and with the plug off the valve seat :
-
Couple the anti-rotation plate
-
Couple the adapter locking plate
-
Tighten the pillar nuts to 30 Nm
-
Tighten the 4 valve adaptor screws to 8 Nm
-
Tighten the thread lock nut to 15 Nm
A
Fig. 4 Thread Engagement
 Loading...