Do you have a question about the Spirit XBR25 and is the answer not in the manual?
Read all instructions before using this appliance.
Disconnect power before cleaning/service to reduce risk of electric shock.
Install and use the bike on a flat surface with a grounded outlet to prevent hazards.
Use only a 14AWG or better extension cord with a single outlet on the end.
Keep children away, hands from moving parts, avoid shag carpet, keep cord from heat.
Never remove covers without disconnecting power; be aware of voltage variations.
Understand console changes, avoid electrical storms, and be cautious of distractions during use.
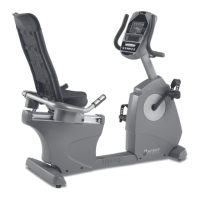
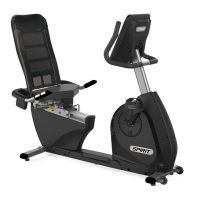
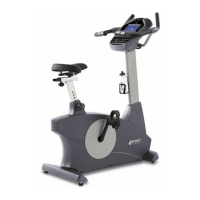
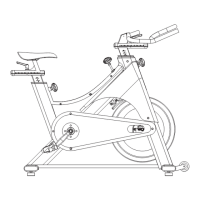
Connect the Rear Stabilizer to the Main Frame using Hex Head Bolts and Flat Washers.
Secure the Seat Back to the Seat Carriage with bolts, washers, and Nyloc Nuts.
Slide cables through cover and mast; insert mast into frame using bolts and washers.
Connect the Handle Bar Assembly to the Console Mast bracket with bolts and washers.
Mount the Seat onto the Seat Carriage using Phillips Head Screws.
Connect the Seat Handle Bar to the Seat Carriage using bolts, washers, and nuts.
Mount the Release Lever onto the Handle Bar Seat behind the hand pulse sensors.
Connect pedals to crank arms, noting the left pedal's reverse thread.
Connect cables and attach console to mounting plate with Phillips Head Screws.
Attach Front and Rear Stabilizer Covers to the Main Frame using screws.
Explains automatic power-up, internal self-test, and initial display information.
Press Start to begin; manually adjust workload with Level Up/Down buttons.
Instructions for correctly attaching and wearing the chest strap for accurate signal transmission.
Identifies common causes of interference for erratic heart rate readings and their solutions.
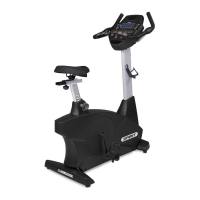
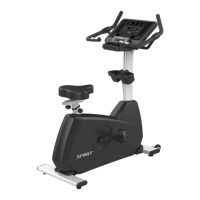
| Max User Weight | 300 lbs |
|---|---|
| Display Type | LCD |
| Transport Wheels | Yes |
| Console | LCD |
| Handlebar Adjustment | Yes |
| Warranty | 1 Year |