33. Thread the upper seal retainer into the cylinder and torque
to 25-30 ft. lbs.
34. Rotate the cylinder in the vise so that the bottom end is
facing up.
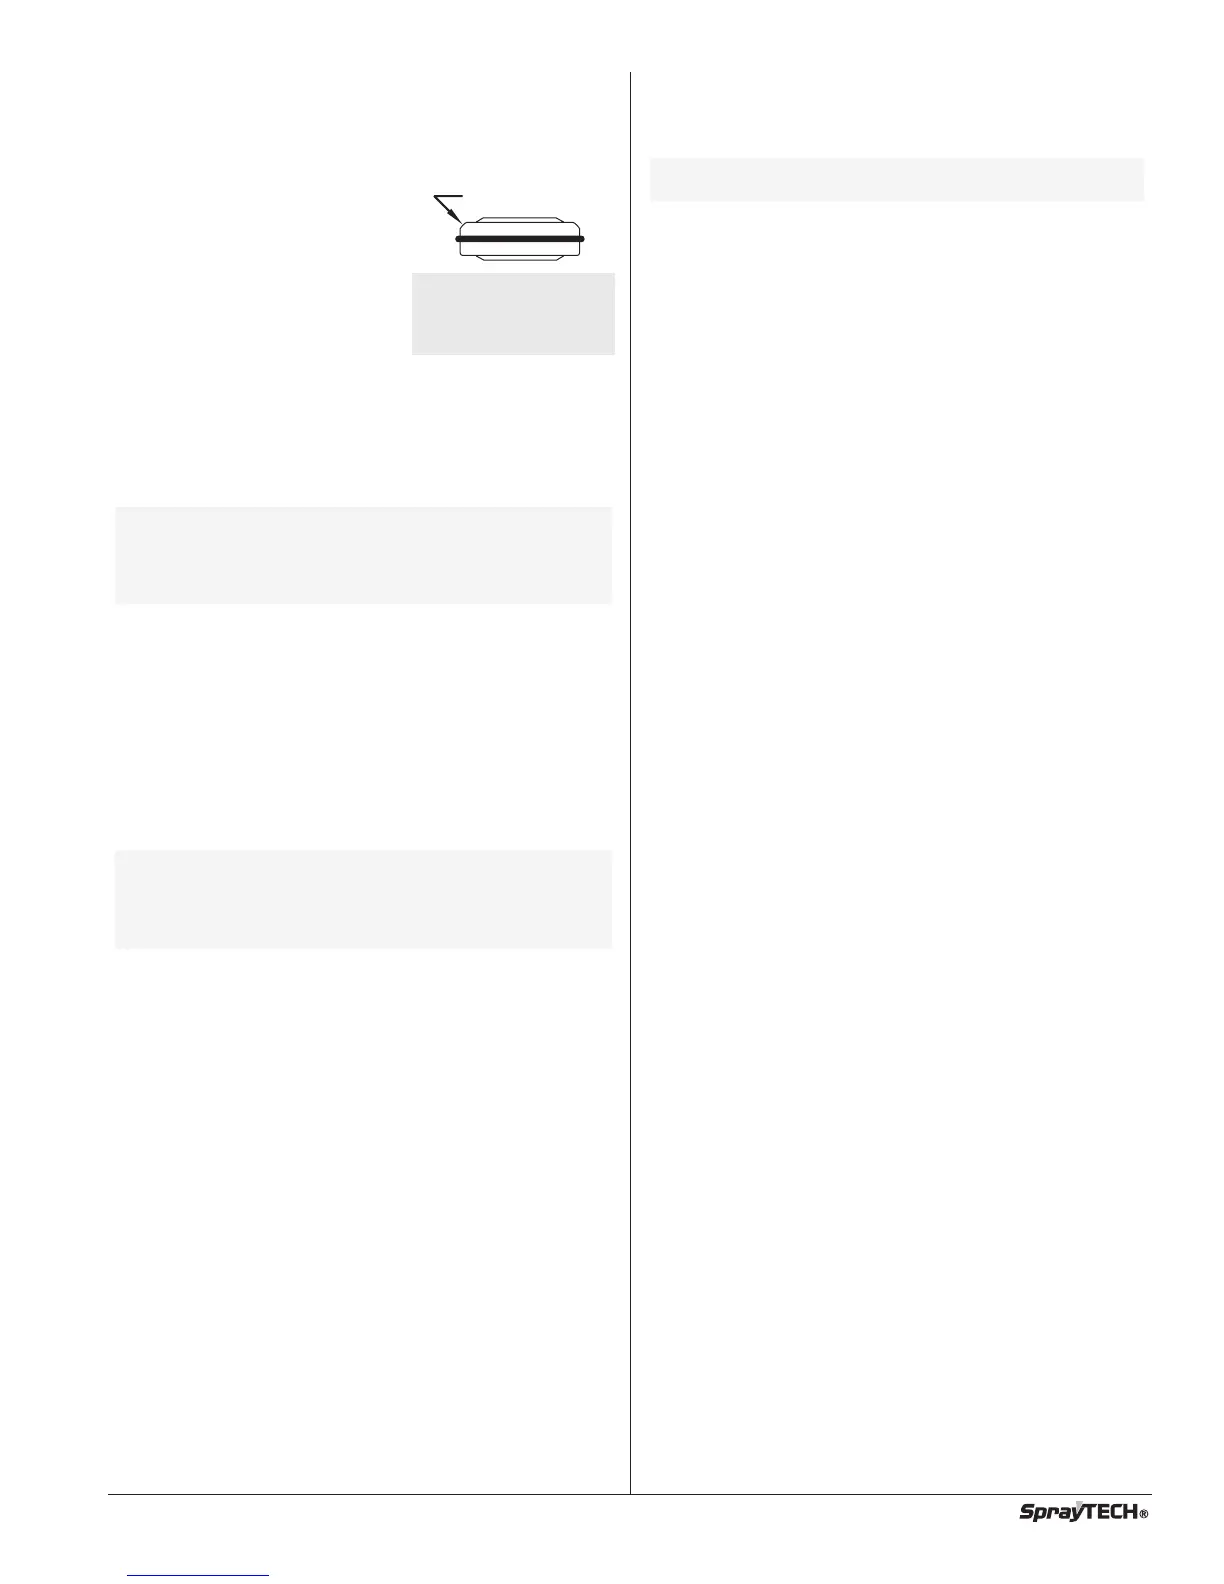
35. Pre-form the lower packing using the lower packing sizing
tool (included in the repacking kit).
36. Insert the lower packing
assembly partially into the
bottom of the cylinder with the
large beveled edge facing
toward the cylinder (beveled
edge will be facing up when the
cylinder is upright).
37. Push the lower packing
assembly into position using the
lower packing insertion tool (see Fluid Section Assembly
parts list for lower packing insertion tool P/N).
38. Place the piston insertion tool (included in the repacking
kit) over the top of the piston rod.
39. Insert the piston rod into the bottom of the cylinder,
through the lower packing assembly, through the upper
packing assembly, and out through the upper seal retainer.
40. Turn the jam nut counterclockwise until it is flush against
the top of the cylinder.
41. Lubricate the threads on the cylinder with anti-seize
compound. Remove the cylinder from the vise.
42. Thread the cylinder into the gear box housing, turning
clockwise. When the connecting pin hole on the piston
rod lines up with the hole in the yoke, insert the
connecting pin.
43. Snap the retaining clip around the connecting pin and
yoke.
44. Continue to turn the cylinder clockwise until the jam nut is
flush against the gear box housing.
45. Once the nipple is positioned, turn the jam nut clockwise
until it contacts the gear box housing.
46. Tighten the jam nut with a wrench to tighten it against the
gear box housing.
47. Attach the high-pressure hose to the nipple on the back of
the cylinder and tighten with a wrench. Do not kink the
hose.
48. Insert the lower support ring into the bottom of the
cylinder.
49. Insert the support washer into the bottom of the cylinder.
50.
Mak
ing sure that the Viton o-ring and PTFE back-up ring
are lubricated and in place, reassemble the inlet valve
assembly and and thread it into the cylinder. Tighten the
inlet valve housing until the o-ring engages, then continue
to tighten until snug. Once snug, tighten an additional
1/8–1/4 turn.
51.
For Upright cart units
, thread the siphon tube into the inlet
valve and tighten securely. Make sure to wrap the threads on
the down tube with PTFE tape before assembly. Replace the
return hose into the clamp on the siphon tube.
52. For Low Boy cart units, insert the elbow on the suction set
assembly into the bottom of the inlet valve housing. Push
the retaining ring up into the groove inside the inlet valve
housing to secure the suction set assembly in position.
NOTE: If the nipple on the cylinder does not face the
back of the unit, turn the cylinder
counterclockwise until the nipple faces the
back of the unit. Do not turn the cylinder more
than one full turn.
NOTE: When repacking the fluid section, make sure
the raised lip on the bottom of the lower
packing assembly is fully outside the packing
around the piston rod after insertion of the
piston rod.
Install lower packing so
large beveled edge will
be facing up when the
cylinder is upright.
Large Beveled Edge
53. Place the front cover on the gear box housing and secure
in position using the six front cover screws.
54. Turn on the sprayer by following the procedure in the
“Operation” section of this manual and check for leaks.
NOTE: Repacking kit P/N 0507929 is available. For
best results use all parts supplied in this kit.
© SprayTECH. All rights reserved. 11