Multi-shot 1 1-3
TIME LAPSE
Interval: This option allows the camera to take photos at regular
preset intervals without detection.
VIDEO
Delay: Allows the user to choose the time interval between each
detection before the camera can record the next video.
Video length: Allows the user to select the duration of the
recording.
Photo rst: When this option is enabled, a photo is taken
immediately before each video.
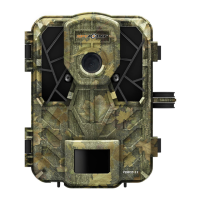
PERFORM THE STEPS 3 AND 4 DURING THE FINAL IN-
STALLATION OF THE CAMERA.
3. TEST THE DETECTION
OF THE CAMERA
In TEST mode, no photo or video
is recorded. Pass in front of the
camera from left to right. When
the camera detects motion, the
test light blinks. If the system does
not detect the movement, increase
the detection sensitivity using the
SENSITIVITY option in the GENERAL SETTINGS menu or realign the
system dierently. In TEST mode,
it is possible to take a photo by pressing the OK button
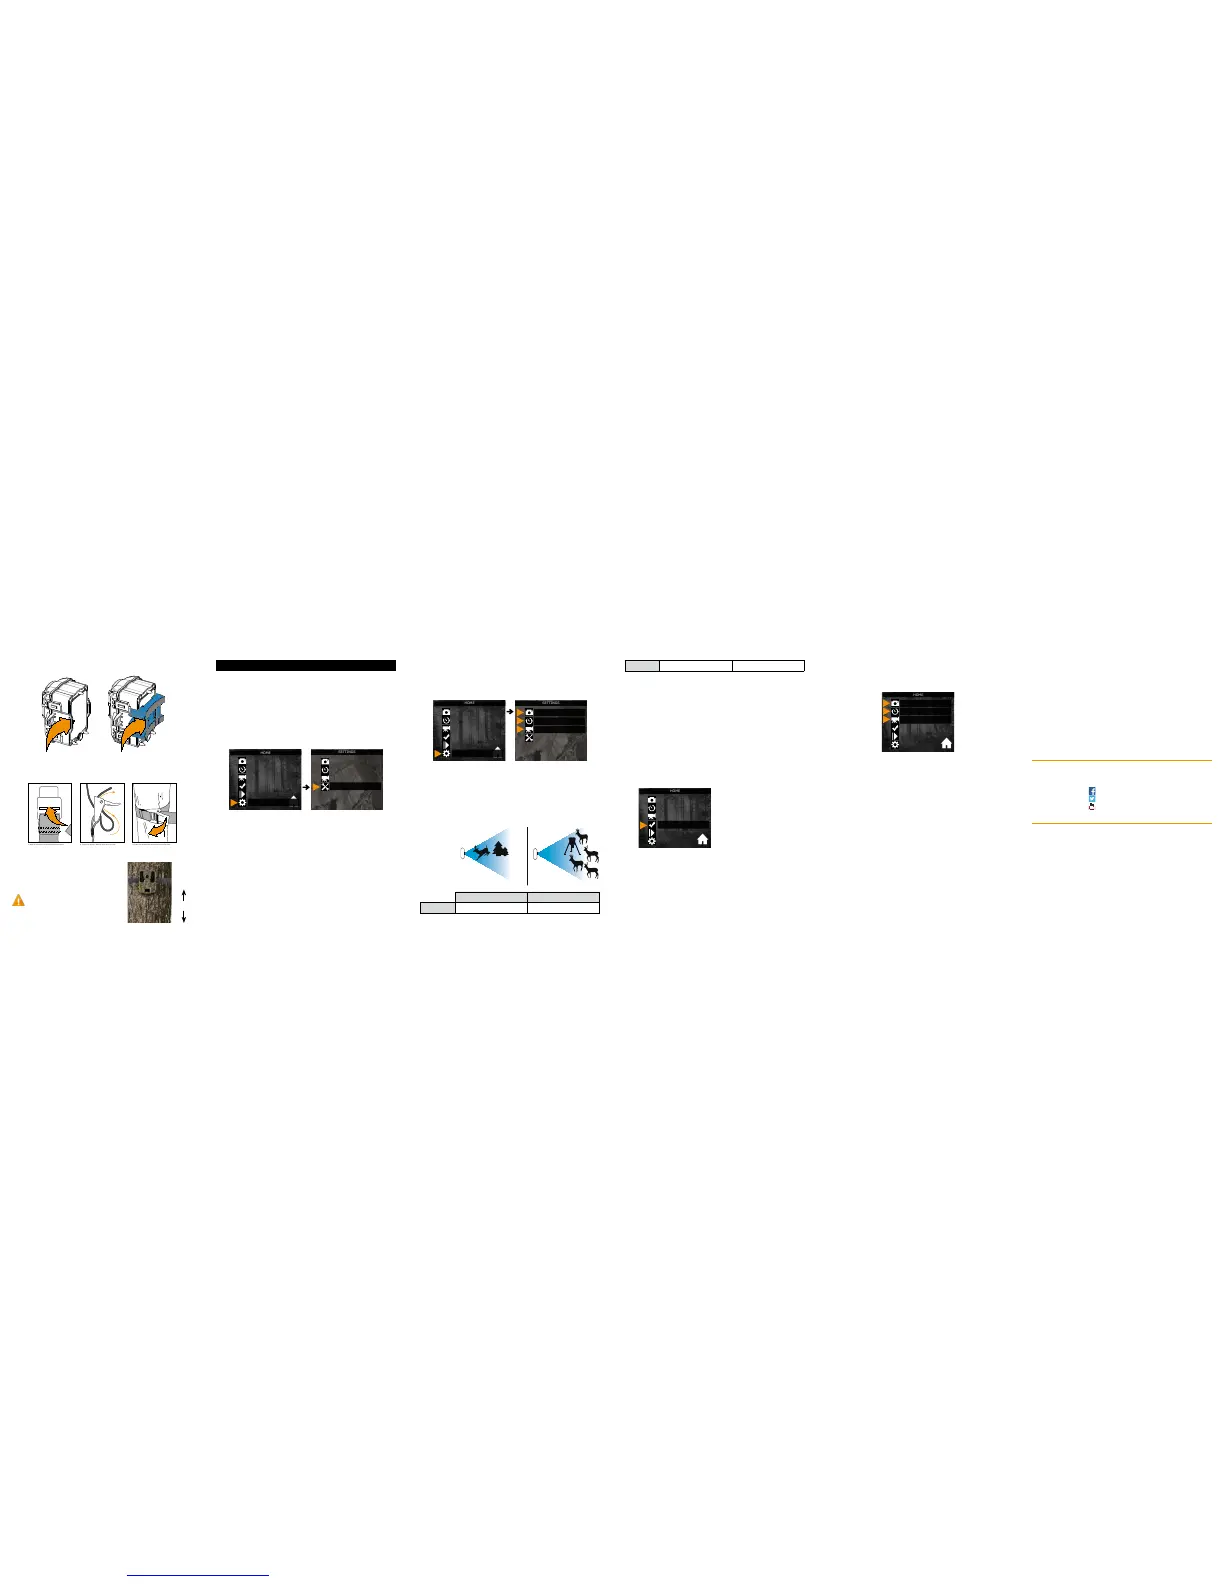
2. CONFIGURE THE SETTINGS OF THE 3 OPERATING
MODES
In the home menu, select SETTINGS and then, PHOTO, TIME
LAPSE or VIDEO to access to the respective operating mode
menu.
PHOTO
Delay: Allows the user to choose the time interval between each
detection before the camera can record the next photo.
Multi-shot: Takes up to 6 consecutive shots at each detection,
with a 10 second delay between each photo.
Recommended settings in photo mode
Usage in trails Usage by a feeder
Delay Instant 5 min
Use the and buttons to navigate in the interface and to change
options.Usethe OKbuttontoconrmand theBACKbuttontoreturn
to the previous menu.
1. CONFIGURE THE GENERAL SETTINGS
A. Turn on the camera (press and hold the ON/OFF button).
B. In the home menu, select SETTINGS and then GENERAL to
access to the General settings menu.
C. Set the Date (MM/DD/YY or DD/MM/YY).
D. Set the Time (Hour/Minute).
Settings
(FORCE-12 only). The photo is saved and appears in the VIEW
mode.
4. START THE CAMERA
Select the desired operating mode (photo, time lapse or video) in the
home menu by pressing OK.
When the mode is selected, the test light in front of the camera will
ashfor60secondstoallowtheusertoleavethe areawithoutbeing
photographed or recorded.
 Loading...