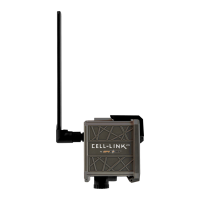
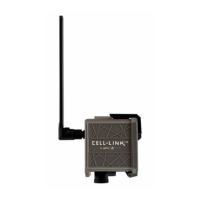
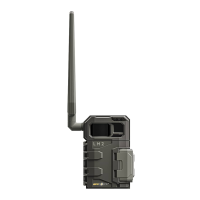
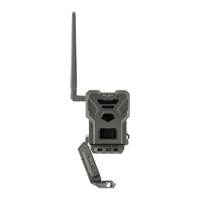
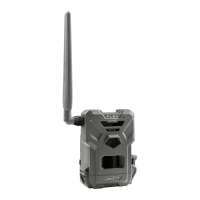
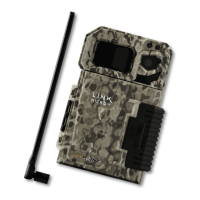
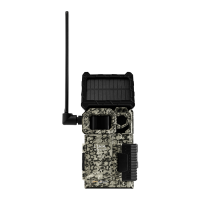
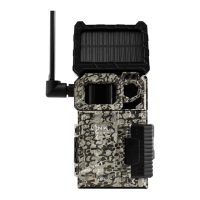
The SPYPOINT CELL-LINK is a cellular module designed to connect all trail cameras, regardless of brand, to SPYPOINT's servers, enabling remote photo viewing and device management. It acts as an extension, connecting to a camera via its SD card slot to receive, process, and transfer photos over a cellular network. This allows users to monitor their hunting grounds or property without needing to physically visit the camera.
Function Description
The primary function of the CELL-LINK is to provide cellular connectivity to any trail camera equipped with a standard SD card reader. It captures photos saved by the connected camera onto its own microSD card and then transmits these images to the SPYPOINT app or website. This eliminates the need to manually retrieve SD cards from cameras, offering convenience and saving time. The device supports photos up to 25 Mpx resolution, though lower resolutions are recommended for optimal battery life and faster transfer times. While the CELL-LINK does not directly transfer videos, it can transmit a photo preview if the camera is configured to take a picture before each video.
Usage Features
To use the CELL-LINK, activation is required either through the free SPYPOINT app (available on Android and iOS) or the SPYPOINT website. The activation code is conveniently located inside the CELL-LINK's battery compartment door. Once activated, users can choose a photo transmission plan that suits their needs, with options ranging from a free monthly plan offering up to 100 photo transfers to various paid plans.
Installation involves connecting the CELL-LINK to the trail camera using the included cable with an SD adapter. The SD adapter end is inserted into the camera's SD card slot, and the cable is routed to the CELL-LINK, which is typically mounted above the camera. This setup ensures secure connection and minimizes the risk of damage. A microSD card (up to 32 GB, not included) must be inserted into the CELL-LINK to save photos and videos from the camera. It is crucial to format the microSD card via a computer before first use.
The CELL-LINK offers several configurable settings through the SPYPOINT app or website. Users can choose the first transfer time of the day, set the transfer frequency (e.g., 1, 2, 6, 12 transfers per day, or each detection), and assign a custom device name for easy identification, especially for those with multiple devices. Other configurable options include date and time formats, temperature units (°C/°F), and the ability to report the device as stolen or activate the BUCK TRACKER feature. Users can also select the correct battery type (AA, AA-LIT, 12V, LIT-10) to ensure accurate battery level readings.
The device's status can be monitored through the SPYPOINT app or website, which provides indicators for cellular signal strength, battery charge level, microSD card usage, GPS coordinates, software version, last communication date and time, number of photos taken this month, temperature, last installation date, SIM card number, and activation code. Notifications are sent to the smartphone for events such as forgetting to insert a microSD card, using an incompatible card, or low battery charge.
Maintenance Features
Powering the CELL-LINK can be done using 8 AA lithium or alkaline batteries, a 12 V rechargeable battery (#KIT-12V, sold separately), or a 3.7 V rechargeable battery pack (#LIT-10, sold separately). The #LIT-10 battery pack is recommended for longer charge times. When installing AA batteries, it's important to use new batteries of the same type and ensure correct polarity. An external 12 V battery can also be connected, which will become the primary power source, with AA batteries used only once the external battery is depleted. The battery level can be checked via the app or by observing the STATUS light on the device, which flashes orange when the battery is low.
For optimal performance, it is recommended to configure the connected trail camera to take low-resolution photos, precisely adjust the date and time, and set a delay of no shorter than 1 minute between detections or in Time-lapse mode. These settings help conserve battery life and memory space.
Troubleshooting guidance is provided for common issues. If the device doesn't turn on, users should check battery installation and charge level. If the device is unresponsive, solutions include turning it off and on, reinserting the battery pack, resetting it via the app, or performing a software update. If photos are not being taken or transferred, users should verify camera operation, CELL-LINK power, microSD card formatting, cellular signal strength, cellular plan limits, and check for app notifications. A validation test involves making a movement in front of the camera to trigger a photo, observing the STATUS LED for a green light (indicating cellular communication), and then checking the SPYPOINT app within 15 minutes for the transferred photo. If cellular signal is an issue, users can try moving the device, turning it off and on, ensuring the antenna is securely installed, or using a long-range cellular antenna (#CA-01, sold separately). Power consumption can be managed by choosing less power-intensive options for transfer frequency and photo quality. Photos older than 7 days are not transferred.
The CELL-LINK comes with a 2-year warranty covering parts and workmanship, requiring proof of purchase. SPYPOINT offers repair services, but an RMA number is essential before returning any product. The company provides support via chat, email, and its website.