CELL-LINKSPYPOINT
11
CONFIGURING YOUR CELL-LINK
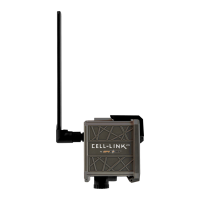
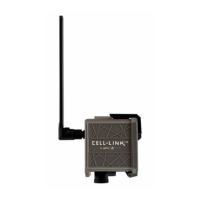
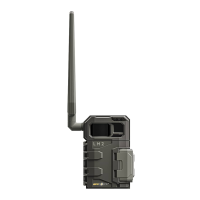
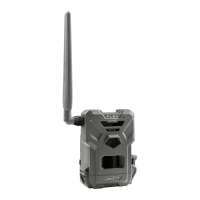
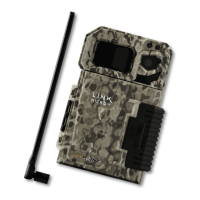
The CELL-LINK is designed to add cellular functionality to a camera (all brands).
Therefore, it can’t be used on its own. It must be connected to a camera with
a standard SD card slot, using the cable with SD adapter, included with the
CELL-LINK.
NOTE
Before starting the CELL-LINK, make sure you have successfully congured
your trail camera according to your preferences and that you have done this
by following your camera’s User Manual.
CONFIGURATION: MAIN SETTINGS
Here are the recommended camera settings to ensure the optimal
performance of your CELL-LINK:
• A low-resolution photo format.
• Precisely adjust the date and time.
• A delay no shorter than 1 minute between each detection.
• In Time-lapse mode, a delay no shorter than 1 minute.
NOTE
The CELL-LINK supports photos up to 25 Mpx resolution. However, be aware
that “higher megapixels” imply larger le formats and therefore:
• More power consumption of your batteries;
• Less camera speed;
• More recovery time between shots;
• More used memory space on your SD card.
Therefore, we recommend that you choose a low-resolution operating mode
for your camera.
Cellular transfer functionality of videos is not supported by the CELL-LINK.
However, if you congure your camera to take a picture before each of your
videos, this picture will be transmitted to you via the CELL-LINK.
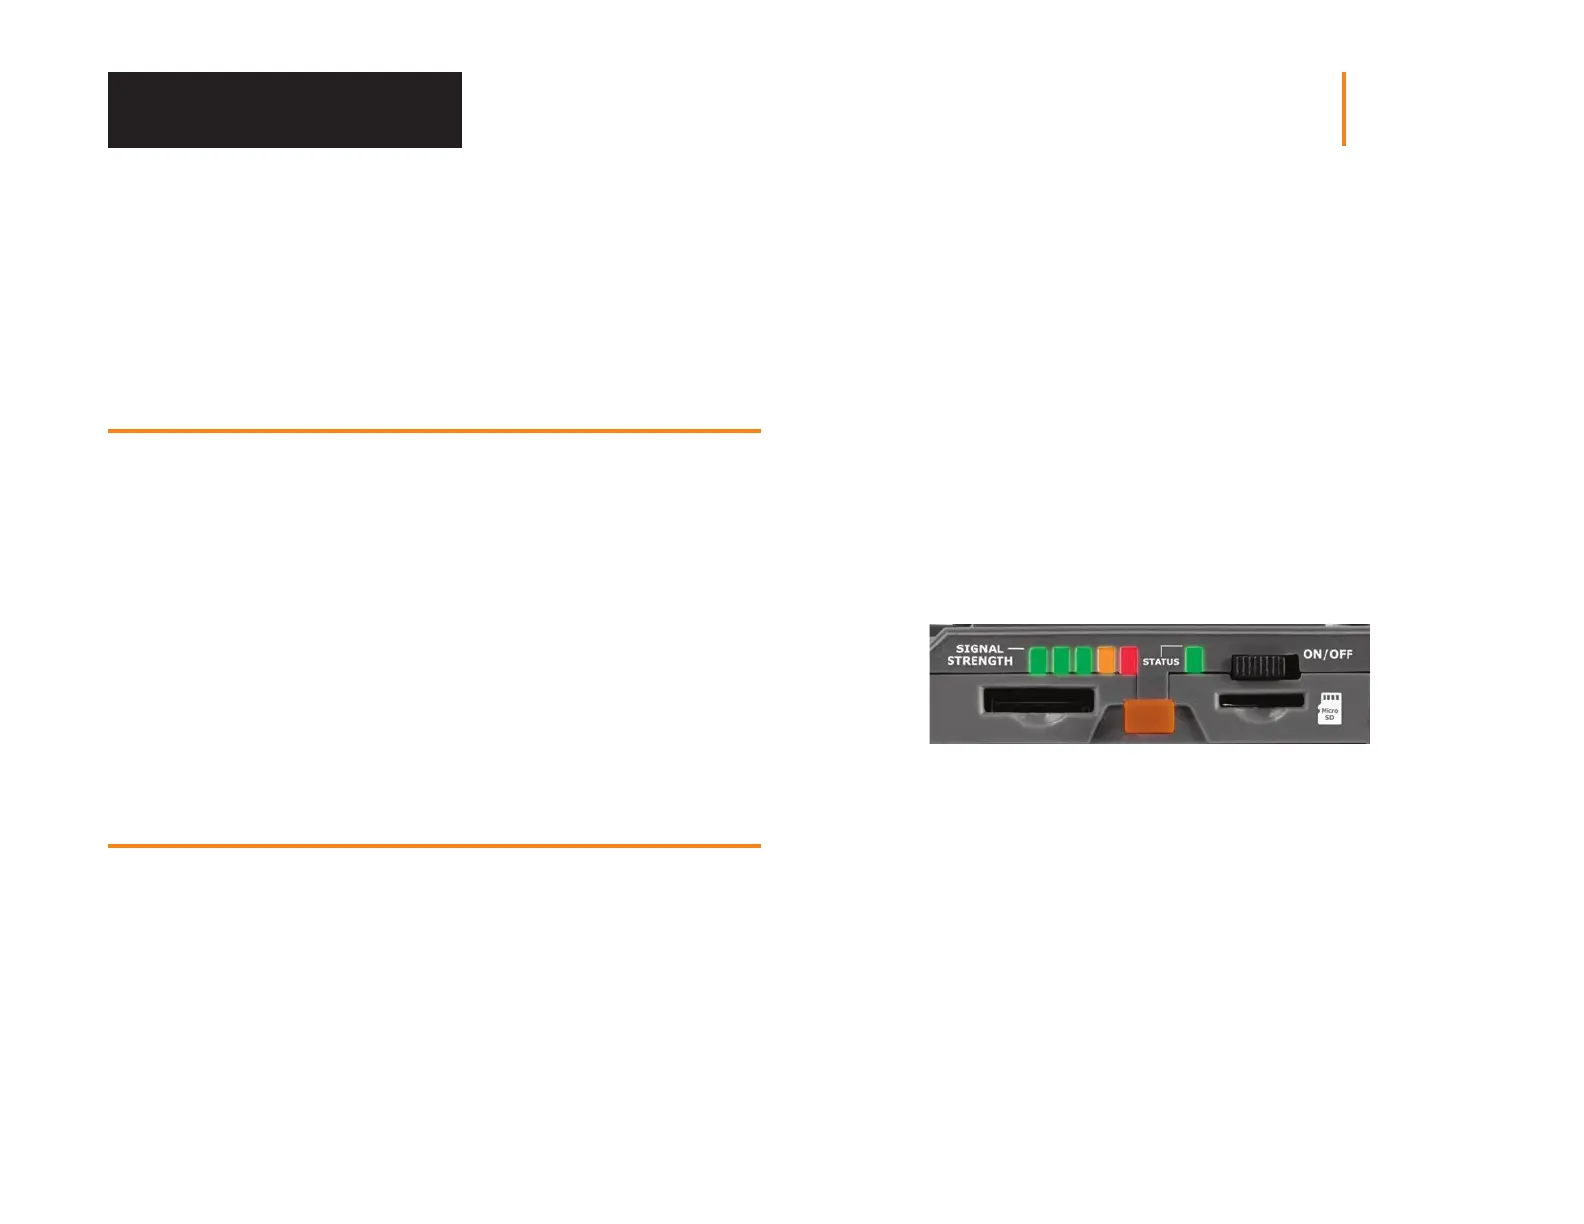
STARTING YOUR CELL-LINK
BEFORE TURNING YOUR DEVICE ON
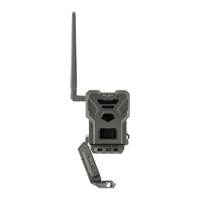
Refer to the image below to familiarize yourself with the meaning of the
STATUS and SIGNAL LEDS. These light indicators will guide you along the
startup process.
1. Make sure that your device is powered by new batteries and that a microSD
card has been inserted.
2. Open the battery door of the CELL-LINK.
3. Turn the power ON by sliding the power switch to the ON position.
4. Follow the table on the next page to fully understand the meaning of these
light indicators.
Starting Your Device