E
Error Timeout
(The Factory Default Setting for Error Timeout is “15 MINUTES”).
To make a change to the Error Timeout feature, follow the step by step procedure outlined below.
Note: The five-position switch and red selection button are located on the dispenser control board of
the device marked “Primary”. For machines with multiple bill acceptors, these settings must be set on
the dispenser control board that each bill acceptor is plugged in to.
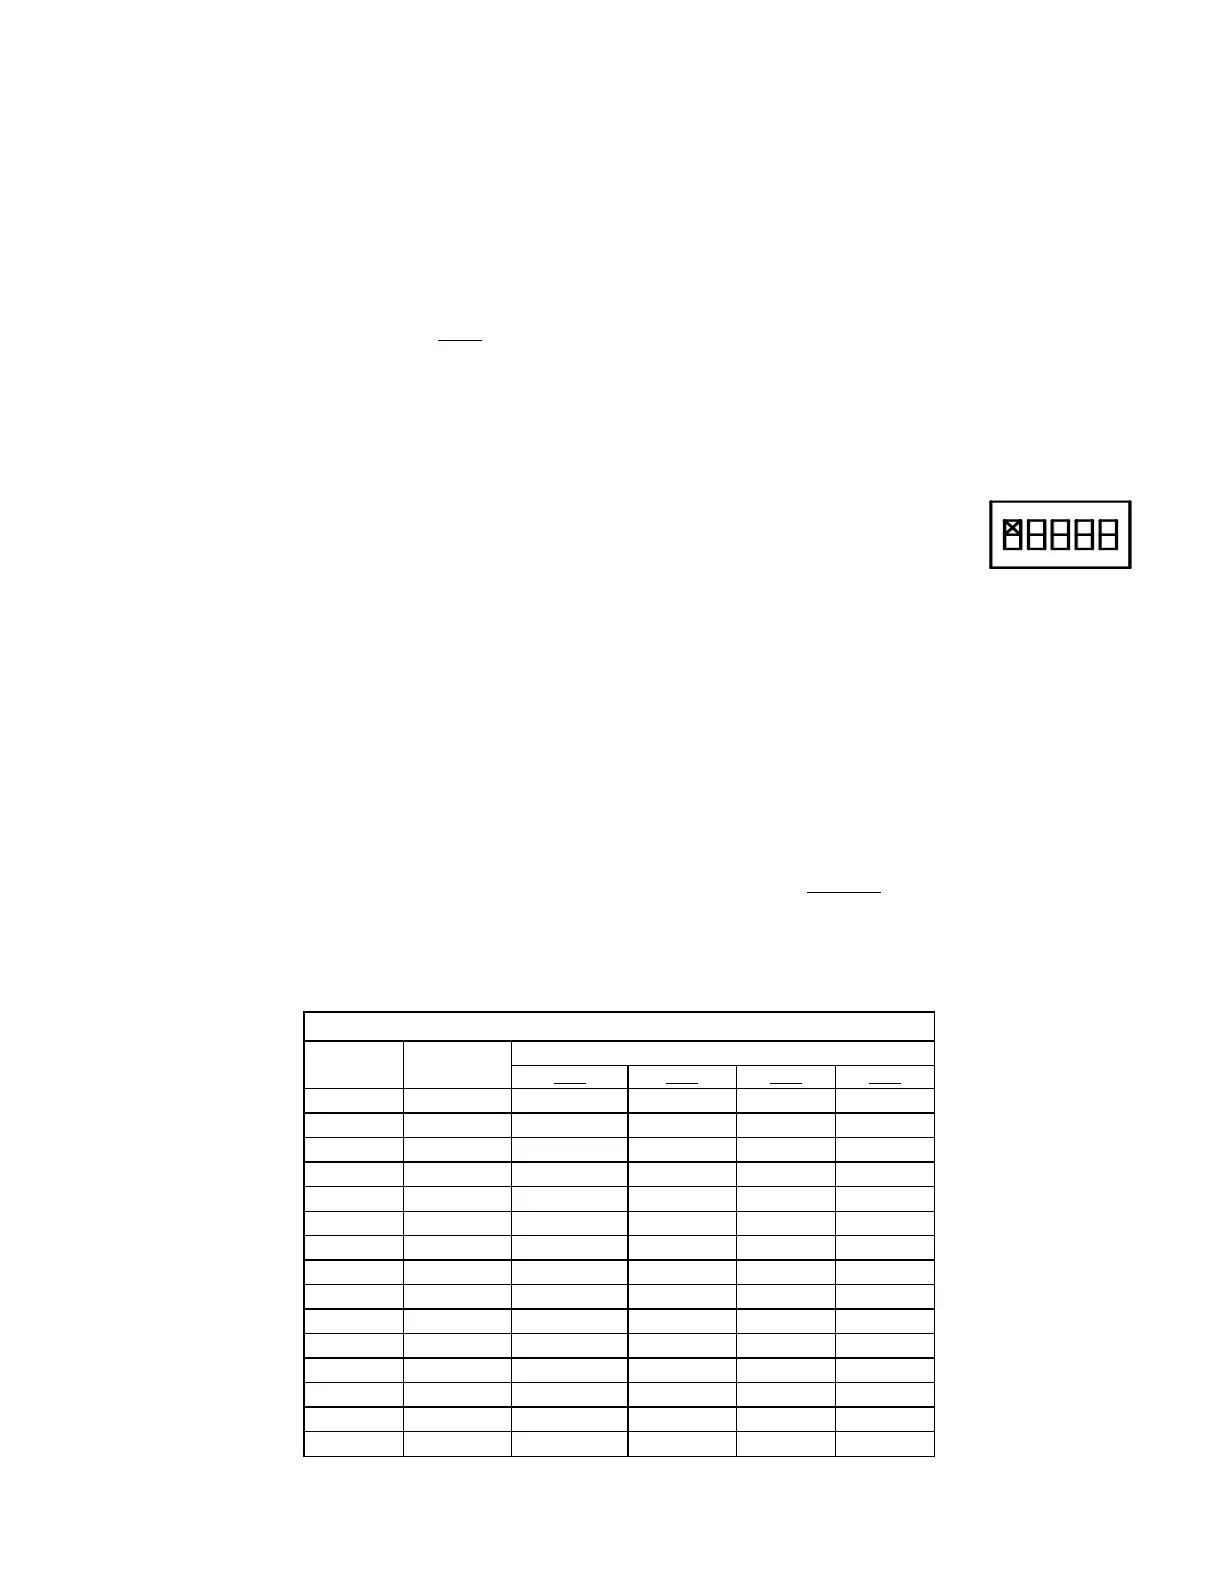
IMPORTANT: Please note the original switch settings before starting this procedure. You will need to
return the switches to this original setting to assure proper operation after making any changes. As a
convenience, you can enter these original settings in the diagram to the right by simply
marking an “X” for UP or DOWN on each switch.
1. Activate the Error Timeout programming mode by setting: Switch 1–ON;
Switch 2-OFF; Switch 3-OFF; Switch 4-ON; Switch 5-ON
2. Press the red selection button one time.
3. Advance to the Error Timeout selection step by setting; Switch 1-ON; Switch 2-OFF; Switch
3-OFF; Switch 4 –OFF; Switch 5-OFF
4. Press the red selection button one time.
5. Now set switches to desired setting Choice numbers 1 through 15 as per the cart below.
Example: Set switches to match Choice 5 if you want the Error Timeout feature set to 20
minutes. Once you’ve made your selection, press the red selection button one time.
6. End the programming sequence by resetting the switch to their original settings, and then press
the red selection button one time to put the machine back into service.
Note: Error Timeout will only reset the machine from a Fast Vend or “Stringing” error. Choosing 0
minutes will deactivate this automatic reset feature.