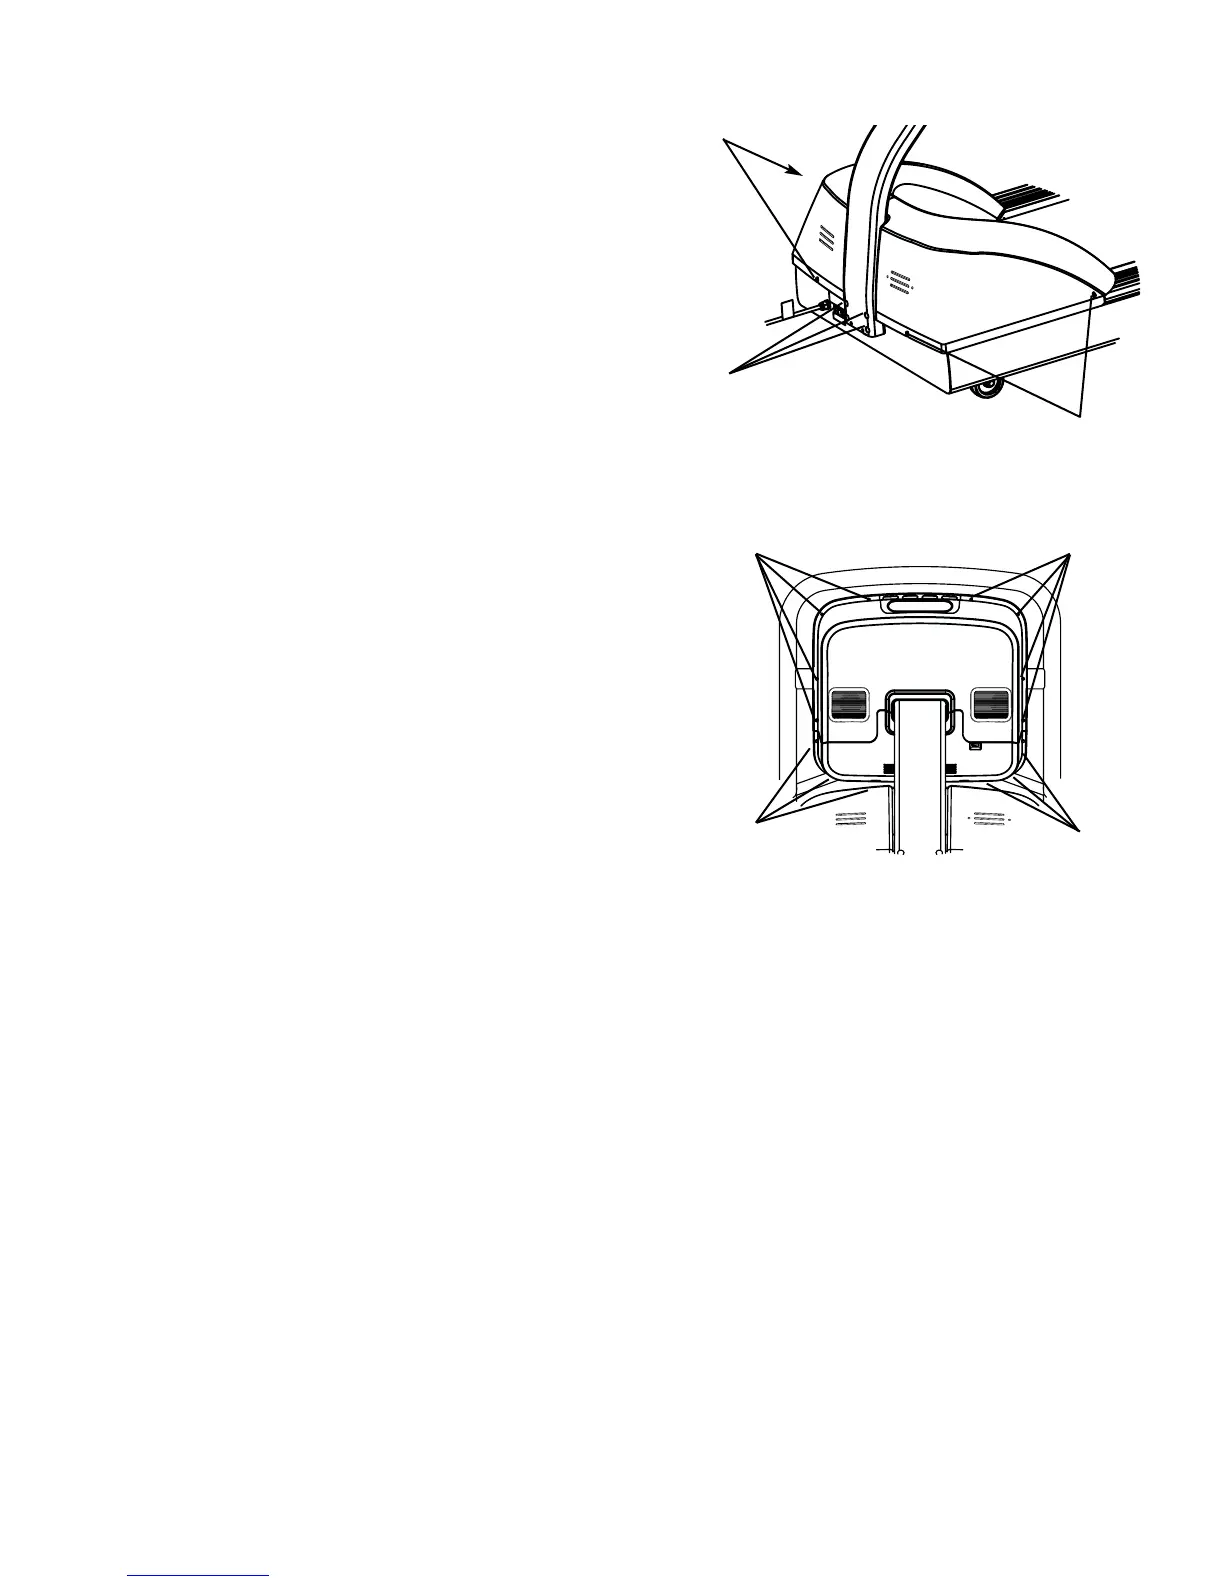
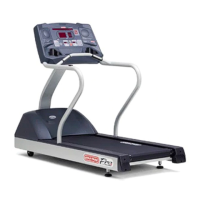
7. Final Assembly
Re-install the shroud over the motor compartment, install the (4) 10-
24 Machine Screws that were saved from earlier. Insert the (4) plas-
tic caps in the lower neck.
Install the bottom of the display using the (6) M4 x0.7 x 19mm long
Phillips head screws. Next install the back of the display with (8) of
the same screws.
Securely tighten all hardware installed during assembly.
NOTE: Perform a visual inspection, and test the features and functions of the unit, prior to use.
You have now completed the assembly of your STAR TRAC E SERIES TREADMILL.
STAR TRAC E SERIES TREADMILL OWNER’S MANUAL
15
Plastic Caps
10-24 Machine
Screws
10-24 Machine
Screws
M4 x 0.7
Screws
M4 x 0.7
Screws
M4 x 0.7
Screws
M4 x 0.7
Screws