4 / 8
2
3
1
5
4 x Ø6,5
Ø54
61
±0,2
61
±0,2
4
Erforderliches Werkzeug Tools required
(ill. 1)
Drehmomentschlüssel SW30, 52N m
(ill. 1)
Torque wrench 30mm A/F, 52N m
(ill. 2)
Gabelschlüssel:
- SW10
- SW30
(ill. 2)
Open-end spanner:
- 10mm A/F
- 30mm A/F
(ill. 3)
Kreuzschraubendreher Phillips,
Grösse 0 (wird für die Montage des
Mikroschalters benötigt)�
Drehmomentschraubenzieher 4N m, Bit
Phillips Gr� 3
(ill. 3)
Cross-head screwdriver size 0 (required
for micro-switch assembly)�
Torque screwdriver 4N m, Phillips bit,
size 3�
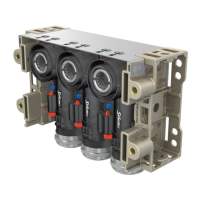
Steckverbindermontage an
Fronttafel
Connector assembly in front
panel
(ill. 4)
Fronttafel gemäß Bohrplan bohren�
(ill. 4)
Drill front panel according to drilling
plan�
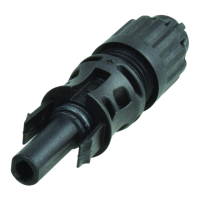
(ill. 5)
Falls verwendet, den Farbring FR21 auf
ID/S��� aufkleben�
(ill. 5)
If used, stick the coloured ring FR21 on
ID/S���
Farbring
Coloured ring
Achtung
Vor dem Kleben:
1� Oberfläche reinigen (trocken, sauber und frei von Formtrenn-
mittelrückständen)�
2� Zum Entfernen von Staub, Fett oder Öl, folgenden Lösungs-
mittel verwenden:
- Heptan (kein Aceton)
Einwirkzeit unter 5 Minuten (nie eintauchen)�
- Scotch (3M) Untergrundreiniger S-151 (70% Isopropylalko-
hol und 30% destilliertes Wasser)�
3� Oberfläche trocknen�
Attention
Before bonding:
1� Clean the surface (dry, firm and free from moulding part-
ing-agent residues)�
2� For the removal of dust, grease or oil we recommend the
following solvents:
- Heptane (no acetone) (do not immerse)� Cleaning eective
for up to 5 minutes�
- Scotch (3M) surface cleanser S-151 (70% isopropyl alcohol
and 30% distilled water)�
3� Dry the surface�

 Loading...