8 / 12
13
15
14
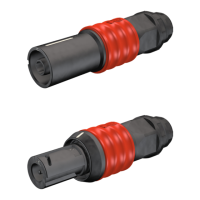
Montageprüfung Assembly check
(ill. 13)
Angecrimpten Kontakt von hinten in die
Isolation bis zum Einrasten einführen�
Es ertönt ein „Klick“-Geräusch, sobald
dieser vollständig eingeführt ist�
Durch leichtes Ziehen an der Leitung
prüfen, ob das Metallteil richtig einge-
rastet ist�
(ill. 13)
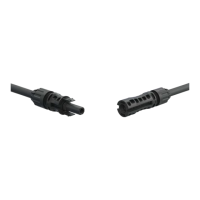
Insert the crimped contact into the
insulator of the male or female coupler
until engaged�
You will typically hear a “click” noise
once fully engaged�
Pull gently the cable to verify that the
metal part is correctly engaged�
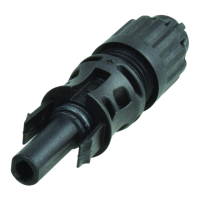
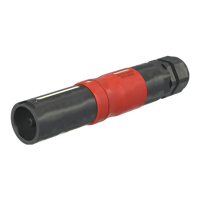
(ill. 14)
Prüfstift mit der entsprechenden Seite
bis zum Anschlag in die Buchse bzw� in
den Stecker stecken�
Bei richtig montiertem Kontakt muss
die weiße Markierung am Prüfstift noch
sichtbar sein�
(ill. 14)
Insert the appropriate end of the test pin
into the male or female coupler as far as
it will go�
If the contact is assembled properly the
white mark on the test pin must still be
visible�
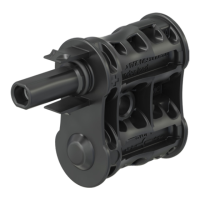
(ill. 15)
Leitungsverschraubung mit dem
PV-WZ-Torque-Set anziehen und mit
dem PV-MS-PLS den Steckverbinder
kontern�
(ill. 15)
Tighten cable gland using
PV-WZ-Torque-Set while supporting the
insulator front with the
PV-MS-PLS�
Hinweis:
Das wirksame Anzugsdrehmoment
muss auf die für die Anwendung
ausgewählte Solarleitung abgestimmt
werden� Siehe Tab� 3�
Note:
The acting tightening torque must
be adapted to the solar cables used
in each specific case�
See Tab 3�
Hinweis:
Es wird empfohlen den eingesetz-
ten Drehmomentschlüssel vor Monta-
gebeginn zu kalibrieren�
Note:
It is recommended to calibrate
the torque wrench in advance of any
assembly operation�
Leitungsdurchmesser
Cable diameters
Anzugsdrehmoment
Tightening torque
AWG mm
2
N m
14 2.5 4.5
12 4 4.0
10 6 3.5
8 10 4.0
Tab. 3

 Loading...