CI2 Operation Manual 19
Try it out
English
Try it out
This section provides information on how to record and edit with Cubase. While going through this
section you might find it useful to also refer to the “Controls and Functions” section, as well as the
PDF documentation supplied with Cubase AI (Getting Started and Operation Manual, opened from
the “Help” menu).
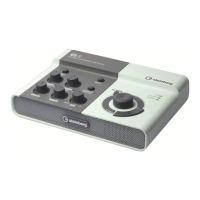
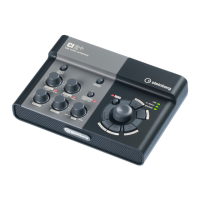
Preparing for using the CI2
with Cubase
You can make the configuration as follows.
1. Exit Cubase if it has already been
started.
Cubase cannot recognize the CI2 if you con-
nect the CI2 to the computer after starting
Cubase. Make sure to start Cubase only after
connecting the CI2 to the computer.
2. Connect the CI2 to the computer by us-
ing a USB cable.
(Windows only) Make sure to use the same USB ter-
minal as the one used in the installation procedure
when you connect the CI2 to the computer again. If
you connect the USB cable to a different terminal, you
will have to install the Yamaha Steinberg USB Driver
again.
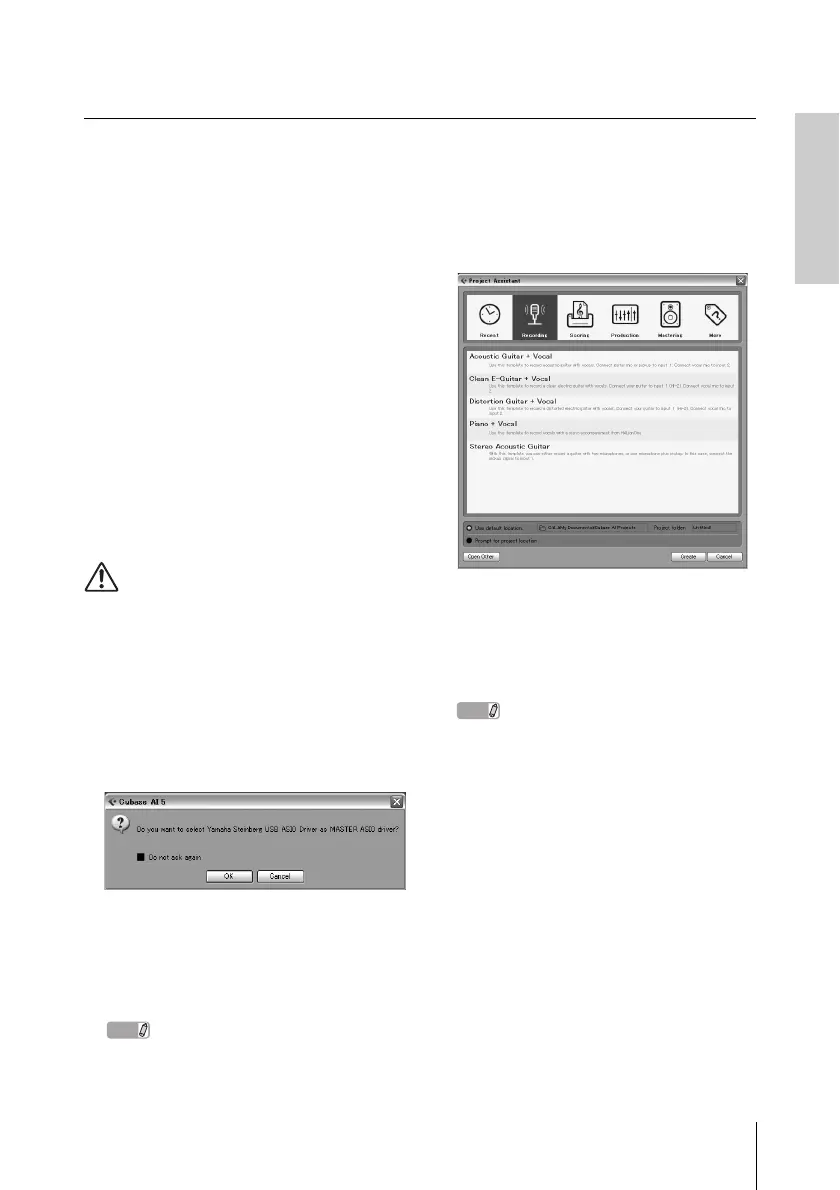
3. Start Cubase on your computer.
If the following dialog box is displayed while
Cubase is starting, click [OK].
4. When the Project Assistant window is
displayed, move the cursor to “Record-
ing” by turning the AI KNOB, then press
the [Action Pad] button.
Pressing the [Action Pad] button moves the focus
which can be operated by the AI KNOB to the next
column or pane.
5. Move the cursor to the desired project
template by turning the AI KNOB, then
press the AI KNOB.
A project window will appear.
NOTE
• If you selected the “Prompt for project location”
in the Project Assistant window, the “Set Project
Folder” window will appear. Select a project
folder by using the mouse, then click [OK].
• The AI READY indicator on the front panel
lights, indicating that the computer recognizes
the CI2 and the Link functions between the CI2
and Cubase are available.
Preparation for using the CI2 with Cubase is
now complete.