Try Recording
Getting Started
23
ENGLISH
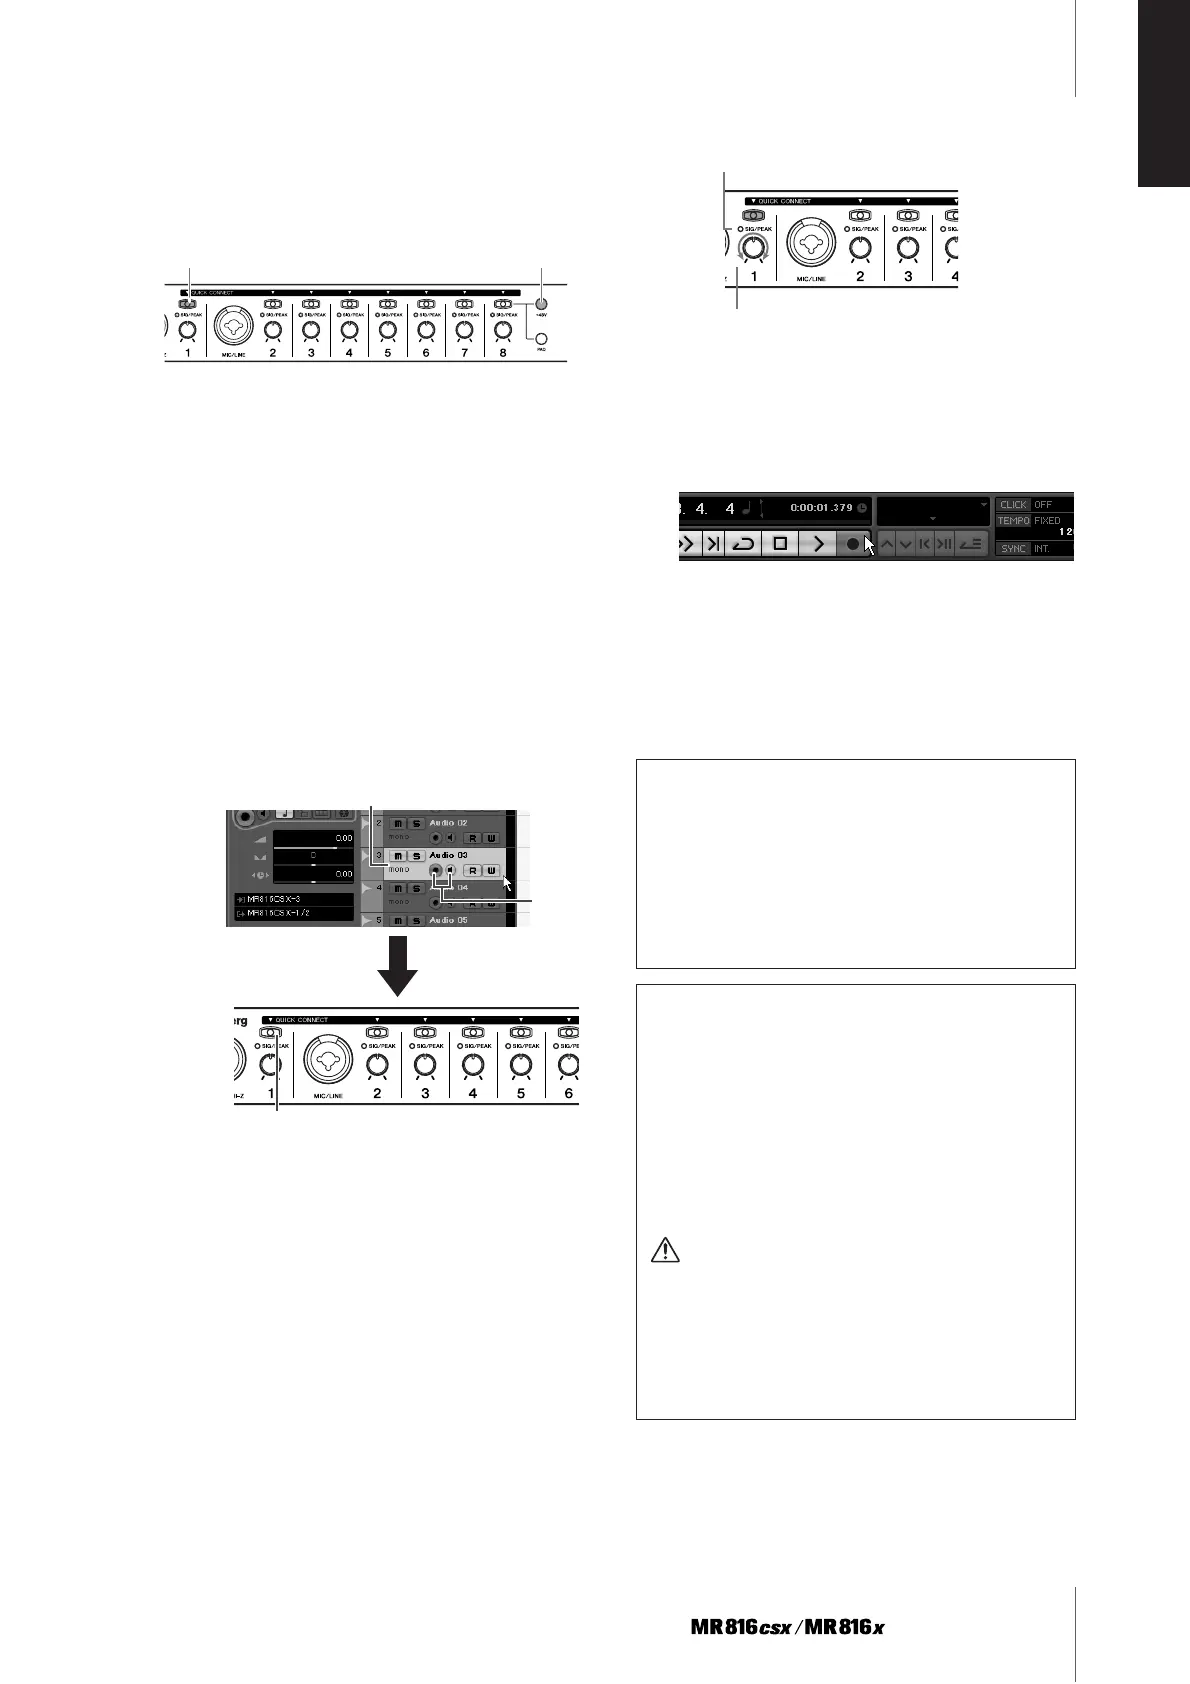
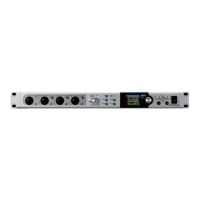
8 Connect the microphone to MIC/LINE/HI-Z jack 1.
When using a phantom-powered condenser micro-
phone, turn on the phantom power of the MIC/LINE/
HI-Z jack 1 via the following instructions.
Press the [QUICK CONNECT] button 1 while hold-
ing down the [+48V] button. The lamps of the
[+48V] button and [QUICK CONNECT] button 1 will
light, indicating that the phantom power of the MIC/
LINE/HI-Z jack 1 is turned on.
9 If you want to change the recording track for the
MIC/LINE/HI-Z jack already set via the selected
template, select the mono audio track to be
record in the project window on Cubase, then
click the [QUICK CONNECT] 1 button of the
MR816 CSX/MR816 X.
The lamp of the [QUICK CONNECT] button 1
flashes for a while then the input channel corre-
sponding to the MIC/LINE/HI-Z jack is assigned to
the newly selected audio track. Turn on the Record
Enable button and Monitoring button of Cubase so
that you can monitor the sound being recorded.
10 Turn the gain knob 1 to adjust the input sensitiv-
ity of the MIC/LINE/HI-Z 1 jack.
You can confirm the input signal level by checking
the [SIG/PEAK] lamp. Adjust the input signal level
by turning the knob so that the [SIG/PEAK] lamp
flashes dimly in red. The input signal level for each
status of the lamp is as follows: Please note that the
following numeric value is a value when the clipping
point is assumed to be 0dB.
11 While playing the instrument or singing into the
microphone, gradually adjust the volume of the
master output and headphones.
12 Click the Record button in the Transport panel to
start recording.
When you have finished recording, click the Stop
button. If necessary, return to the beginning of the
project, then press the Play button to listen to the
recording.
Likewise, record your musical performance to the dif-
ferent track.
When the lamp is off: The input signal level is
less than -40 dB.
When the lamp lights in green: The input signal level is
-40dB to -3dB.
When the lamp lights in red: The input signal level is
-3dB or more.
Turn phantom power on/off
[+48] button
Click the [QUICK CONNECT] button
On
Select the mono audio track.
Cubase Link function
By installing the TOOLS for MR, you can use various
functions linked between the MR816 CSX/MR816 X
and Cubase 4.5 and Cubase AI 4.5, etc.. For more
information on the Cubase Link functions, please refer
to the Operation Manual (PDF file) or visit the following
URL:
http://service.steinberg.de/goto.nsf/show/
supportupdates_mr816_gb
Restoring the Factory-programmed Settings (Fac-
tory Set)
You can reset all the settings of the MR816 CSX/
MR816 X to the initial factory-programmed one by turn-
ing the power on (pressing the [STANDBY/ON] switch
to the ON position) while holding the multi function
encoder knob and [PAD] button. While the operation is
being performed, all the lamps of the MR816 CSX/
MR816 X will flash. When the flashing stops, the opera-
tion is completed and the MR816 CSX/MR816 X starts
normally with the factory settings.
CAUTION
•Never attempt to turn off the power while factory settings
are being written to internal memory.
Tur ning the power off in this state results in loss of all
user data and may cause the system to freeze (due to
corruption of data in the internal memory). This means
that MR816 CSX/MR816 X may not be able to operate
properly, even when turning the power on next time.
Flashes dimly in red.
Turn the knob to adjust the gain.