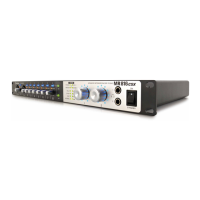
Try Recording
22 Getting Started
Try Recording
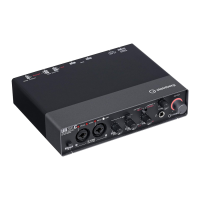
Once you’ve successfully installed the device (following the instructions on page 12), you can quickly and easily record
your musical performances through simple operations on the DAW software. Here, you’ll connect a microphone to the MIC/
LINE/HI-Z jack then record your vocal performance to a mono track in Cubase.
IMPORTANT!
•You must have a version of Cubase or Cubase AI later than 4.5 in order to use the Link function. For information about Cubase ver-
sions that are compatible with the Link function, check the web site below.
http://service.steinberg.de/goto.nsf/show/supportupdates_mr816_gb
NOTE
· For more information on recording using the MR816 CSX/MR816 X and Cubase as well as details about the buttons and knobs of the
MR816 CSX/MR816 X, refer to the Operation Manual (PDF file).
· For details about Cubase, refer to the Operation Manual of Cubase.
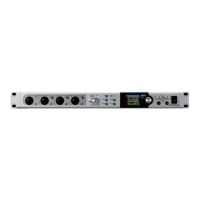
1 Connect a computer to the MR816 CSX/MR816 X
using an IEEE1394 cable, then start the com-
puter.
2 Turn on the power of the MR816 CSX/MR816 X.
Wait until the Word Clock Source lamps and Sample
Rate lamps of the MR816 CSX/MR816 X flash in
order then stop.
3 After the lamp flashing is completed, launch
Cubase.
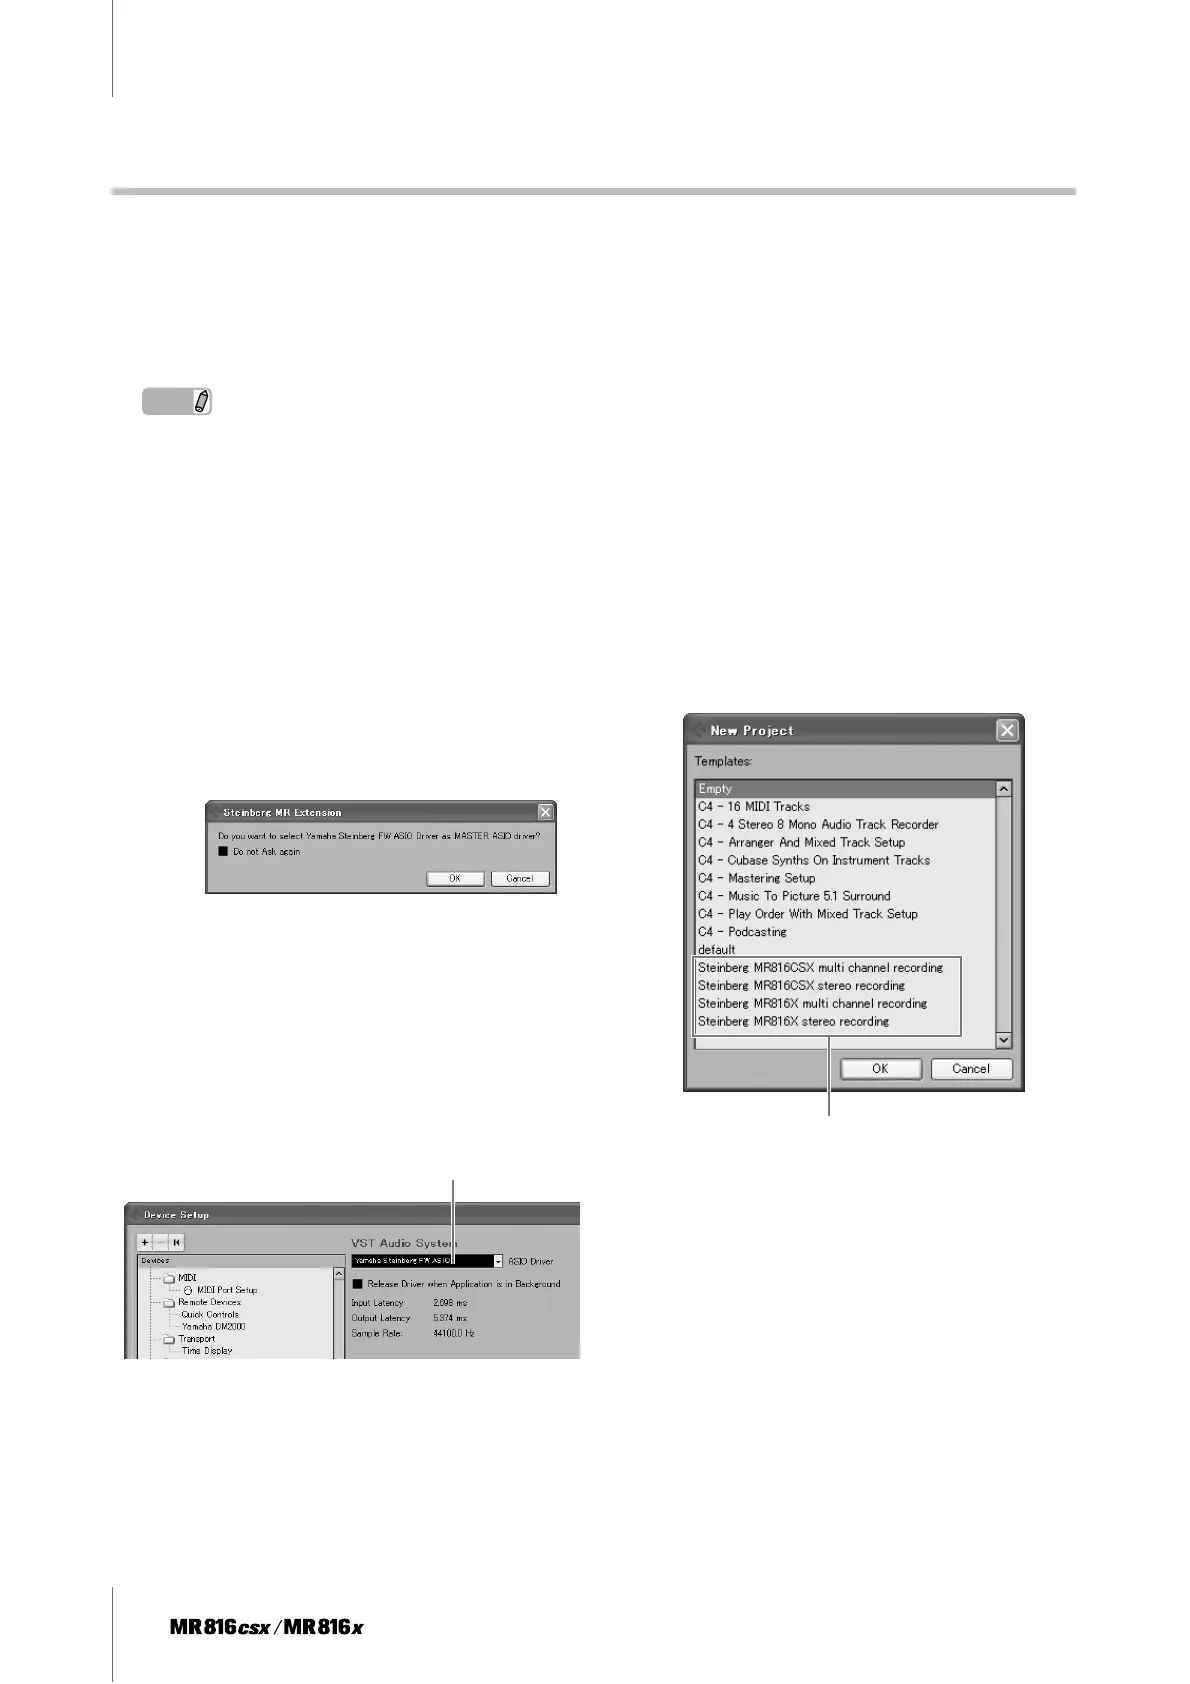
If the Steinberg MR Extension dialog box is dis-
played while Cubase is starting, click [OK].
4 Select [Device Setup] from the [Device] menu to
open the Device Setup window.
Select [VST Audio System] in the [Device] field,
and check that “Yamaha Steinberg FW ASIO” or
“Yamaha Steinberg FW” has been selected in
“ASIO driver” field.
After you have verified this, click [OK] to close the
dialog box. Now the MR816 CSX/MR816 X can be
used on Cubase.
5 Select [New Project] from the [File] menu.
The new project dialog window will open and the
project templates for the MR816 CSX/MR816 X will
be displayed. Selecting one of these project tem-
plates will create a project in which the input/output
routing of audio tracks has already been set.
Here, select “Steinberg MR816CSX multi channel
recording” or “Steinberg MR816X multi channel
recording.”
6 Select the template, then click [OK].
7 When the directory selection dialog appears,
select the destination, then click [OK].
Selecting “Steinberg MR816CSX multi channel
recording” or “Steinberg MR816X multi channel
recording” will create audio tracks 1 – 8 on Cubase.
To the audio input/output routing for each track, the
input channel (input jack) of the MR816 CSX/
MR816 X will be assigned then the corresponding
[QUICK CONNECT] lamps will light.
Confirm that “Yamaha Steinberg FW ASIO”/
“Yamaha Steinberg FW” are selected.
Project templates for the
MR816 CSX/MR816 X