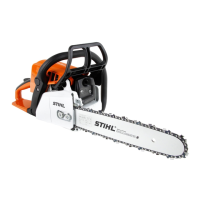
How to fix Stihl MS 261 engine that does not start?
J
Jason GarrettAug 1, 2025
If your Stihl chainsaw engine doesn't start, it could be due to a few reasons. Ensure there is sufficient fuel in the fuel tank by refueling it. Another common cause is a flooded engine. If the engine is flooded, clear the combustion chamber. Also, the carburetor might be iced up. If this is the case, allow the engine to warm up gradually to a temperature of about 50 °F (10 °C).
C
Charles JimenezAug 10, 2025
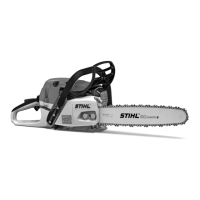
What to do if the Stihl MS 261 chain does not rotate when throttle is opened?
W
wdavisAug 10, 2025
If the chain on your Stihl chainsaw doesn't rotate when you open the throttle, it might be due to a few reasons. First, check if the chain brake is engaged and disengage it. Another potential cause is that the chain is tensioned too tightly; in this case, properly tension the chain. Lastly, the guide bar sprocket could be blocked. If so, spray the guide bar sprocket with resin remover.
K
Kim GutierrezAug 22, 2025
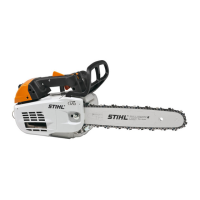
Why does wood smoke or smell burnt during sawing with Stihl MS 261?
M
Michele MorrisAug 22, 2025
If, during sawing, the wood smokes or smells burnt when using your Stihl chainsaw, several factors could be at play. The chain might be dull or improperly sharpened, so properly sharpen the chain. The working technique may be improper, or the saw is being misused, so obtain instruction on proper working technique. Also, there might be insufficient bar and chain oil; in this case, have the chain lubrication mechanism checked by an authorized STIHL servicing dealer.