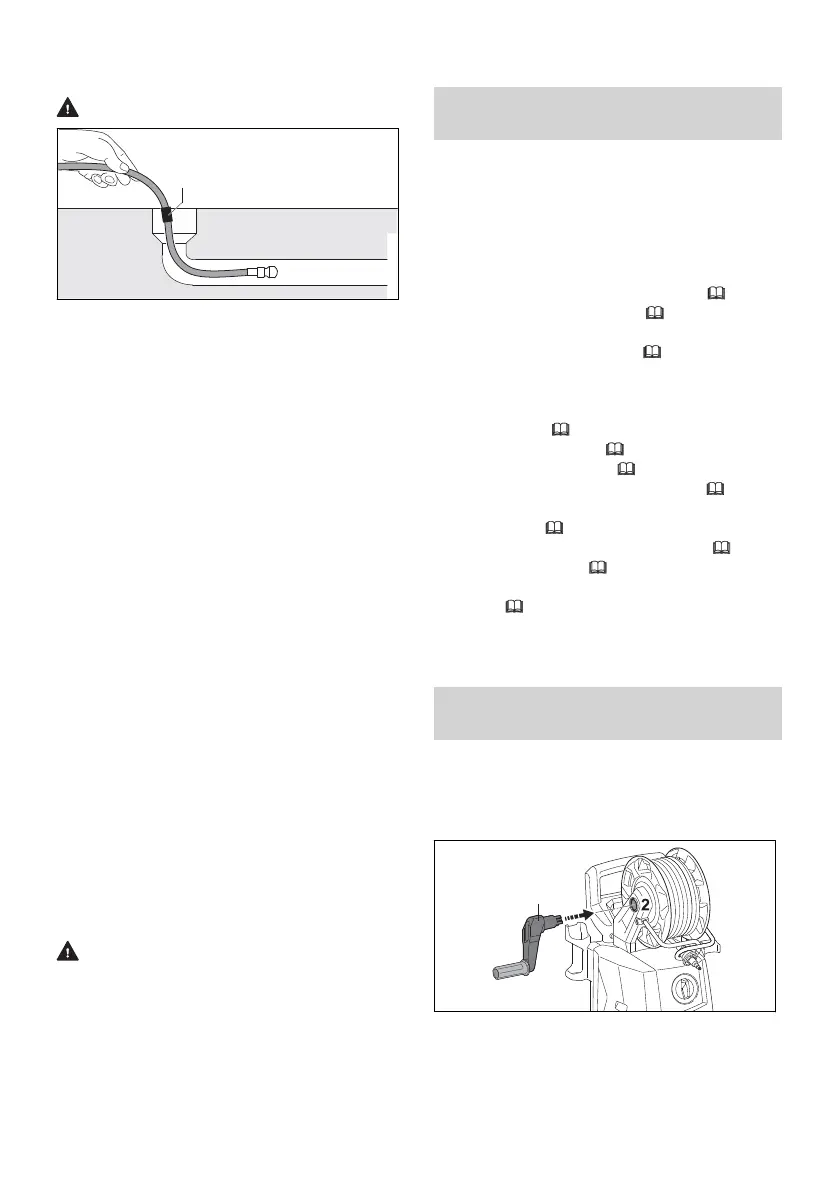
Pipe cleaning kit
WARNING
■
The pipe cleaning hose increases the reaction
forces. If the spray gun lever is pressed and
the pipe cleaning hose is outside the pipe, the
pipe cleaning hose may turn uncontrolled. The
user may lose control of the pipe cleaning
hose. The user may be seriously injured and
property damage may occur.
►
Only switch on the high-pressure cleaner
and press the spray gun lever when the
pipe cleaning hose has been pushed into
the pipe up to the mark (1).
►
When the mark on the pipe cleaning hose is
visible when it is pulled out:
–
Release spray gun trigger
–
Switch off pressure washer
–
Turn off water supply
–
Actuate spray gun: The water pressure
is released
–
Lock spray gun trigger
■
Within a large pipe, the pipe cleaning hose
can change direction and come out of the
opening of the pipe again. The user may lose
control of the pipe cleaning hose. The user
may be seriously injured and property damage
may occur.
►
Watch the pipe.
► If the nozzle comes out of the pipe from the
pipe cleaning hose:
–
Release spray gun trigger
–
Lock spray gun trigger
–
Switch off pressure washer
Angled spray lance and angled nozzle
WARNING
■
An angled spray lance and the angled nozzle
increase the lateral reaction forces. The user
may lose control of the spraying system due to
the reaction forces that occur. The user may
be seriously injured and property damage may
occur.
►
Only attaching a jet pipe extension
► Hold the spray gun with both hands.
► Work as described in this manual.
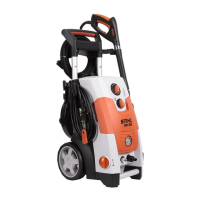
6 Preparing the pressure
washer for operation
6.1 Preparing the pressure washer
for operation
The following steps must be carried out every
time before starting work:
► Make sure that the pressure washer, the high-
pressure hose, the hose coupling and the con‐
necting cord are in a safe condition, 4.6.
►
Clean the pressure washer,
15.
► If using a water filter: Check the water filter for
dirt and clean it if it is dirty, 15.4.
► Place the pressure washer on a firm, level sur‐
face, ensuring that it cannot slip or tip over.
► Unroll the high-pressure hose completely from
the hose reel, 11.2.
►
Attach the spray gun, 7.3.1.
►
Attach the spray lance, 7.4.
►
If using a nozzle: Attach the nozzle, 7.5.1.
► If using detergent: Using detergent and the
spraying set, 11.5.
►
If using an accessory: Fit accessory, 5.1.
►
Connect the water, 8.
► Connect the pressure washer to the power
supply, 9.1.
► If it is not possible to carry out these steps: Do
not use the pressure washer. Consult a STIHL
servicing dealer.
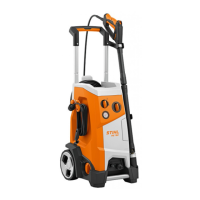
7 Assembling the pressure
washer
7.1 Assembling the pressure
washer
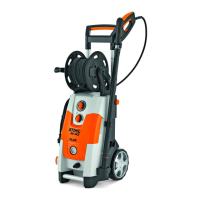
Attaching the crank handle
► Push the crank handle (1) into the recess (2).
The crank handle (1) audibly engages.
6 Preparing the pressure washer for operation English
0458-836-0121-A 11