3
www.sngerelectronics-eu.com
FITTING GUIDE
1. Open the glovebox and you will nd a circular piece of plasc in the rim, pop this out of place and it will reveal a screw that holds one secon of the fascia in
place.
STEREO REMOVAL
4. Undo 4x bolts that hold the radio in place and remove whilst disconnecng all of the wiring.
DASH MODIFICATION
Some plascs will need to be cut and removed from the dashboard to make space for the new car stereo.
Measure where the stereo will sit and take due care when modifying the vehicle. We promote the help of professional installers. We will not be held responsible for any damage to
the vehicle.
3. Once free, use a panel removal tool to pry the main fascia panel o the dashboard, disconnecng the wiring in the process.
2. Proceed to then remove all the visible screws located within the lip of the glovebox that hold the main fascia panel in place.
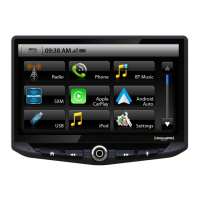
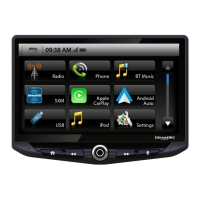
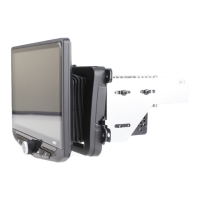
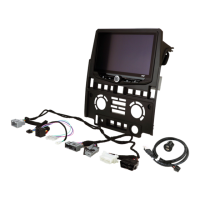
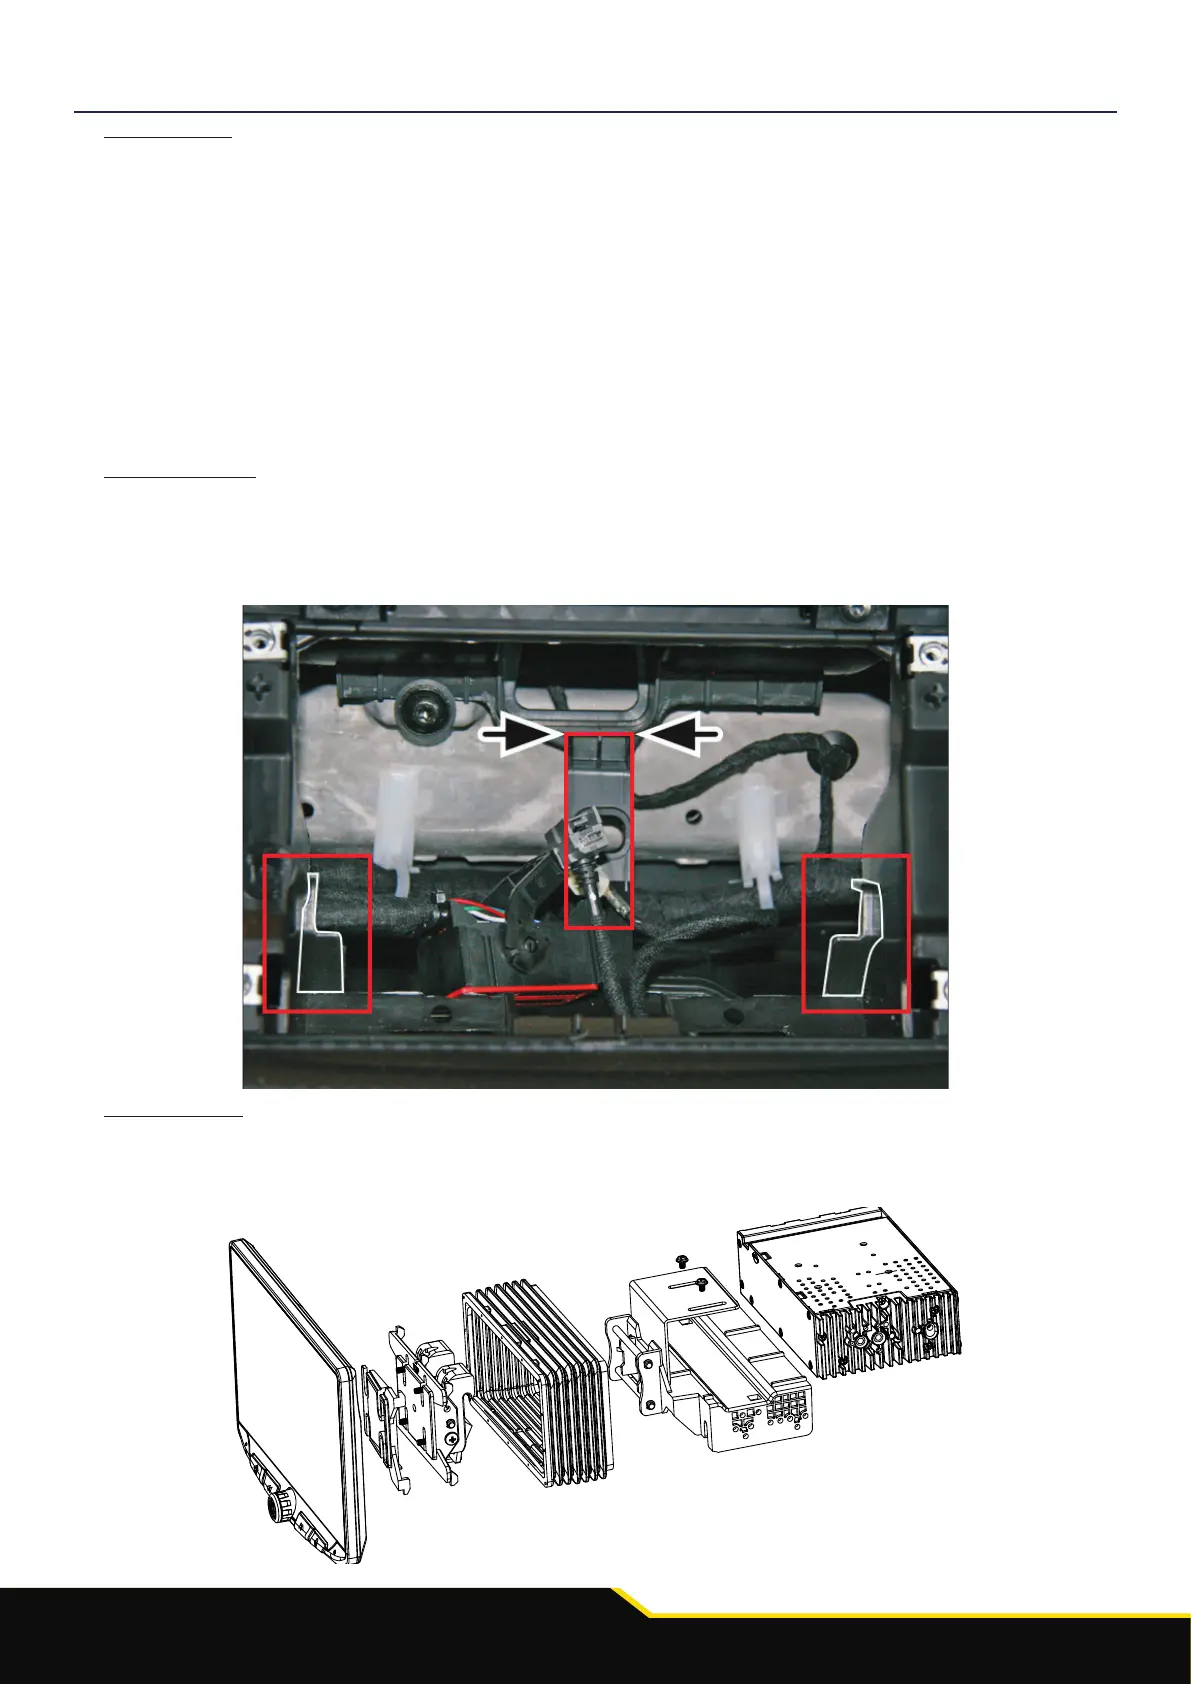
HEIGH10 ASSEMBLY
Take the HEIGH10® components and begin to assemble the core components in accordance with the “Installaon Manual” that comes with unit.