14 1025-009-001 REV E www.stryker.com
BATTERY CHARGING AND OPERATION
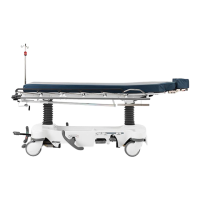
The unit has two 12 volt batteries to provide power to the drive wheel. The drive wheel will not operate properly if the
batteries are not sufficiently charged. The batteries require approximately 6 hours of charging time when they are fully
discharged.
The batteries are charging whenever the power cord is plugged into a properly grounded, hospital grade power source.
When the unit is stationary, the power cord should be plugged into a power source whenever possible.
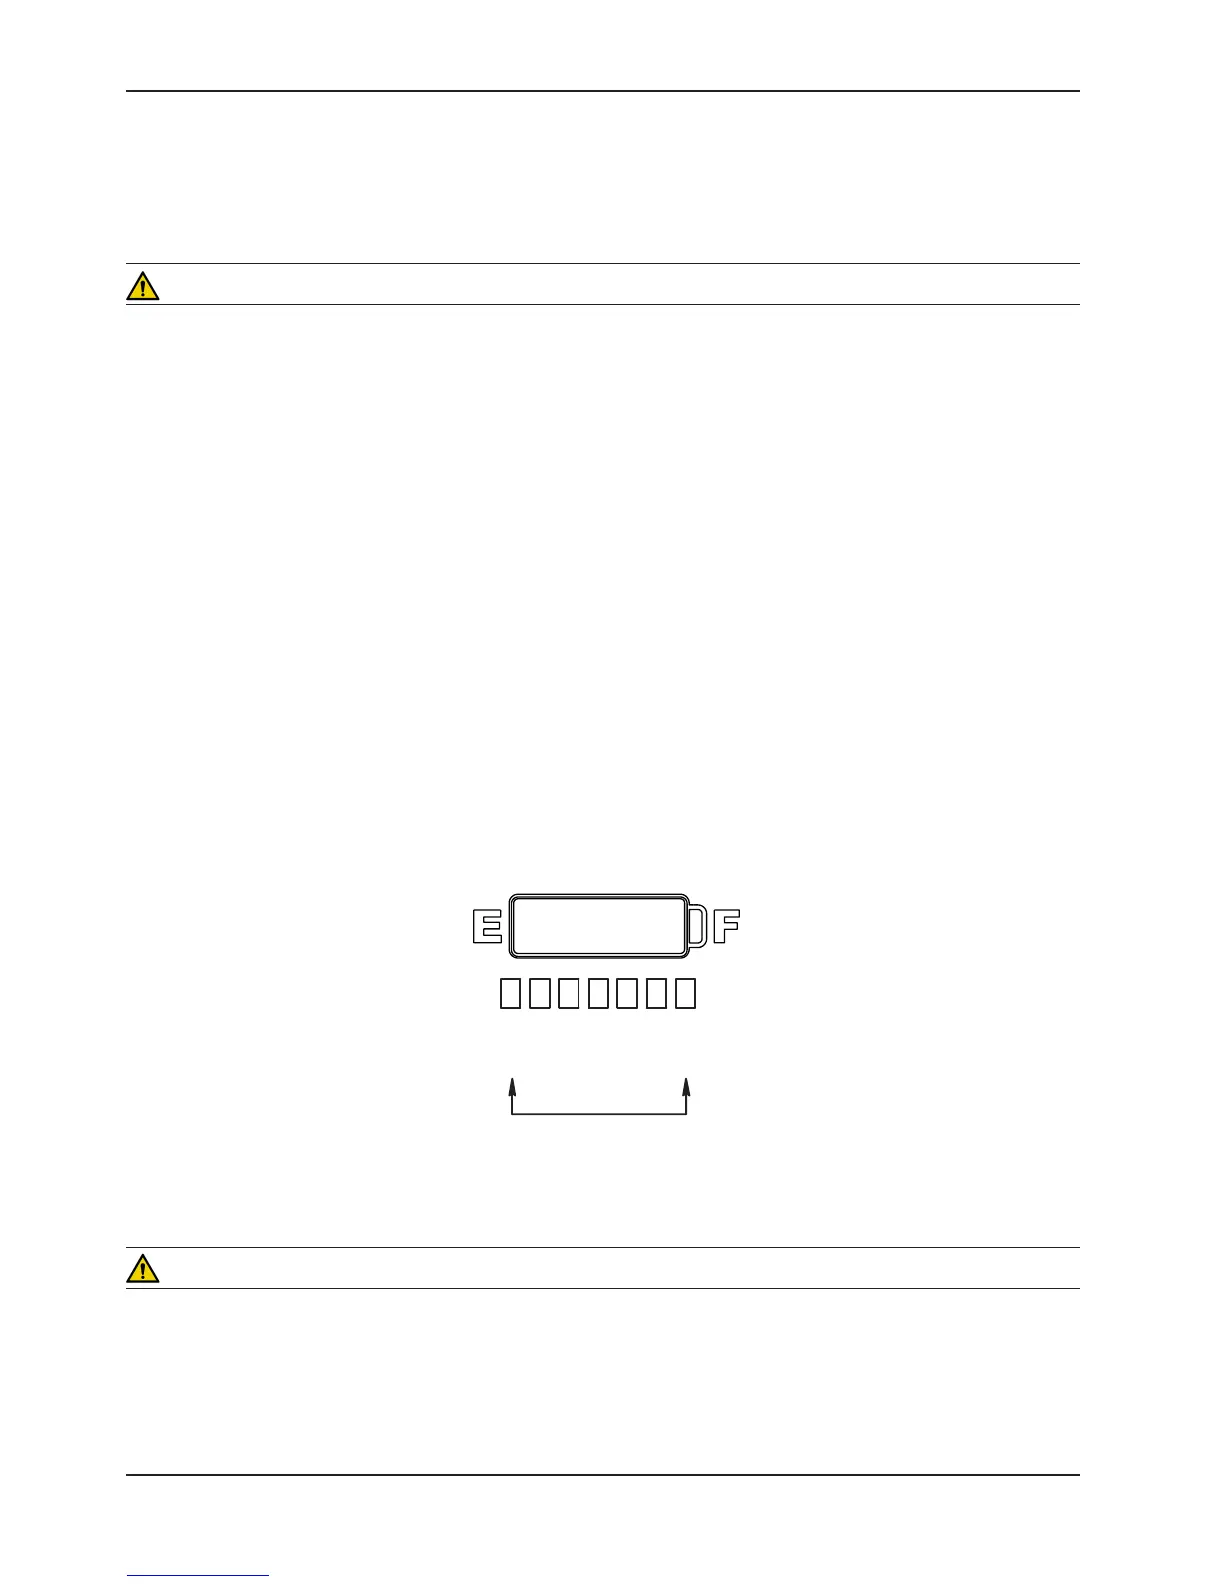
There is a battery power gauge at the head end of the litter (see Figure 2). The 7 LED’s illuminate individually to indicate
the level of battery power available. As the batteries are charging, the LED’s will flash in succession until all are flashing
(at 1 second intervals) to indicate the batteries are fully charged.
CAUTION
Remove the batteries if the equipment is placed in storage or will remain idle for an extended period of time. Each
battery weighs 25 pounds. To avoid personal injury, use caution when removing the two batteries.
Battery posts, terminals and related accessories contain lead and lead compounds, chemicals known to the State of
California to cause cancer and birth defects or other reproductive harm. Wash hands after handling. Properly dispose
of batteries when required.
No
Charge
Fully
Charged
BATTERY POWER GAUGE
Return To Table of Contents
Stretcher Operation
APPLYING THE BRAKE SYSTEM
Note
For user convenience, the brake/steer pedal is located on both the head end and foot end of the stretcher.
WARNING
Always apply the caster brakes when a patient is getting on or off the stretcher. Push on the stretcher to ensure the
brakes are securely locked. Always engage the brakes unless the stretcher is being moved. Injury could result if the
stretcher moves while a patient is getting on or off the stretcher.
To engage the brakes on the head (non-control) end, push fully down on the left side of pedal (D) (see Figure 1 on
page 12).
To engage the brakes on the foot (control) end, push fully down on the right side of pedal (C) (see Figure 1 on page
12).
Figure 2 - Battery Power Gauge