21
Series GEN 2 Ultrasonic Humidifier IOM Manual
Float Switches
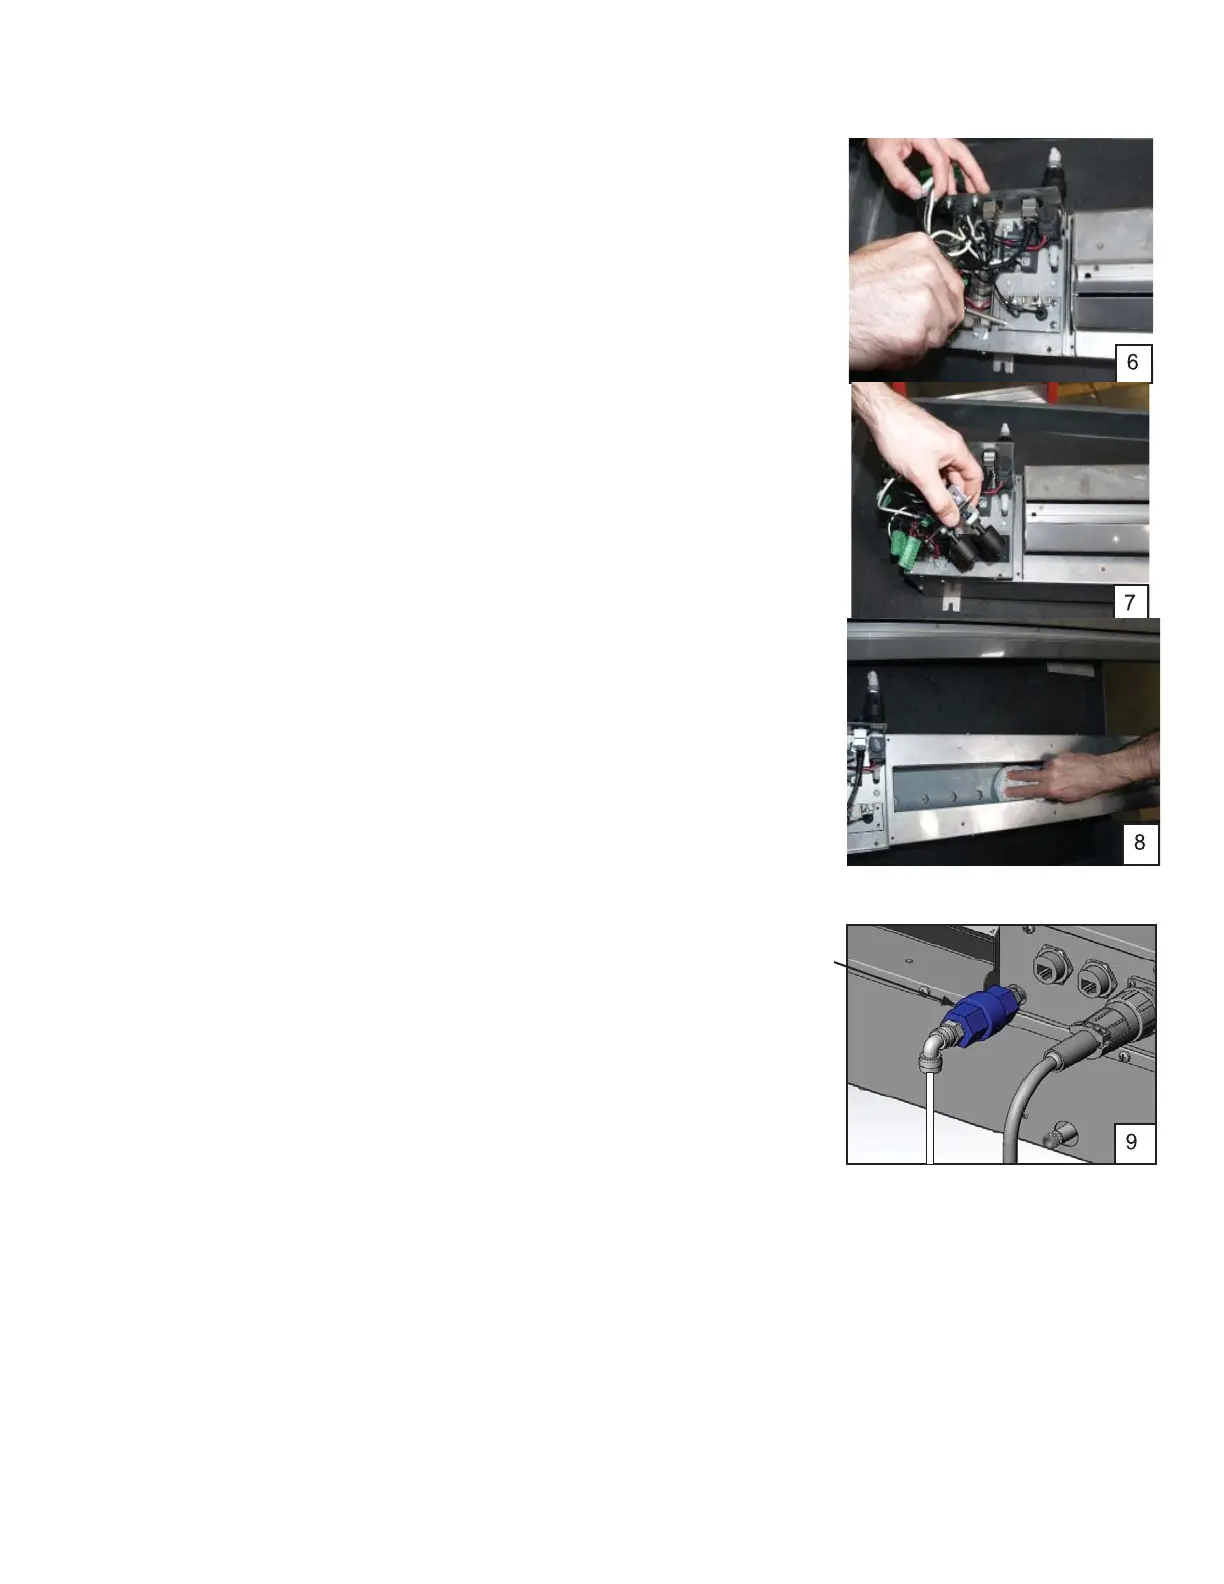
1. Perform steps 1 to 3 in the Electrical Parts section.
2. Loosen and remove the float panel mounting screws (2
pieces, Photo 6).
NOTE: Don’t let the screws drop into the tank
.
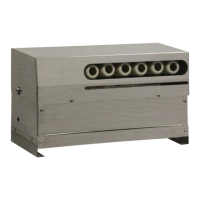
3. Lift the float panel out and turn it over (Photo7).
4. Check for contamination. Manually operate the two float
switches ensuring they raise and lower smoothly. Clean any
build-up from the float switches with a small brush.
NOTE: Be careful not to remove the float portion from the stem
.
5. If no defects are found through the above inspection, re-
assemble by reversing the above procedure.
NOTE: When assembling, do not to pinch the wires between the
sheet metal.
Water Tank
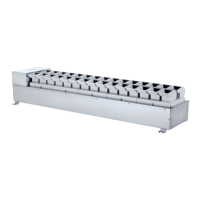
1. Perform steps 1 to 3 in the Electrical Parts section (Photo 1).
2. Check the water tank interior for contamination.
3. Wipe and clean the water tank interior.
4. Clean the surface of the transducers by wiping with a soft,
oil free cleaning cloth (Photo 8).
NOTE: Be careful not to scratch the surface of the transducers.
Water Supply Strainer/Flow Regulator
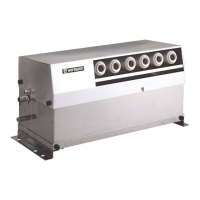
1. Stop the humidifier.
2. Set the control box disconnect switch to Off.
3. Close the water supply valve.
4. Remove the water supply tubing from the 90° inlet fitting
(Image 9).
5. Loosen the strainer/flow regulator assembly and remove it.
6. Inspect the inlet screen and clean with DI water to remove
any debris.
7. Reinstall the strainer/flow regulator and water supply tubing.
Strainer
and Flow
Regulator