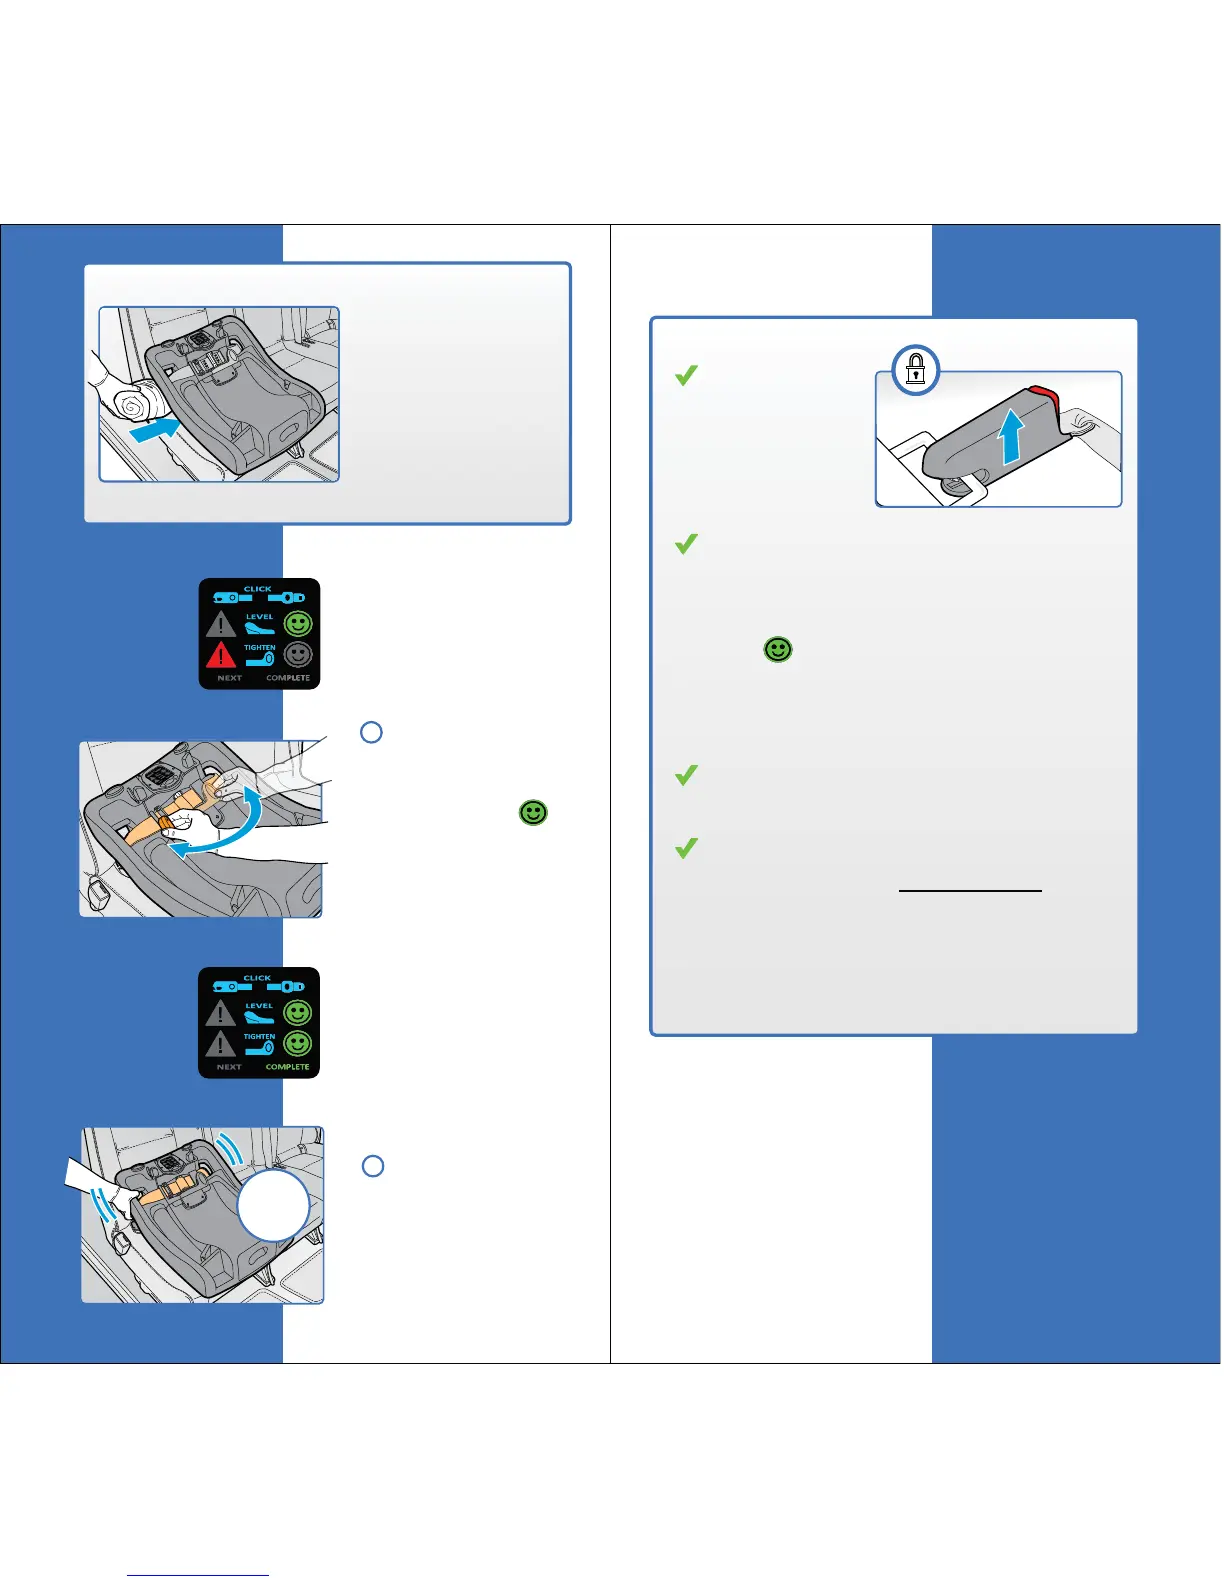
Once the angle is
correct the word
“Tighten” will
automatically light up
on the Smart Screen.
Tighten the installa-
tion by rotating the
Belt Tightning Handle
to the left until a
appears.
The word “Complete”
will light up on the
Smart Screen letting
you know the installa-
tion is complete.
ALWAYS check
for a secure installation.
If the Base moves more
than one inch side-to-
side at the Belt Path,
repeat the above steps.
Base Installation
32
33
Base Installation
rotate!
rotate!
NOTE: If needed, a
pool noodle or a
tightly rolled towel
may be used under
the Recline Adjust-
ment Foot to
correctly adjust the
angle of the base.
The foot MUST be
on the lowest
position (#
1).
7
8
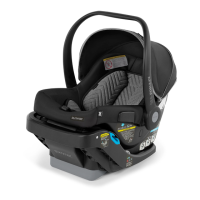
Checklist
Check that the base angle is correct when
parked on a level surface:
1. Check that the Smart Screen shows a
under “Level”, AND
2. Check that the “level to ground” line
on the side of the Base is level to
the ground.
Check that the Base is securely fastened
to the vehicle.
Check that the base cannot move more than
one inch side-to-side at the belt path.
REMEMBER! Use the “TEST” button
on the Control Panel to check your
installation approximately 30 days
from now, or as needed.
Check that the
LATCH connec-
tors are secure,
untwisted, and
in the upright
position.
less
than
1”