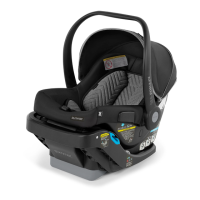
IMPORTANT! The LATCH belt webbing
MUST be removed from Spool BEFORE
installing. If already removed from Spool,
skip to step 2 on page 36.
45
Base Installation
Base Installation
44
Base
Installation
with Lap Belt
Place the Base on
the vehicle seat with
the Control Panel
closest to the
seatback.
1
rotate!
To remove the LATCH
belt from the Spool,
slide the webbing down
and off the short end
of the Spool.
NOTE: You may not
be able to see the
short end of the Spool.
Rotate the Belt
Tightening Handle to
the left until the seat
belt icon on the Spool
is facing up.
Seat belt icon facing up.
remove!
remove!
Spool
Before you begin
s)DENTIFYYOURTYPEOFVEHICLESEATBELTSYSTEMS
and ensure that they are compatible with this
child restraint. Refer to your vehicle owner’s
manual for more information on how to lock
your vehicle seat belt for installation with child
restraints.
It is VERY IMPORTANT that you
know how to LOCK your vehicle seat belt
when installing this child restraint.
s2EADANDUNDERSTANDPAGESOFTHIS
User Guide. Depending on the type of seat
belt system(s) you have in your vehicle, it might
require additional steps or parts to properly
install this child restraint.
s4HISCHILDRESTRAINTISMANUFACTUREDTOBEREADY
to install with LATCH - out of the box. If you
are installing with the vehicle seat belt, please
follow the directions on page 35 to remove
the LATCH webbing.
s2EADANDUNDERSTANDTHEh3ELECTINGA6EHICLE
Seating Position” section on page 18 of
this User Guide.
s#HECKTHATYOUAREPARKEDONALEVELSURFACE
(Refer to fig. 1 on page 28)
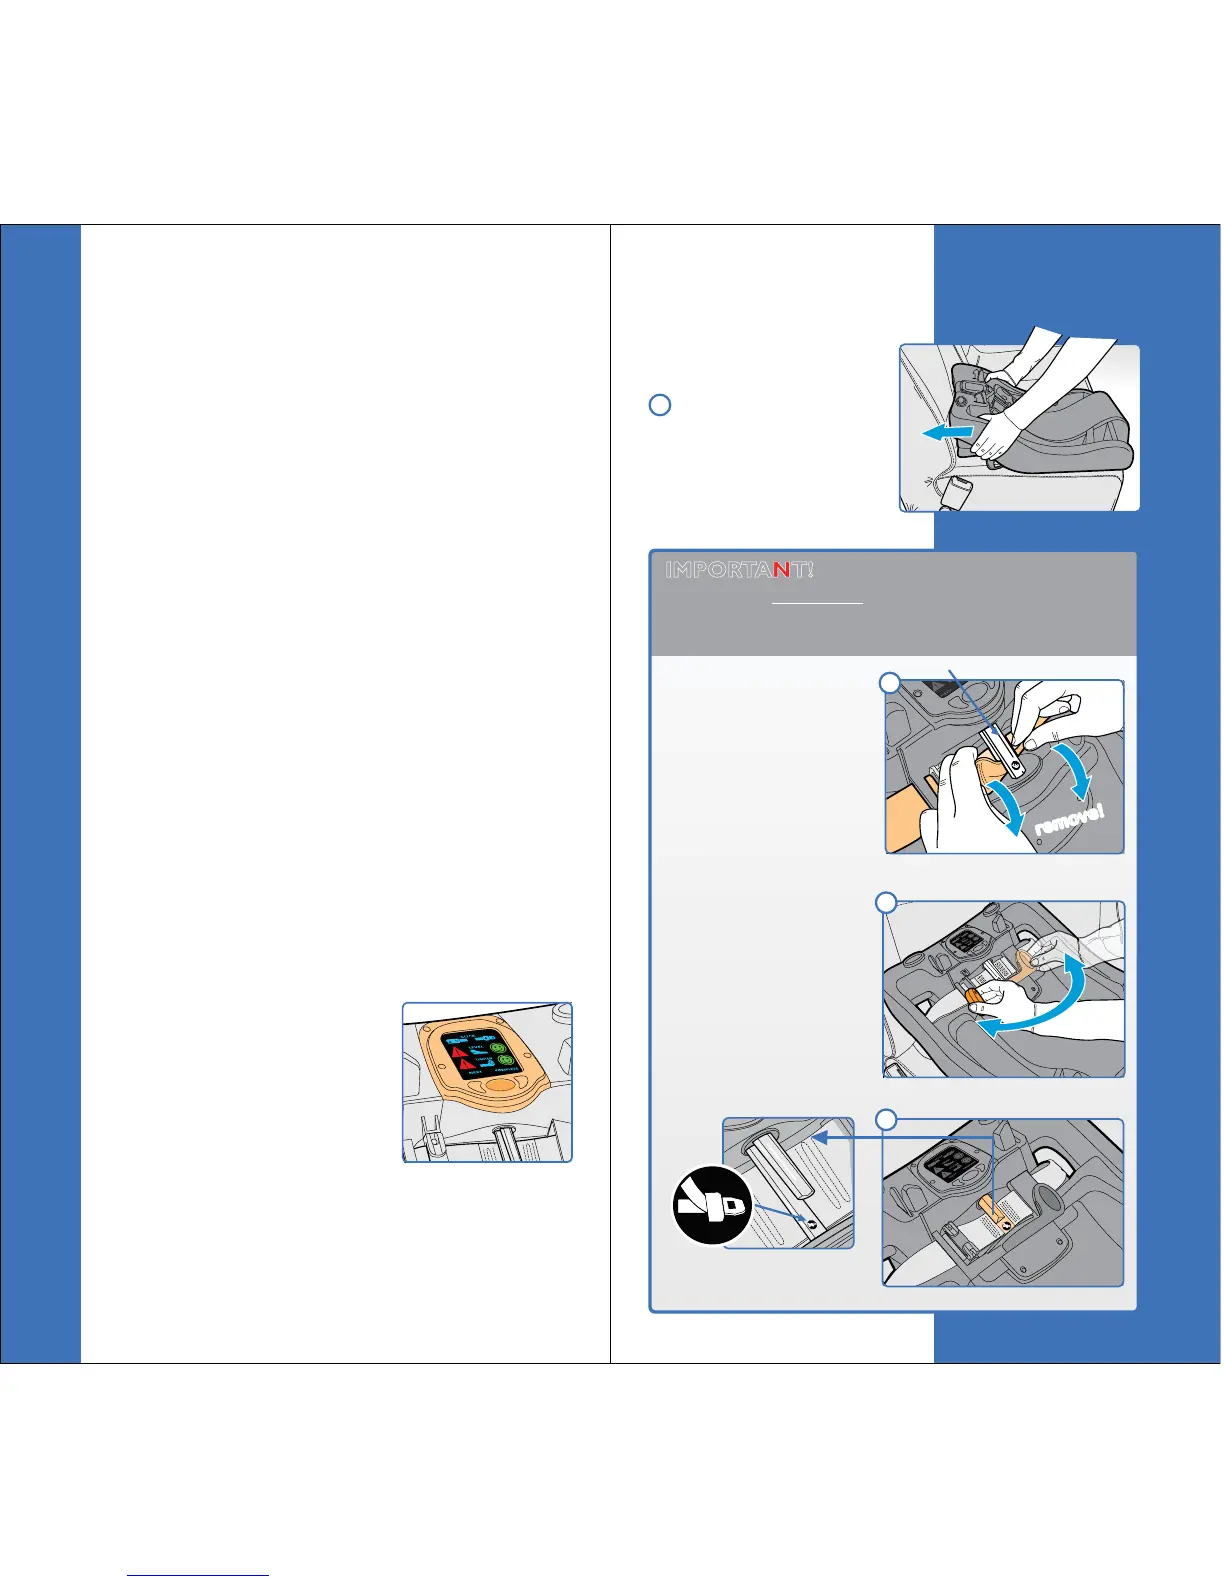
sNOTE: This child restraint
can be installed and used
without the use of the
Control Panel with Smart
Screen. The Smart Screen
is an aid for installation, but is NOT required.
Follow the directions on page 39 step 10.
s IMPORTANT! Install this child
restraint with LATCH OR the vehicle
seat belt. DO NOT USE BOTH.
A
B
C
(Remove Battery Tab)