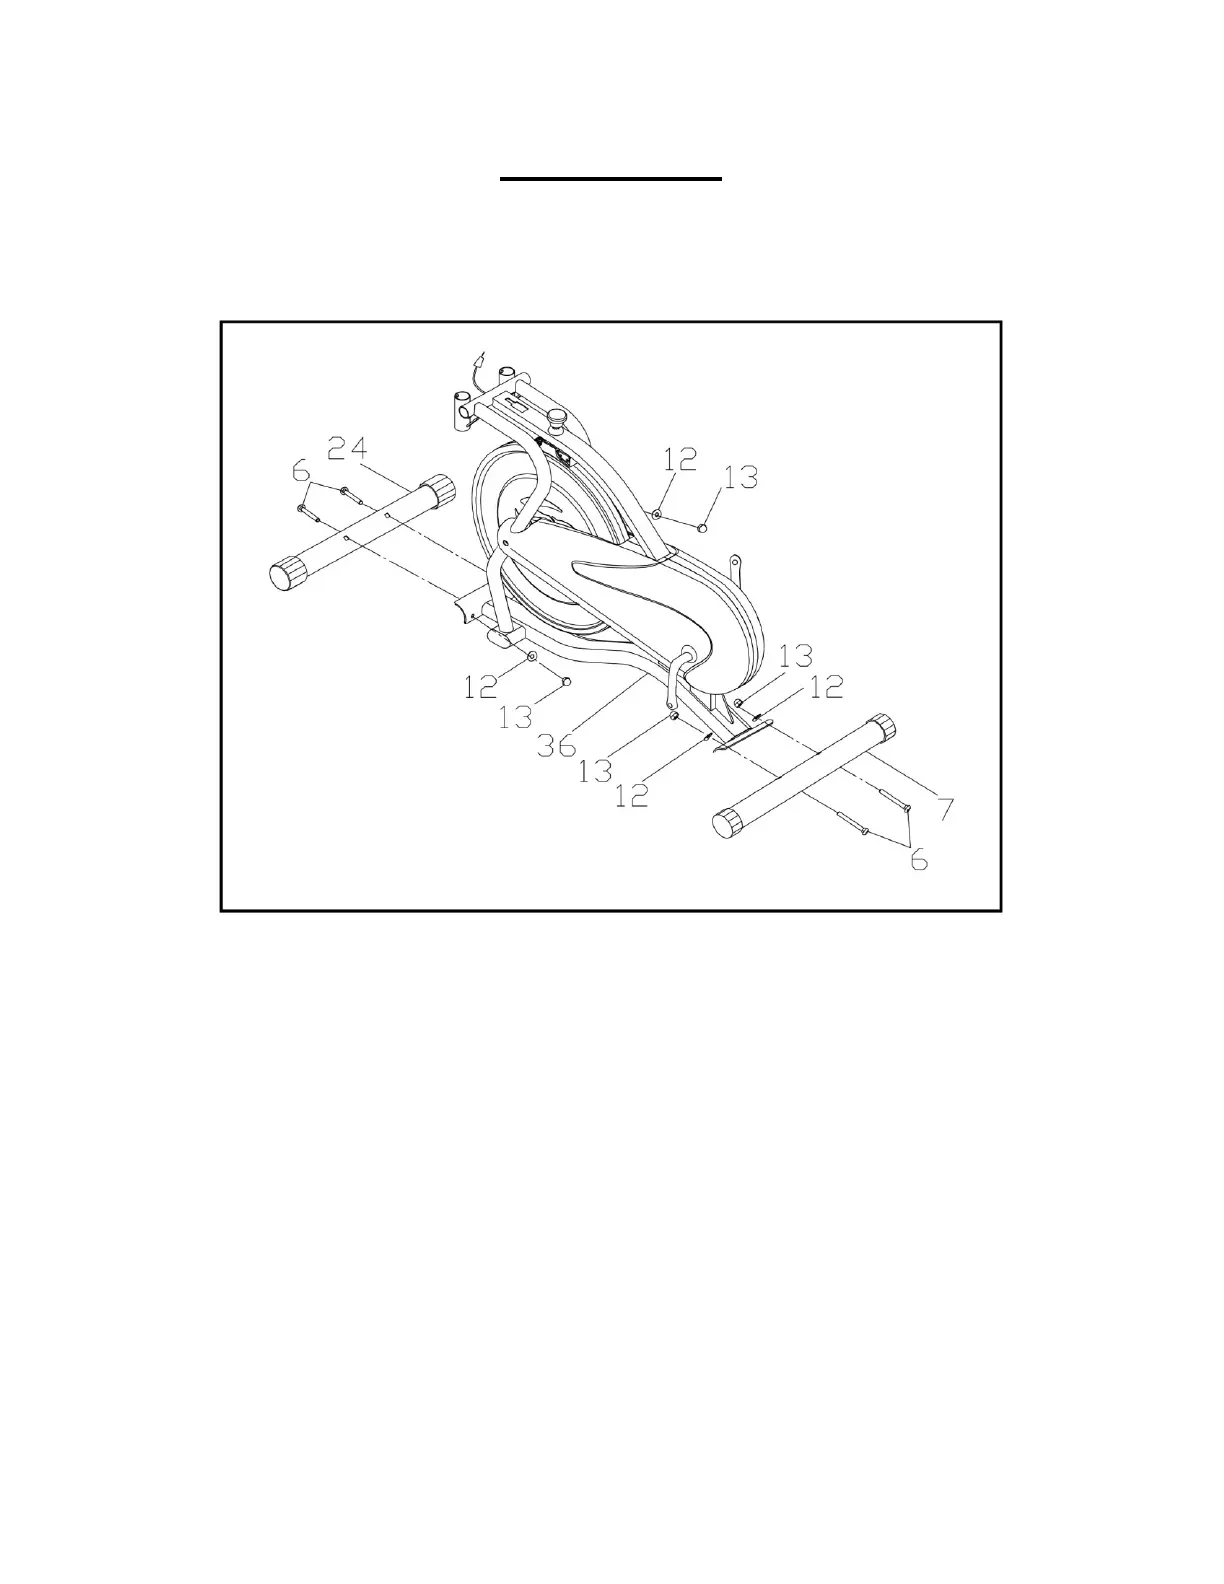
Attach the Front Stabilizer (No. 24) and the Rear Stabilizer (No. 7) to the main frame
using 4-Carriage Bolt (No. 6), 4-Arc Washers (No. 12) & 4- Domed Nuts (No. 13).
Place the Front Stabilizer (No.24) and Rear Stabilizer (No. 7) against the main
frame; be sure that both holes are aligned with each other. Take two of the Carriage
Bolts (No. 6) and pass them through the stabilizers and main frame. Slip the two Arc
Washers (No. 12) over the threaded portions of the Carriage Bolts (No. 6). Place the
two Domed Nuts (No. 13) over the Arc Washers (No. 12) and firmly tighten down the
Domed Nuts (No. 13) using the Multi Hex Tool provided.