To ADD an additional Remote for controlling this particular EasyScreen.
• Press the PROGRAMMING button on the back of the Remote that was supplied with the EasyScreen,
until the Motor “jogs”.
• On the additional Remote, press the PROGRAMMING button until the Motor “jogs”, then release.
To DELETE a Control Device, repeat the two steps listed above; the additional Control Device is removed.
NOTE: Each EasyScreen operates on Channel 1 of the Remote that came with it.
Every Channel on every Remote is different, but you can mix and match them.
For model-specic instructions, please see the instruction sheet included with the Remote.
How to use the Multi-Channel Remote (see Figure 8):
• To identify the currently selected Channel, press and release the Channel
Selector Button once. The currently selected Channel Indicator Light will blink.
• To select the next Channel, press and release the Channel Selector Button
while the Channel Indicator Light blinks. The next Channel is selected and that
Channel Indicator Light blinks. All 4 lights blinking means Channel 5 is selected.
One EasyScreen can
run on any Channel.
See Figure 9.
Add each Channel to
the EasyScreen, using
STEP 1, then STEP 2 in
Figure 11.
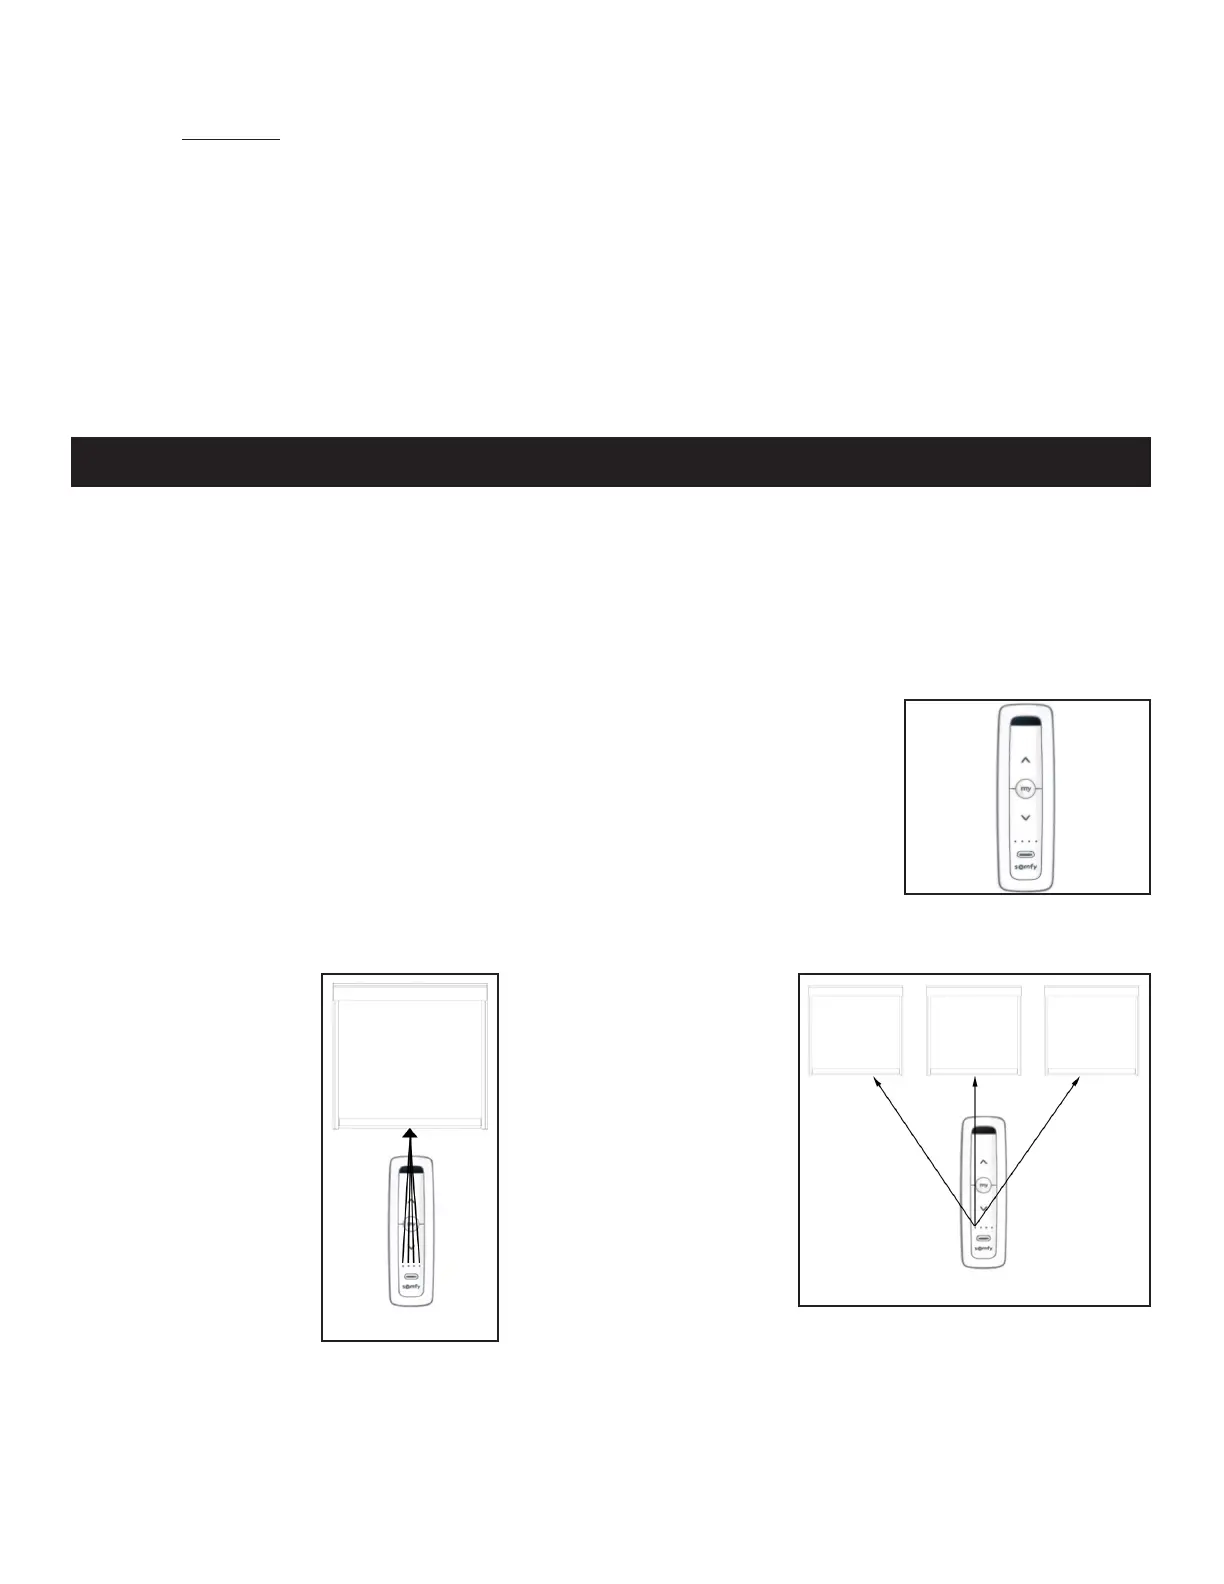
One Channel can run
multiple EasyScreens.
See Figure 10.
Add that Channel
to each EasyScreen,
using STEP 1, then
STEP 2 in Figure 11.
How to program the EasyScreen to work with any Channel (see Figures 9 & 10):
Unwanted Channels can be removed from an EasyScreen using STEP 1, then STEP 2 in Figure 11.