3-1
Chapter 3
Installation
3-1 Before Installation
Before installation, do the following
1. Power down the system.
2. Remove the power cord from the wall socket.
3. Use industry standard anti-static equipment (such as gloves or wrist strap) and/or
an environment that prevents accidental electrostatic discharge.
4. Familiarize yourself with the server, motherboard, and/or chassis documentation.
5. Confirm that your operating system includes the latest updates and hotfixes.
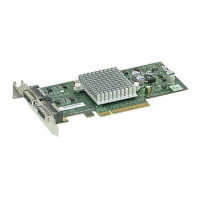
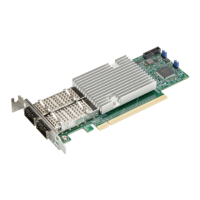
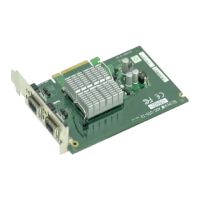
3-2 Hardware Installation
To install the add-on card, do the following:
1. Remove the server cover and, if necessary, set aside any screws for later use.
2. Remove the add-on card slot cover. If the case requires a screw, place the screw
aside for later use.
3. Position the add-on card in the slot directly over the connector and gently push
down on both sides of the card until it slides into the PCI connector.
4. Secure the add-on card to the chassis. If required, use the screw that you previously
removed.
5. Attach any necessary internal and external cables to the add-on card (see page v
for required cables).
6. Replace the chassis cover.
7. Plug the power cord into the wall socket and power up the system.
3-3 Windows 2003/2000 Installation
Use the following instructions to install the drivers to a supported Windows Operating
Systems. The controller comes with a driver on the CD-ROM CDR-NIC.
1. Run the CDR-NIC.
If you do not have a product CD-ROM, then download drivers from the Supermicro
Support Website and transfer them to your system.
2. The S
UPERMICRO window appears.
Click on the computer icon next to the product model.
 Loading...