2-2
S
UPER P4SPA+/P4SPE User's Manual
2-2 Processor and Heatsink Installation
When handling the processor package, avoid placing direct pressure
on the label area of the fan.
IMPORTANT: Always connect the power cord last and always remove it before add-
ing, removing or changing any hardware components. Make sure that you install
the processor into the CPU socket before you install the CPU heatsink.
Note: The CPU heatsink fan with clips is included only with the retail versions of
the P4SPA+/P4SPE. If you buy a boxed Intel Pentium 4 478/Northwood processor,
it should include a heatsink, fan and retention mechanism. If you buy a processor
separately, use only a Super Micro or Intel certifi ed heatsink and fan.
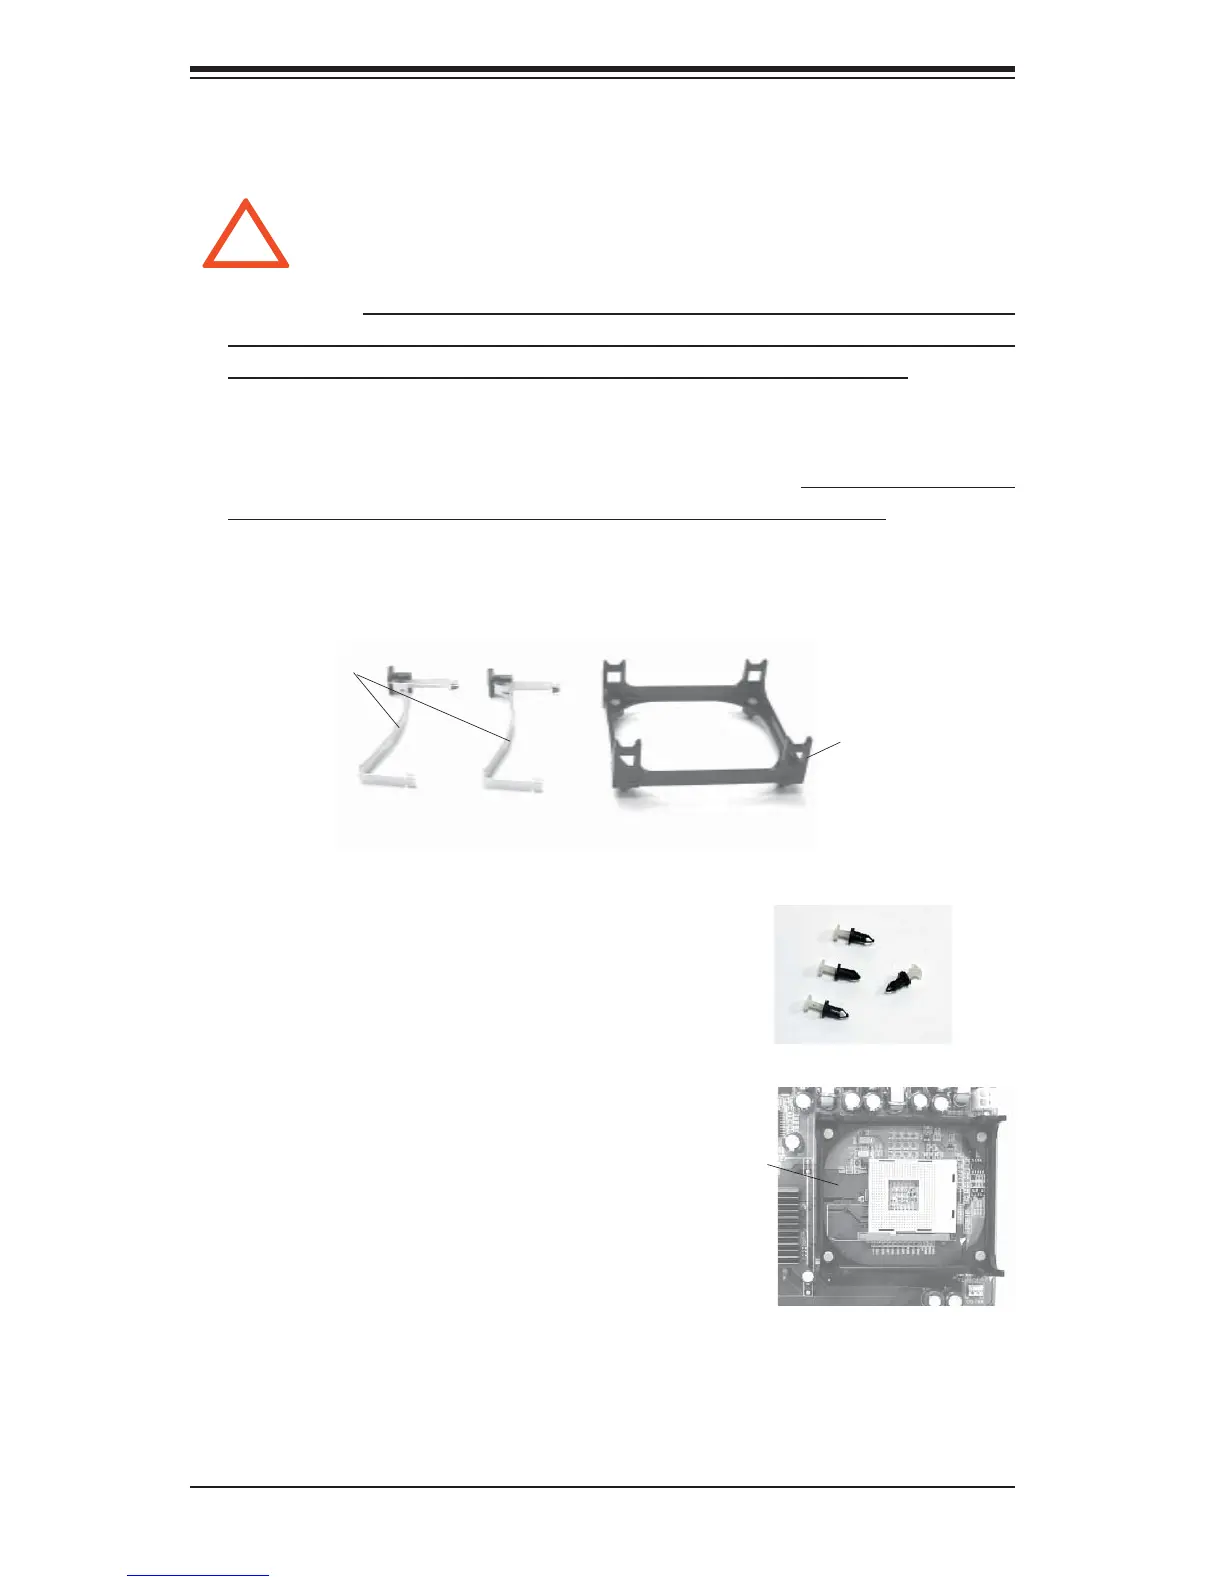
Installation of the Processor and Heatsink
1. Locate the following components included in the shipping package.
!
Bracket (1)
Clips (2)
2. Insert the white pegs into the black anchors. Do
not force the white pegs all the way in - about 1/3 of
the white pegs should be inside the black anchors.
(These are used for chassis that do not have four
CPU retention holes.)
3. Place a retention bracket in the proper position and
secure it by pressing two pegs into the retention holes
until you hear a click sound which indicates that the peg
is locked and secured.
Bracket in the
proper position
4. Secure the other retention bracket into the proper position by repeating Step 3.