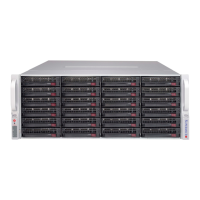
SC946ED Chassis Manual
5-8
Figure 5-6. Installing into a Rack
Standard Chassis Installation
Installing the Chassis into a Rack
1. Conrm that the inner rails are properly installed on the chassis.
2. Conrm that the outer rails are correctly installed on the rack.
3. Remove all hard drives and power supplies as directed in the previous sec-
tions.
4. Pull the middle rail out from the front of the outer rail and make sure that the
ball-bearing shuttle is at the front locking position of the middle rail.
5. Align the chassis inner rails with the front of the middle rails.
6. Slide the inner rails of the chassis into the middle rails, keeping the pressure
even on both sides, until the locking tab of the inner rail clicks into the front of
the middle rail, locking the chassis into the fully extended position.
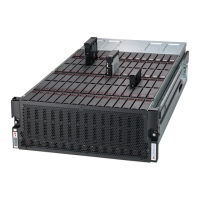
7. Load the HDDs and their carriers into the HDD bays in the top of the chassis.
8. Depress the chassis locking tabs (blue color) on both sides at the same time,
push the chassis all the way into the rear of the rack and secure the chassis
into the rack using the thumbscrews on the front handles.
9. Return the power supplies to the chassis, plug the power cords into the rear
of the power supplies and power up the system.
Stability hazard. The rack stabilizing mechanism must be in place, or the
rack must be bolted to the oor before you slide the unit out for servicing.
Failure to stabilize the rack can cause the rack to tip over.
Note: Figures are for illustrative purposes. Always install servers from the bottom up.
 Loading...