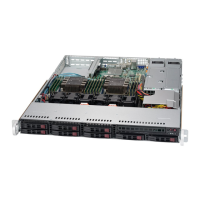
SuperServer 1029P-WTR User's Manual
32
Removing the Processor Heatsink Module from the Motherboard
Before removing the processor heatsink module (PHM), power down as described in Section
3.1.
1. Using a T30 Torx-bit screwdriver, turn the screws on the PHM counterclockwise to
loosen them from the socket, starting with screw marked #4, in the sequence of 4, 3, 2,
1.
2. After all four screws are removed, wiggle the PHM gently and pull it up to remove it from
the socket.
Memory Support
The X11DDW-L supports up to 1536GB of Load Reduced DIMM (LRDIMM), Registered DIMM
(RDIMM), and Non-Volatile DIMM (NV-DIMM) 288-pin, ECC DDR4-2666 memory in 12 slots.
Populating these DIMM modules with a pair of memory modules of the same type and size
will result in interleaved memory, which will improve memory performance.
Notes: 1. Use the memory modules of the same type and speed. Mixing memory modules of
different types and speeds is not allowed. 2. When installing memory modules, be sure to install
unbalanced memory topology by populating two DIMMs in one channel while populating one
DIMM in another channel will result in reduced memory performance.
Printed Triangle on Motherboard
Removing the screws in
the sequence of 4, 3, 2, 1
#1
#2
#3
#4
After removing the screws,
lift the Processor Heatsink
Module off the CPU socket.
CPU Socket
 Loading...