Do you have a question about the Supermicro SUPERSERVER 1028TR-T and is the answer not in the manual?
Details the main features and specifications of the X10DRT-L/LIBF serverboard.
Covers essential safety guidelines for choosing a location and rack mounting.
Discusses environmental and physical requirements for rack installation.
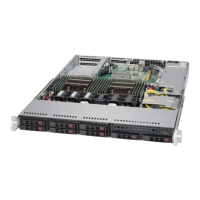
Provides step-by-step instructions for installing the chassis into a rack.
Guides on sliding the server chassis into the installed rack rails.
Verifies serverboard installation and internal connections after rack mounting.
Covers verification of drives, connections, airflow, and power.
Explains the meaning of various status LEDs on the control panel.
General warnings and instructions before connecting the system to power.
Specifies requirements for building's protective devices for short-circuit protection.
Emphasizes disconnecting all power sources before accessing internal components.
States that only trained and qualified personnel should install or service equipment.
Warns about battery explosion risk and proper disposal procedures.
Advises removing all connections to de-energize units with multiple power supplies.
Warns about hazardous voltage on the backplane during system operation.
Stresses adherence to electrical codes during installation.
Advises using only provided or designated cables and adapters to prevent malfunctions.
Covers precautions for preventing damage from electrostatic discharge (ESD).
Guides on installing LGA2011 processors and passive CPU heatsinks.
Provides steps for mounting a heatsink onto the CPU.
Details the procedure for safely removing a CPU heatsink.
Explains the process of inserting DIMM modules into the memory slots.
Provides tables for optimal memory installation based on CPU and DIMM count.
Guides on installing low-profile PCI Express x16 cards into riser cards.
Explains how jumpers modify motherboard operation and provides examples.
Describes SATA 3.0 and S-SATA 3.0 connections on the motherboard.
Describes the monitoring program for system health and performance.
Covers precautions for handling ESD-sensitive components.
Provides steps to ensure the system is powered down before maintenance.
Describes the six system fans and the procedure for changing a failed fan.
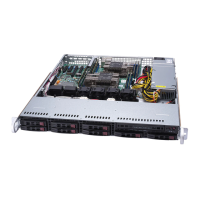
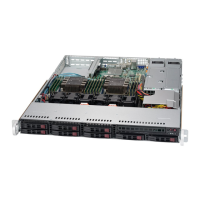
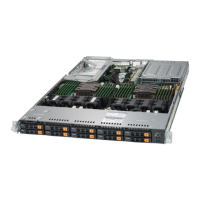
Guides on installing and removing hot-swap hard drives from drive bays.
Provides steps for installing motherboards into the chassis, including I/O shields.
Provides steps for replacing the system's power supply unit.
| Form Factor | 1U |
|---|---|
| Memory Slots | 16 |
| DIMM Slots | 16 |
| Chipset | Intel C612 |
| Maximum Memory | 1TB |
| Memory Type | DDR4 |
| SAS | 12Gbps (via optional SAS controller) |
| Management | IPMI 2.0 with KVM over LAN |
| Processor Support | Dual Intel Xeon processor E5-2600 v4/v3 family |
| SATA | 6 SATA 3.0 ports |
| Expansion Slots | 2x PCI-E 3.0 x16 slots (FH, HL), 1x PCI-E 3.0 x8 slot (LP) |