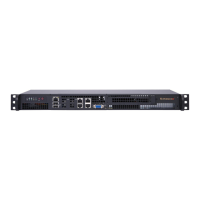
SuperServer 5019P-WT/WTR User's Manual Chapter 2: Server Installation
2120
Installing the Outer Rails
Begin by measuring the distance from the front rail to the rear rail of the rack. Attach a short
bracket to the front side of the right outer rail and a long bracket to the rear side of the right
screws and the long bracket to the rear side of the outer rail with three screws. Repeat these
steps for the left outer rail.
Locking Tabs:
is to lock the server into place when installed and pushed fully into the rack, which is its
normal position. Secondly, these tabs also lock the server in place when fully extended from
the rack. This prevents the server from coming completely out of the rack when you pull it
out for servicing.
Note:
server into place when installed and pushed fully into the rack, which is its normal position.
Secondly, these tabs also lock the server in place when fully extended from the rack. This
prevents the server from coming completely out of the rack when you pull it out for servicing.
Figure 2-2. Installing the Rails
Warning: Stability hazard. The rack stabilizing mechanism must be in place, or the
stabilize the rack can cause the rack to tip over.
2.3 Installing the Rails
There are a variety of rack units on the market, which may require a slightly different assembly
procedure.
The following is a basic guideline for installing the system into a rack with the rack mounting
hardware provided. You should also refer to the installation instructions that came with the
Identifying the Sections of the Rack Rails
You should have received two rack rail assemblies in the rack mounting kit. Each assembly
of short brackets to be used on the front side of the outer rails are also included.
Installing the Inner Rails
Both the left and right side inner rails have been pre-attached to the chassis. Proceed to the
next step.
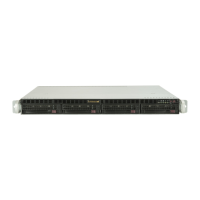
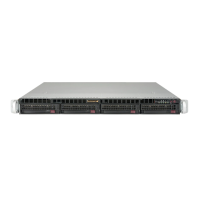
Warning: do not pick up the server with the front handles. They are designed to pull
the system from a rack only.
Figure 2-1. Identifying the Sections of the Rack Rails
(right side rail shown)
 Loading...