6-6
SUPERSERVER 6048R-TXR User's Manual
Warning: Regardless of how many hard drives are installed, all drive carriers must
remain in the drive bays to maintain proper airow.
Removing a Hard Drive from a Carrier
1. Remove the two screws securing the dummy drive to the drive carrier.
2. Lift the dummy drive out of the drive carrier.
3. Place the hard drive carrier on a at, stable surface such as a desk, table, or
work bench.
4. Slide the hard drive into the carrier with the printed circuit board side facing
down.
5. Carefully align the mounting holes in the hard drive and the carrier. Make sure
the bottom of the hard drive and bottom of the hard drive carrier are ush.
6. Secure the hard drive using all six screws.
7. Replace the drive carrier into the chassis. Make sure to close the drive carrier
using the drive carrier handle.
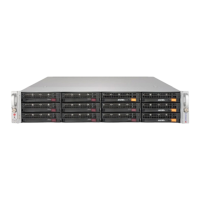
Figure 6-3. Removing a Dummy Drive from a Carrier
Drive Carrier
Release Button
1
1
1
1
1
2
Installing the Hard Drive Carriers
1. Reinsert the hard drive carrier into the hard drive bay.
2. Gently push in the handle, which locks the drive carrier into the drive bay.
 Loading...