EasyManuals Logo

Supermicro X10DRL-i SUPERO User Manual

Supermicro X10DRL-i SUPERO
121 pages
To Next Page IconTo Next Page
To Previous Page IconTo Previous Page
Page #29 background imageLoading...
Page #29 background image
Chapter 2: Installation
2-7
Socket Keys
CPU Keys
Warning: You can only install the CPU
inside the socket in one direction. Make
sure that it is properly inserted into the
CPU socket before closing the load
plate. If it doesn't close properly, do not
force it as it may damage your CPU.
Instead, open the load plate again to
make sure that the CPU is aligned
properly.
4. Use your thumb and the index nger to loosen the lever and open the load
plate.
5. Using your thumb and index nger, hold the CPU on its edges. Align the CPU
keys, which are semi-circle cutouts, against the socket keys.
6. Once they are aligned, carefully lower the CPU straight down into the socket.
(Do not drop the CPU on the socket. Do not move the CPU horizontally or
vertically. Do not rub the CPU against the surface or against any pins of the
socket to avoid damaging the CPU or the socket.)
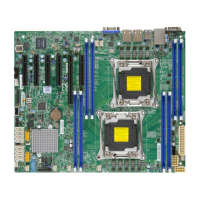
Table of Contents

Questions and Answers:

Question and Answer IconNeed help?

Do you have a question about the Supermicro X10DRL-i SUPERO and is the answer not in the manual?

Supermicro X10DRL-i SUPERO Specifications

General IconGeneral
Form FactorATX
ChipsetIntel C612
Integrated GraphicsASPEED AST2400
SocketLGA 2011-3
Memory SupportDDR4 ECC RDIMM and LRDIMM
Memory Slots8 DIMM slots
Storage10 SATA3 (6Gbps)
USB Ports4x USB 3.0 ports (2 rear, 2 via header) 6x USB 2.0 ports (2 rear, 4 via header)
RAID SupportRAID 0, 1, 5, 10
IPMIYes, with dedicated LAN port
BIOSAMI BIOS
NetworkingDual Gigabit Ethernet LAN ports (Intel i210)

Related product manuals