Chapter 2: Installation
2-5
Mounting the Motherboard in the Chassis
All motherboards have standard mounting holes to fi t different types of chas-
sis. Make sure that the locations of all the mounting holes for both motherboard
and chassis match. Make sure that the metal standoffs click in or are screwed in
tightly. Then, use a screwdriver to secure the motherboard onto the motherboard
tray. (*Note: some components are very close to the mounting holes. Please take
precautionary measures to prevent damage done to these components when you
install the motherboard into the chassis.)
1. Unscrew and remove the heatsink screws
from the motherboard in the sequence as
shown in the picture on the right.
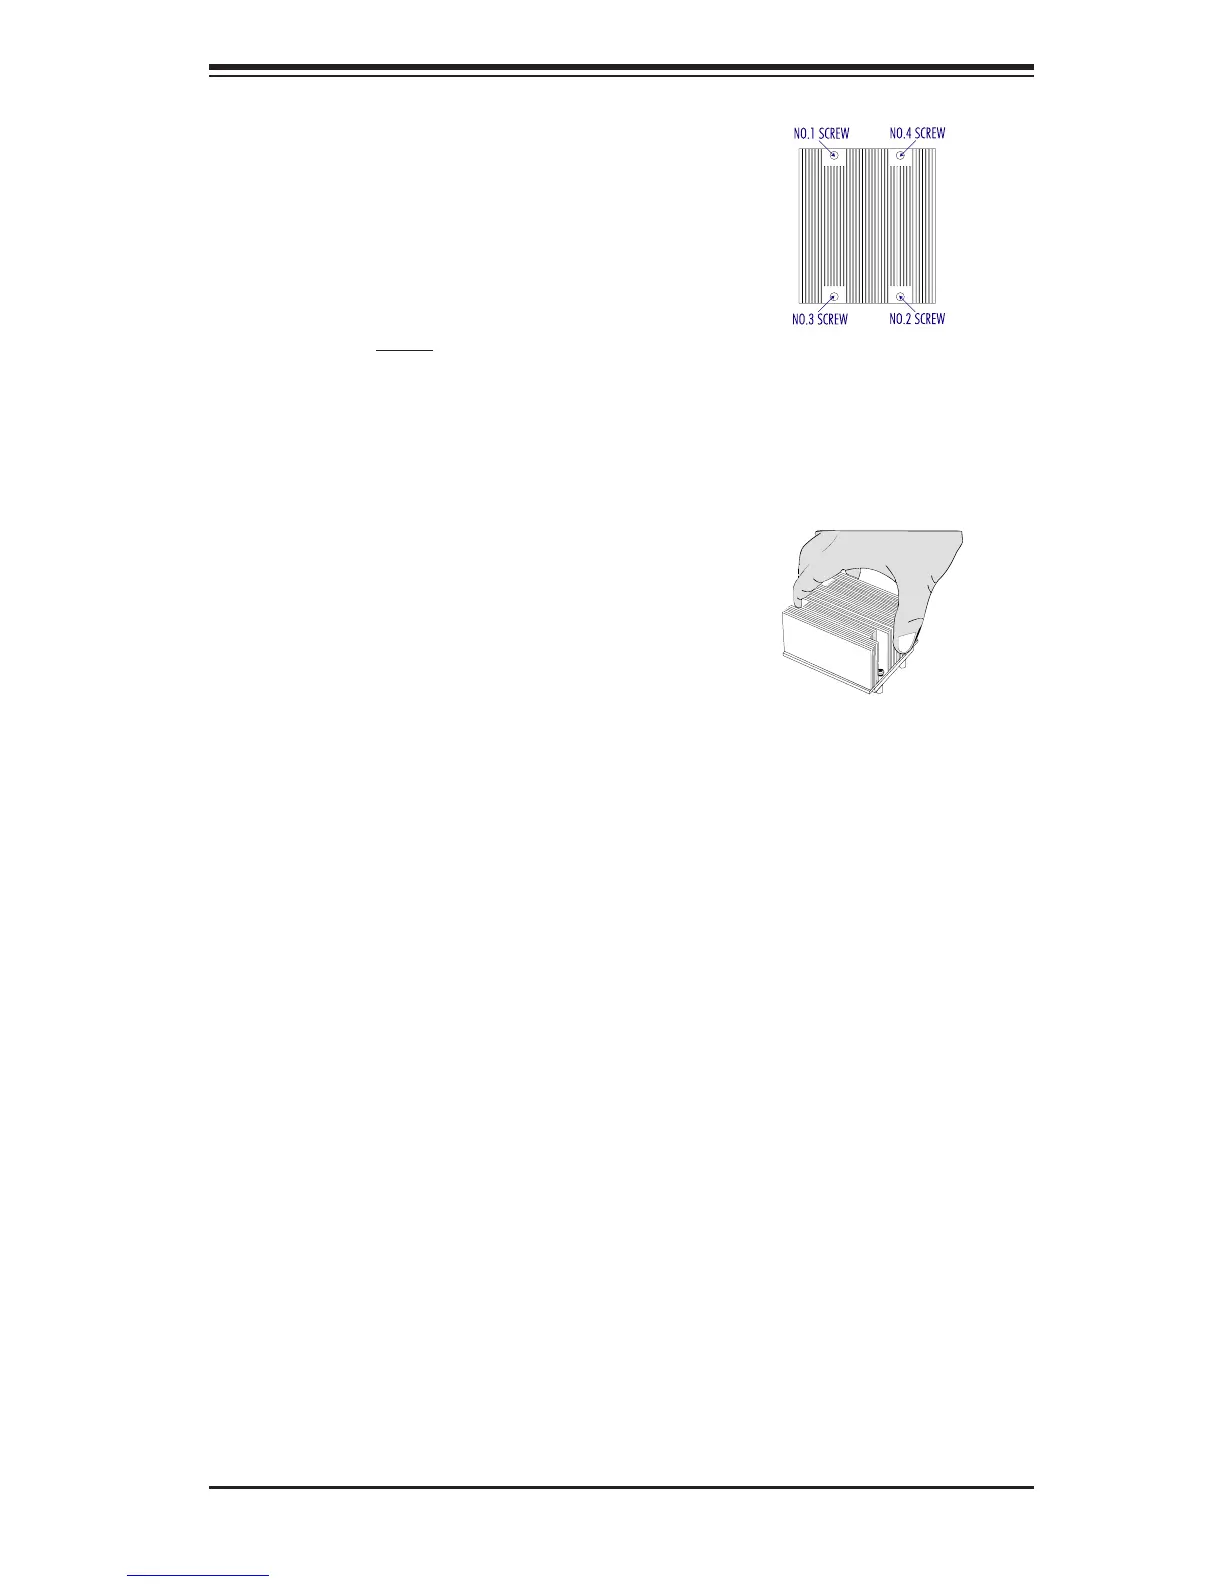
2. Hold the heatsink as shown in the picture
on the right and gently wriggle the heatsink to
loosen it from the CPU. (Do not use excessive
force when wriggling the heatsink!!)
3. Once the heatsink is loosened, remove the
heatsink from the CPU socket.
4. Clean the surface of the CPU and the
heatsink to get rid of the old thermal grease.
Reapply the proper amount of thermal grease
on the surface before you re-install the CPU
and the heatsink.
 Loading...