6
Note
: Laboratory tests show that patch antennas can work from as close as 2 ft. from the outside antenna if the patch antenna is facing away from the
outside antenna. If the alert lights blink red, showing oscillation, turn the dial of the oscillating band down 3 dBs.
Installation
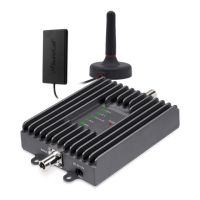
Step 2. Connect the Inside Antenna
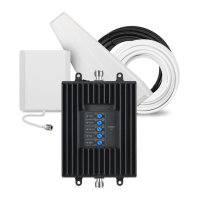
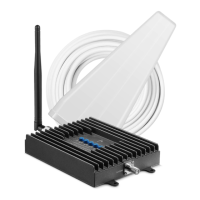
1. Mount the inside antenna so it is:
• Within 2-3 feet of the cell phone
• Mounted on a surface that is at least 4” (10cm) away from metal.
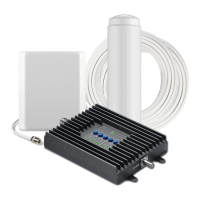
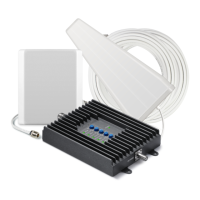
2. Using the supplied cable, connect the antenna to the booster connector marked INSIDE
3. Hand tighten the connection
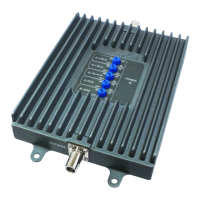
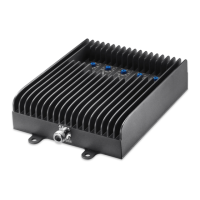
Step 3. Install the Signal Booster
1. Mount the booster under the seat of the vehicle, or on the front or middle console of the
vehicle. The location you select should:
• Be away from excessive heat, direct sunlight, or moisture.
• Provide proper ventilation.
Refer to the illustration on page 7 for the following steps:
2. Connect the outside antenna cable to the signal booster connector marked OUTSIDE.
Hand-tighten the connection.
3. Connect the inside antenna cable to the signal booster connector marked INSIDE.
Hand-tighten the connection.
4. Connect the DC power cord to the signal booster. Once you’ve connected the DC power
cord to the signal booster, connect the plug on the other end of the DC power outlet to
the cigarette lighter adapter. Turn the power switch on.
• The signal booster turns on automatically.
• The Power LED lights up to show that the signal booster is ready for use.
• The Alert LEDs ash 5 times on each band to show the band is activated.
Note: The Patch antenna must be at least 20cm away from the phone or cradle that phone is sitting in.
https://www.signalbooster.com | 1-855-846-2654 | sales@signalbooster.com