HAMAMATSU-NISHI P.O. BOX 1, 432-8611 HAMAMATSU, JAPAN.
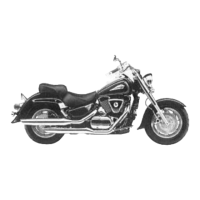
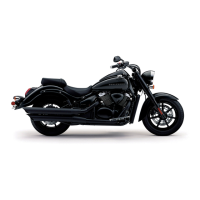
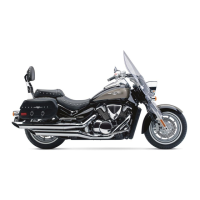
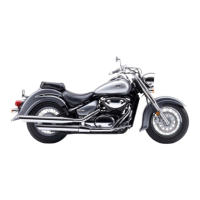
MOTORCYCLE
DATE:
May 16, 2006
PAGE
: 2
OF
13
[Page: 7, 8 Paragraph: 1]
The photograph shown indicates the parts dismounted
from the motorcycle in addition to the items shown in
the preceding page.
A: Front brake master cylinder
B: Clutch master cylinder
C: Throttle assembly
D: Left switch
2. ASSEMBLY
HANDLEBARS [Page: 9, 10 Paragraph: 1, 2]
Install the handlebars assembly using the two clamps,
four Allen bolts and washers.
A: Clamp
B: 8 × 30 mm Allen bolt
C: Barring washer OD:13.0 mm ID:8.5 mm
D: Plastic cap OD:11.0 mm
E: Punch mark
F: Dot mark
Tighten the handlebar clamp bolts to the specified
torque.
" Handlebar clamp bolt: 16 N·m (1.6 kgf-m)
After installing the handlebars, fit the plastic cap on the
head of each bolt.
A: 8 × 30 mm Allen bolt
B: 8 × 30 mm Allen bolt
C: Plastic cap OD:11.0 mm
D: Punch mark
E: Dot mark
NOTE:
Install the burring washer in the direction as
shown in the illustration.
The punch mark on the clamps shows front
side.
Align the dot mark on the handlebars with the
mating surface of the front side of left clamp.
Make sure that the clamp has no clearance at
the front side as shown in the illustration.
NOTE:
To install the handlebars correctly, first tighten
the bolt
A of the front side with specified
torque and then tighten the bolt
B of the rear
side.
FORWARD
 Loading...