6
Camera Installation
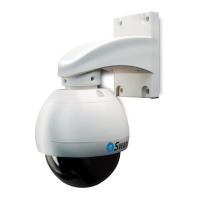
Attaching the Mount
1. Run the cable through the mounting arm or bracket you would like to use.
2. After the cable has been pulled through, attach the mounting arm/bracket onto the
dome.
3. Secure the dome and mounting arm/bracket using 2 screws (supplied).
NOTE: Be careful not to damage the connectors on the end of the cable as the connectors
are fragile!
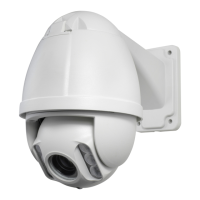
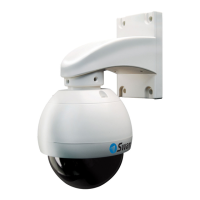
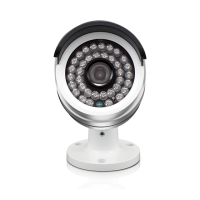
Mounting the Camera
The PRO-754 can be mounted onto a flat surface using the supplied mounting hardware. The
surface must have sufficient strength to hold the camera. Materials such as hardwood, brick
or masonry are good options, and we’ve included all the gear you’ll need to mount it there
(except the tools - sorry, you’ll still need your own drill). You can mount the camera onto a
metal surface, but you’ll need to supply your own mounting hardware.
IMPORTANT: If mounting the camera outside, be sure to properly seal all joints in the mounting
arm/bracket using a silicone sealant. If this is not fully sealed, water can enter the dome
causing malfunction or failure.
To mount the camera:
• Position the camera in the location you want to mount it, and mark the 4 screw holes
on the surface to position the screws. Then, using appropriate screws for the surface
you’re fixing the camera to, screw the camera into place.
• If you’re mounting to a wooden surface, then screw the camera directly to the surface.
• If you’re mounting to a masonry surface (bricks, concrete or similar) then you’ll need to
use wall plugs.