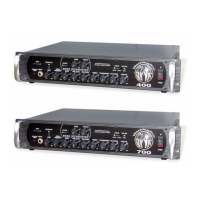
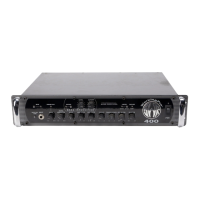
WorkingPro™ 400 & 700
(This is the model name for warranty claims)
4
SERVICE NOTES
1. TOP COVER REMOVAL is accomplished by
removing 10 flat-head screws from the top &
sides of the chassis. Then remove 4 hex cap
screws from the front panel.
2. WorkingPro MAIN PCB REMOVAL is accom-
plished by disconnecting the three ribbon
cables from the PCB Assembly. Disconnect the
chassis ground connection near the input by
removing the #6 nut from the chassis PEM.
Disconnect the power LED from the chassis by
either working the LED loose from the chassis
adhesive, or un-soldering the leads from the
board. Remove the knobs, nuts, & washers
from the 11 front panel controls. Remove the
nut & washer from the input jack.
3. WorkingPro I/O PCB REMOVAL is accom-
plished by removing the following items: two
screws at the XLR jack, 6 nuts & washers at the
1/4" jacks, 3 standoff screws behind the DIN
jack. Disconnect the two ribbon cables at the
PCB headers.
4. WorkingPro SPEAKER OUT PCB REMOVAL
is accomplished by removing the two fast-on
connections from the power amp, the nuts &
washers from the two 1/4" jacks, and three #6
standoff screws behind the PCB. It may be
necessary to remove the power supply PCB in
order to remove this PCB.
5. WorkingPro POWER SUPPLY PCB RE-
MOVAL is accomplished by removing all fast-
on connections from the transformer & power
amp, the #8 nut from the chassis PEM at the
rectifier, and the two #6 standoff screws.
6. POWER MODULE REMOVAL is accomplished
by removing the cable from the 9 pin header, 7
fast-on connections, and 4 screws from the un-
derside of the chassis.
PCB EXCHANGE POLICY
Parts marked with a single asterisk (*) in the Part
Lists are not field replaceable. If a failure due to
one of these components is detected, please
contact the FMIC Customer Service Department to
order the complete Assembly.
 Loading...