CNC-210A Series H6681 User manual
Page
15
of 20
έᚊཝҋજѣࢨΦ
TAILY AUTOMATION CO.,LTD.
9. ADJUSTMENT
9.1. Adjustments for CNC-210AS
CL
:
Output current limit.
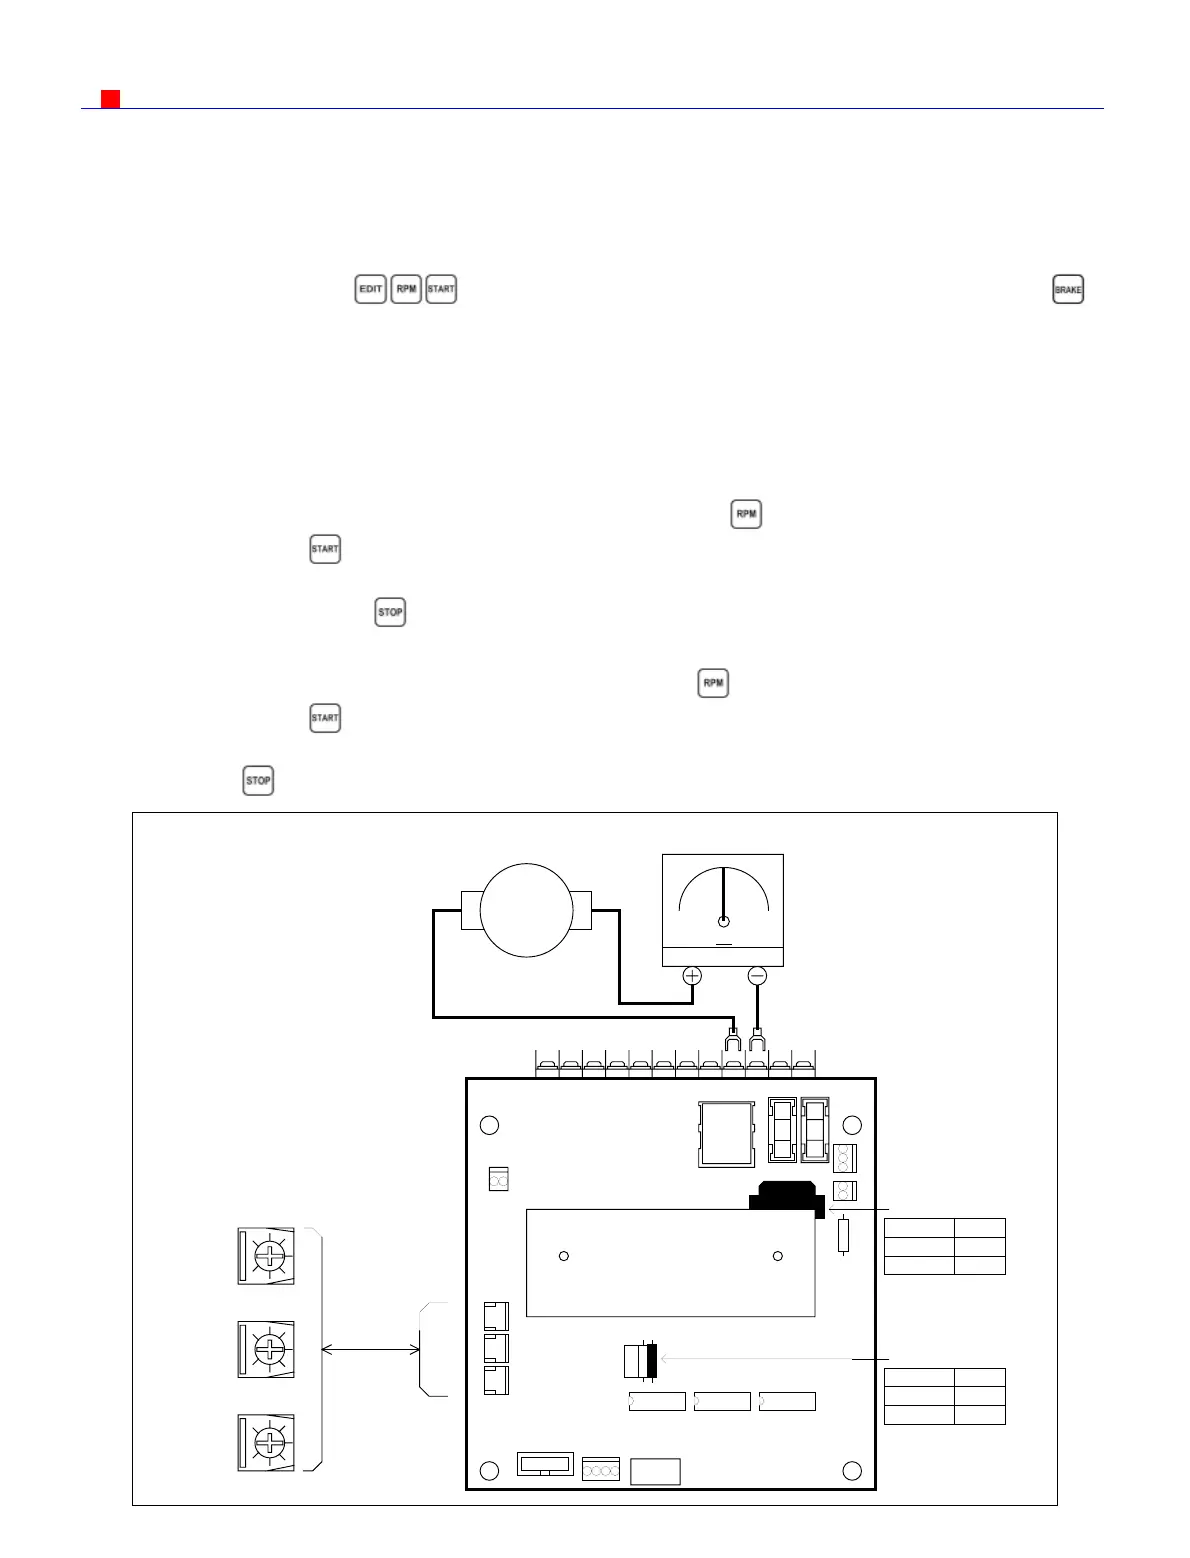
1. Connect a DC Amperes meter between terminal and DC motor as below.
2. In ready mode press to make the DC motor starting rotate and then press to
holding the winding spindle.
3. Rotate CL to set limited current, show on Amperes meter.
( 2A for 180v DC motor
、
4A for 90v DC motor).
(The CL have been set by factory before delivery. Only adjust it when change DC motor
and replace 210A-DVR driver board.)
IR
:
Torque compensation.
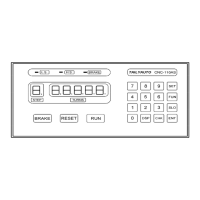
1. Set the winding parameter H.S., L.S. in 20, then press to change the DISPLAY shows
RPM. Then press key to start winding.
2. Rotate IR potentiometer to make it in same speed during the winding spindle shaft in full-load
and unload. Then press key to stop winding.
MAX
:
Maximum winding speed.
1. Set the winding parameter H.S., L.S. in 99, and press key to change the DISPLAY shows
RPM. Then press key to start winding.
2. Rotate MAX potentiometer to make the winding speed (RPM) as you want.
Then press key to stop winding.
SCL-DPDT
COIL-24V-DC
RY1
CL I R MAX
FUSE2
T1
210A-DVRID:XXXXXX
TAILY
AUTO
0
1010
A
AMPERE METER
10A
M
DC MOTOR
LHLHLH
CL IR MAX
FUSE1
CN1CN2
CN3
CN4
CN5
R32
R38
R33
C33
T1
R33
POWER
AC 100~120V
AC 220~240V
T1
TF808C1
TF808C2
POWER
AC 100~120V
AC 220~240V
R33
82K
47K
 Loading...