22 Radio Installation
Radio Installation
Mounting
the U-bracket
Screw the U-bracket in the chosen mounting position
using the self-tapping screws provided. At least four
screws must be installed.
Note: If the U-bracket is being mounted over
a curved surface, the U-bracket tabs can be
bent slightly.
Caution: Check that the tightening of the
screws does not distort the U-bracket.
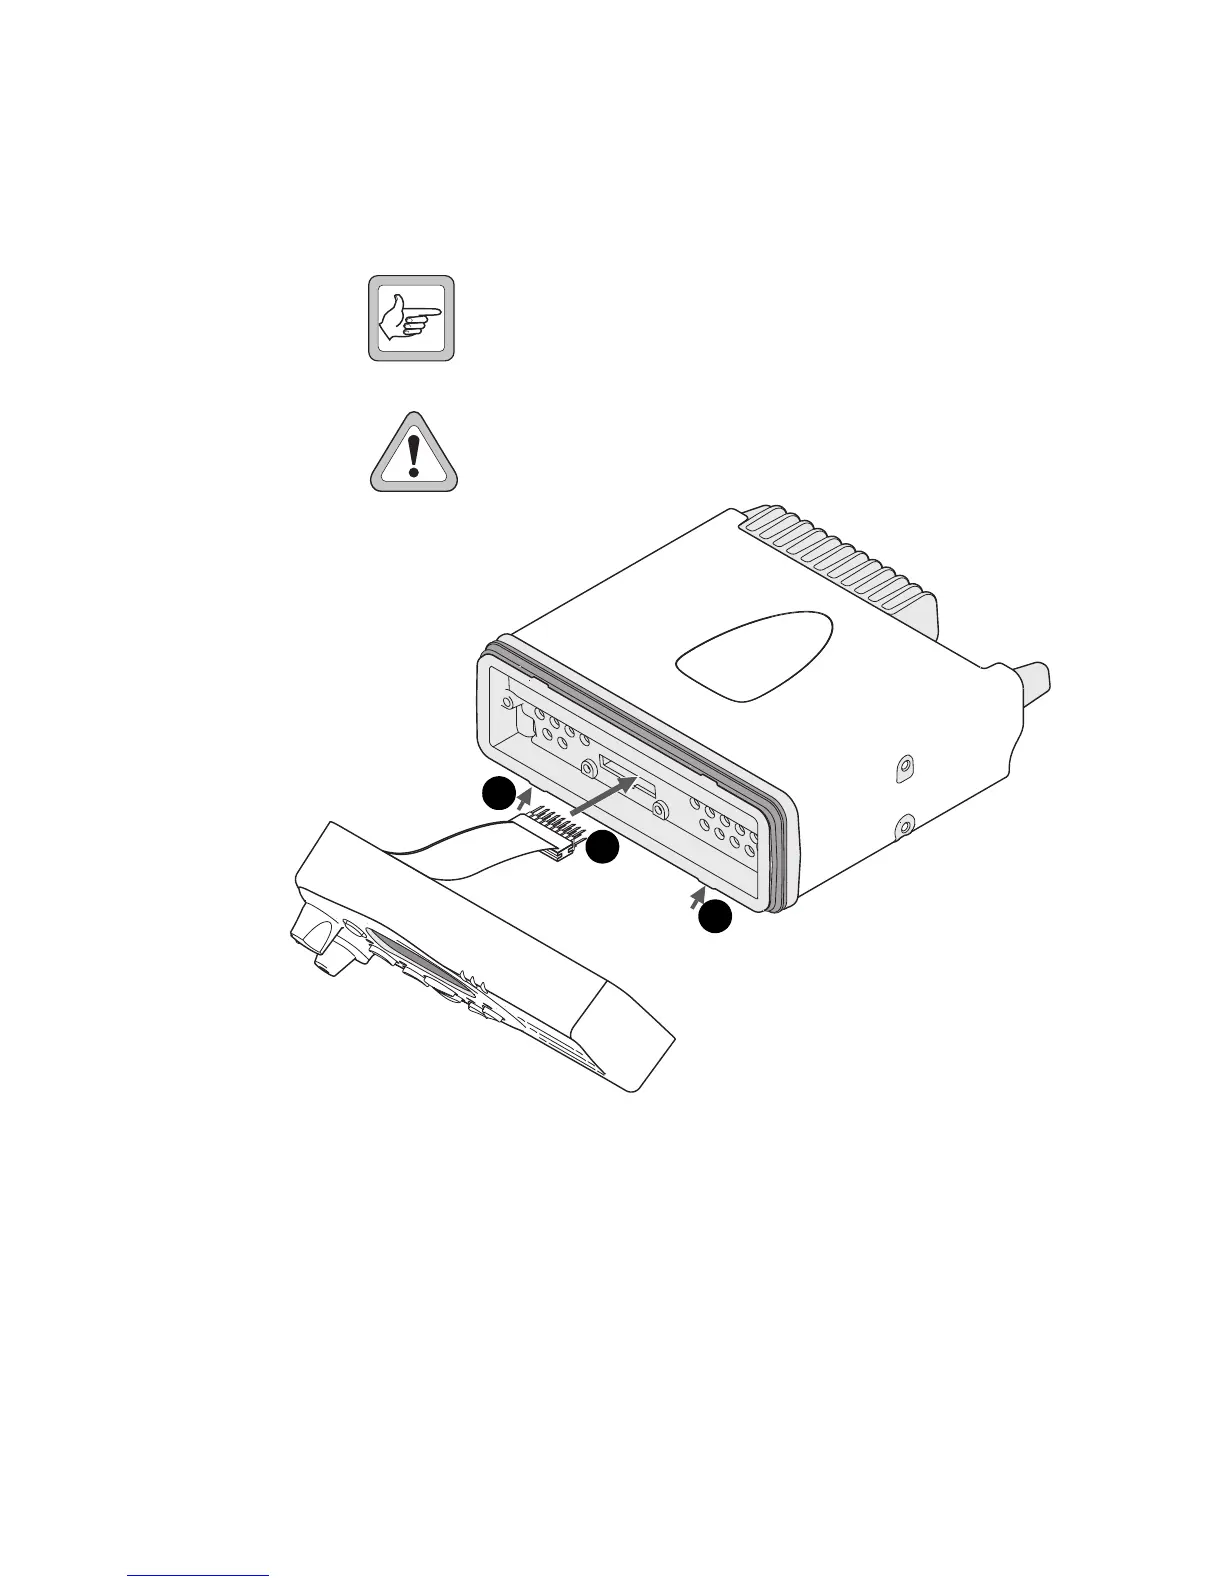
Installing the
Control Head
on the Radio
Body
The orientation of the U-bracket mounting determines
which way up the control head is mounted on the radio
body. The numbers in the diagram above refer to the
numbered steps below.
1. Plug the control head loom onto the control head
connector.
2. Insert the bottom edge of the control head onto the
two clips in the front of the radio chassis, then snap
into place.
2
1
2
 Loading...


