
W
wheelerbrendaSep 6, 2025
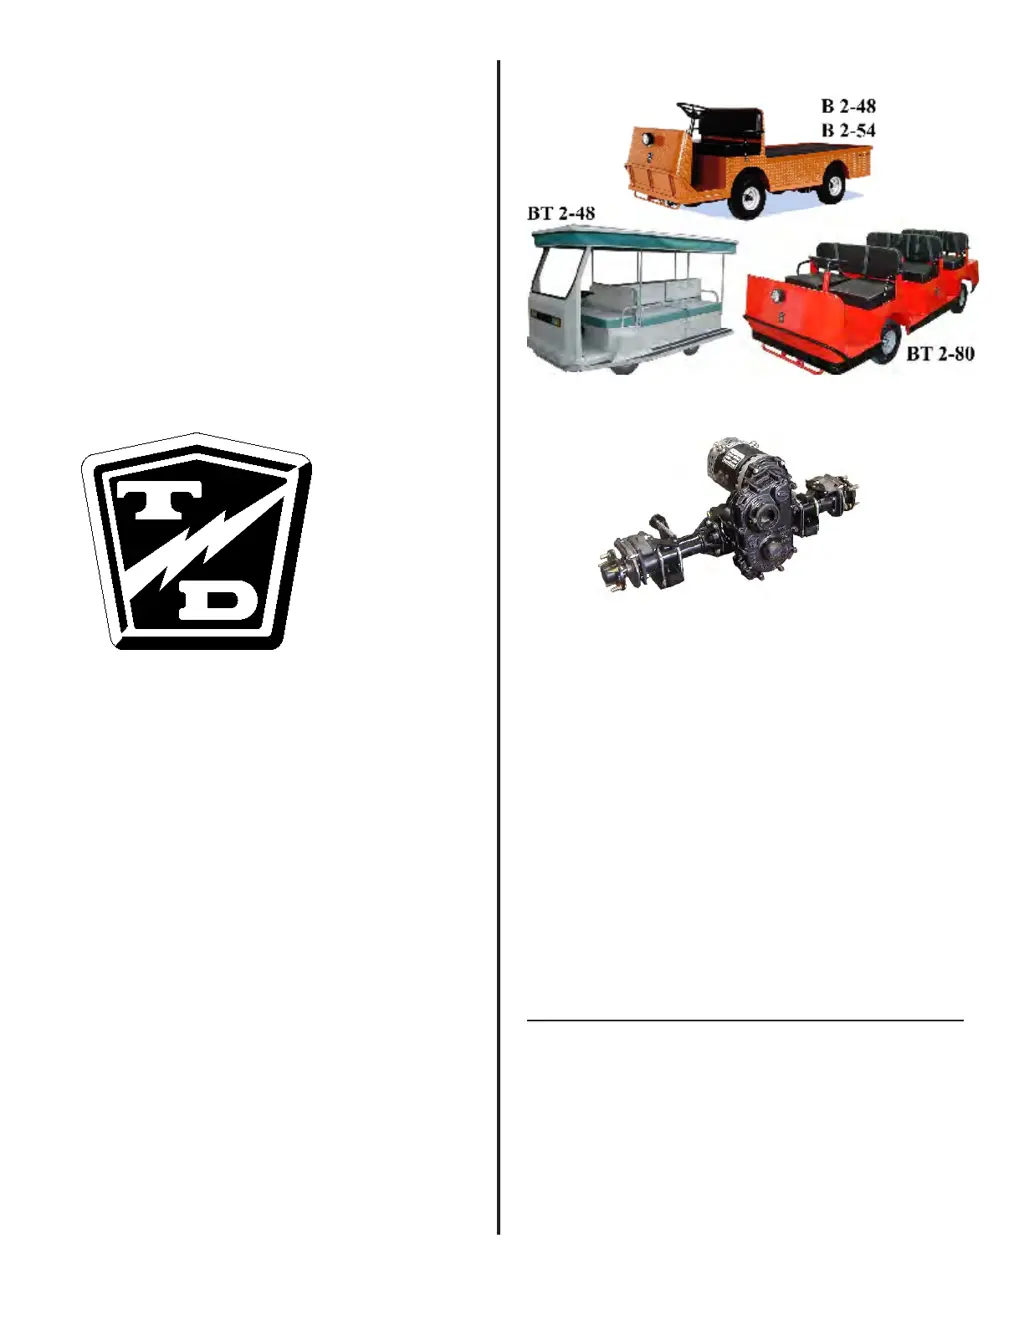
Why is braking power low in my Taylor-Dunn B0-254-48 Utility Vehicle?
- MMatthew WallSep 7, 2025
Low braking power in your Taylor-Dunn Utility Vehicle can be caused by several factors. The brake might be worn beyond the 1/16" wear limit, or the brake pads could be contaminated with fluid. The brake pedal linkage might be binding, or the brakes could be out of adjustment. Air in the brake lines or a faulty optional trailer brake system can also cause this issue.