OPERATING PROCEDURES
6-5
Models C709 & C717
Operating Procedures
6
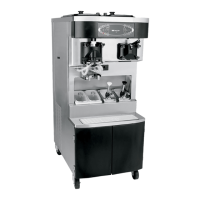
5. Lubricate the inside of the freezer door spouts (top
and bottom).
Figure 6-17
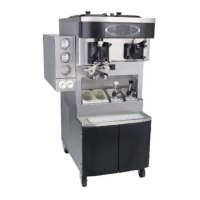
6. Insert the draw valves from the bottom until the slot in
each draw valve comes into view.
Figure 6-18
7. Position each draw handle with the adjustment screw
facing down. Slide the fork of each draw handle into
the slot of each draw valve, starting from the right.
8. Slide the pivot pin through the draw handles as the
handles are inserted into the draw valves.
Figure 6-19
Note: This freezer features adjustable draw handles
to provide portion control, giving a more consistent
quality to your product and controlling costs. The
draw handles should be adjusted to provide a flow
rate of 5 oz. to 7-1/2 oz. (142 g to 213 g) of product
by weight per 10 seconds.
To increase the flow rate, turn the adjustment screw
clockwise. To decrease the flow rate, turn the
adjustment screw counterclockwise.
9. Snap the design caps over the bottom of the door
spouts.
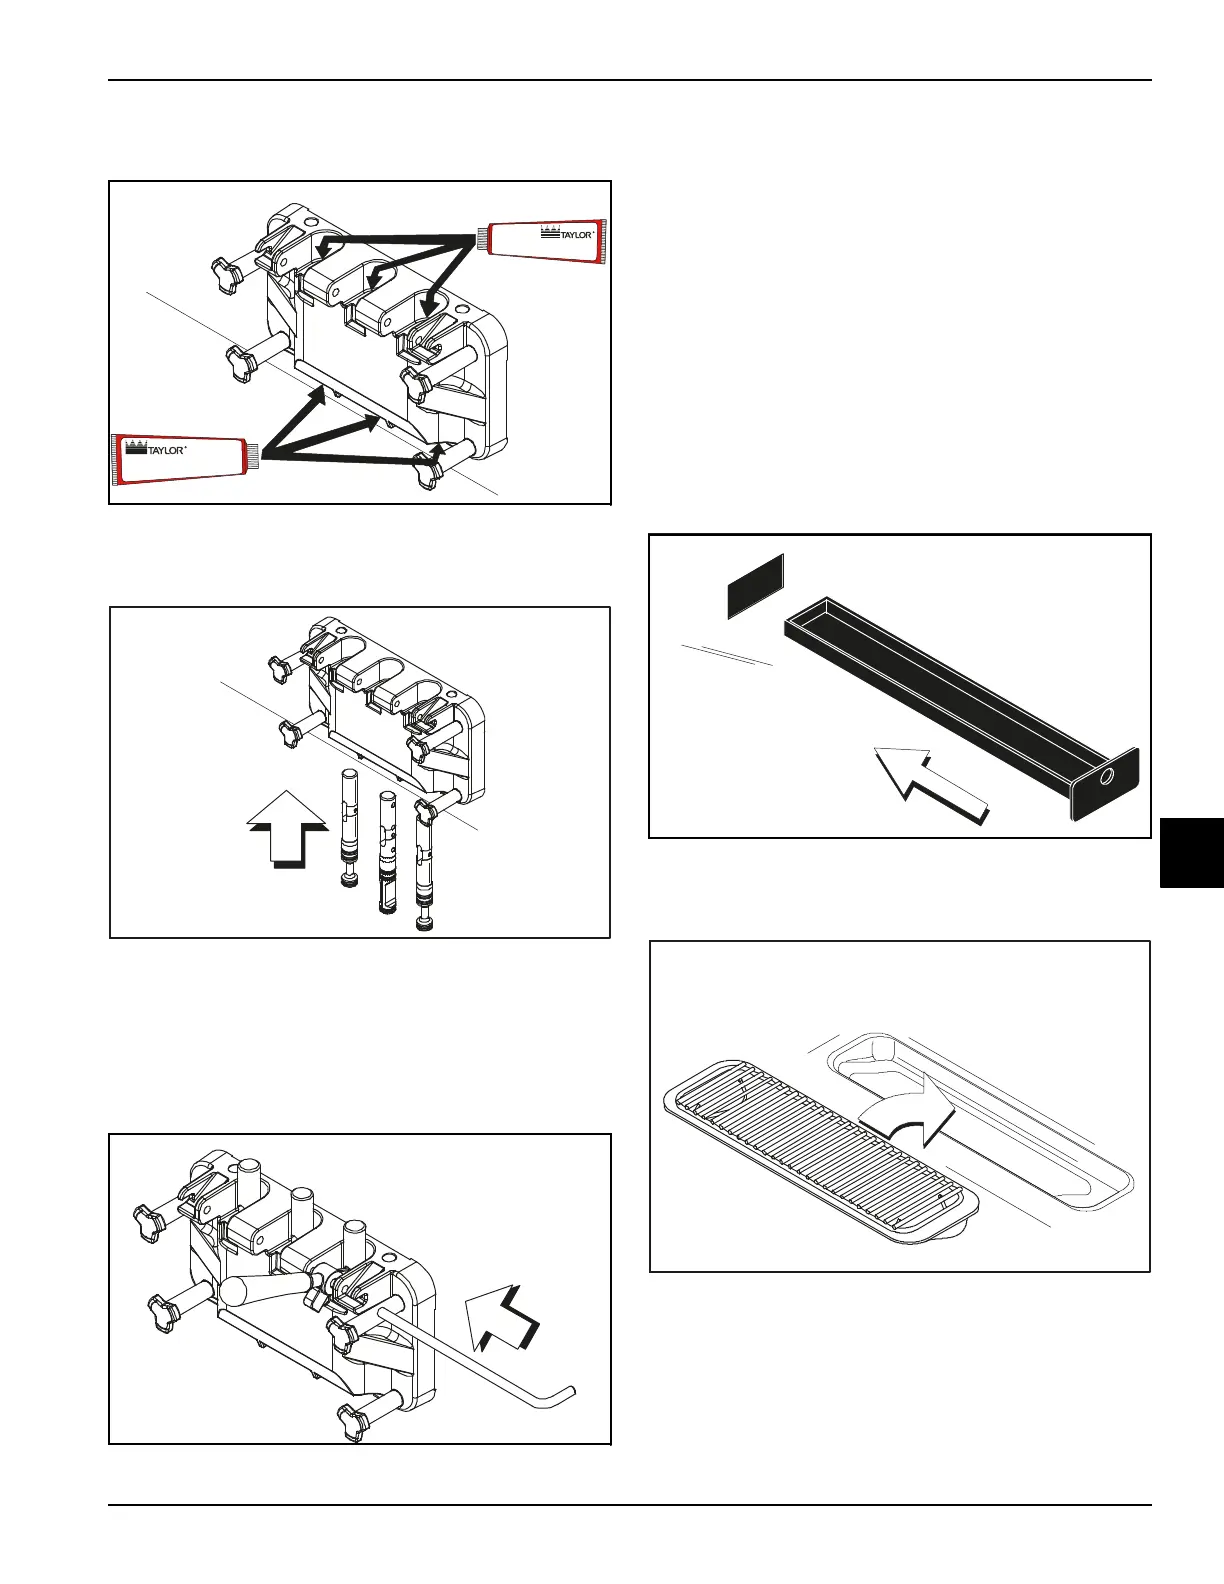
10. Slide the long drip pan into the hole in the front panel.
Slide the other two drip pans into the holes in the side
panels.
Figure 6-20
11. Install the front drip tray and splash shield under the
door spouts.
Figure 6-21
10516
Apply the appropriate
Taylor approved food safe lubricant.
HP
Apply the appropriate
Taylor approved food safe lubricant.
HP
 Loading...