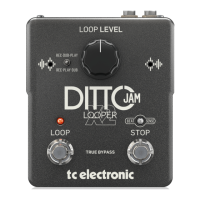
9 DITTO JAM X2 LOOPER User Manual
5.5 Dip Switch Settings
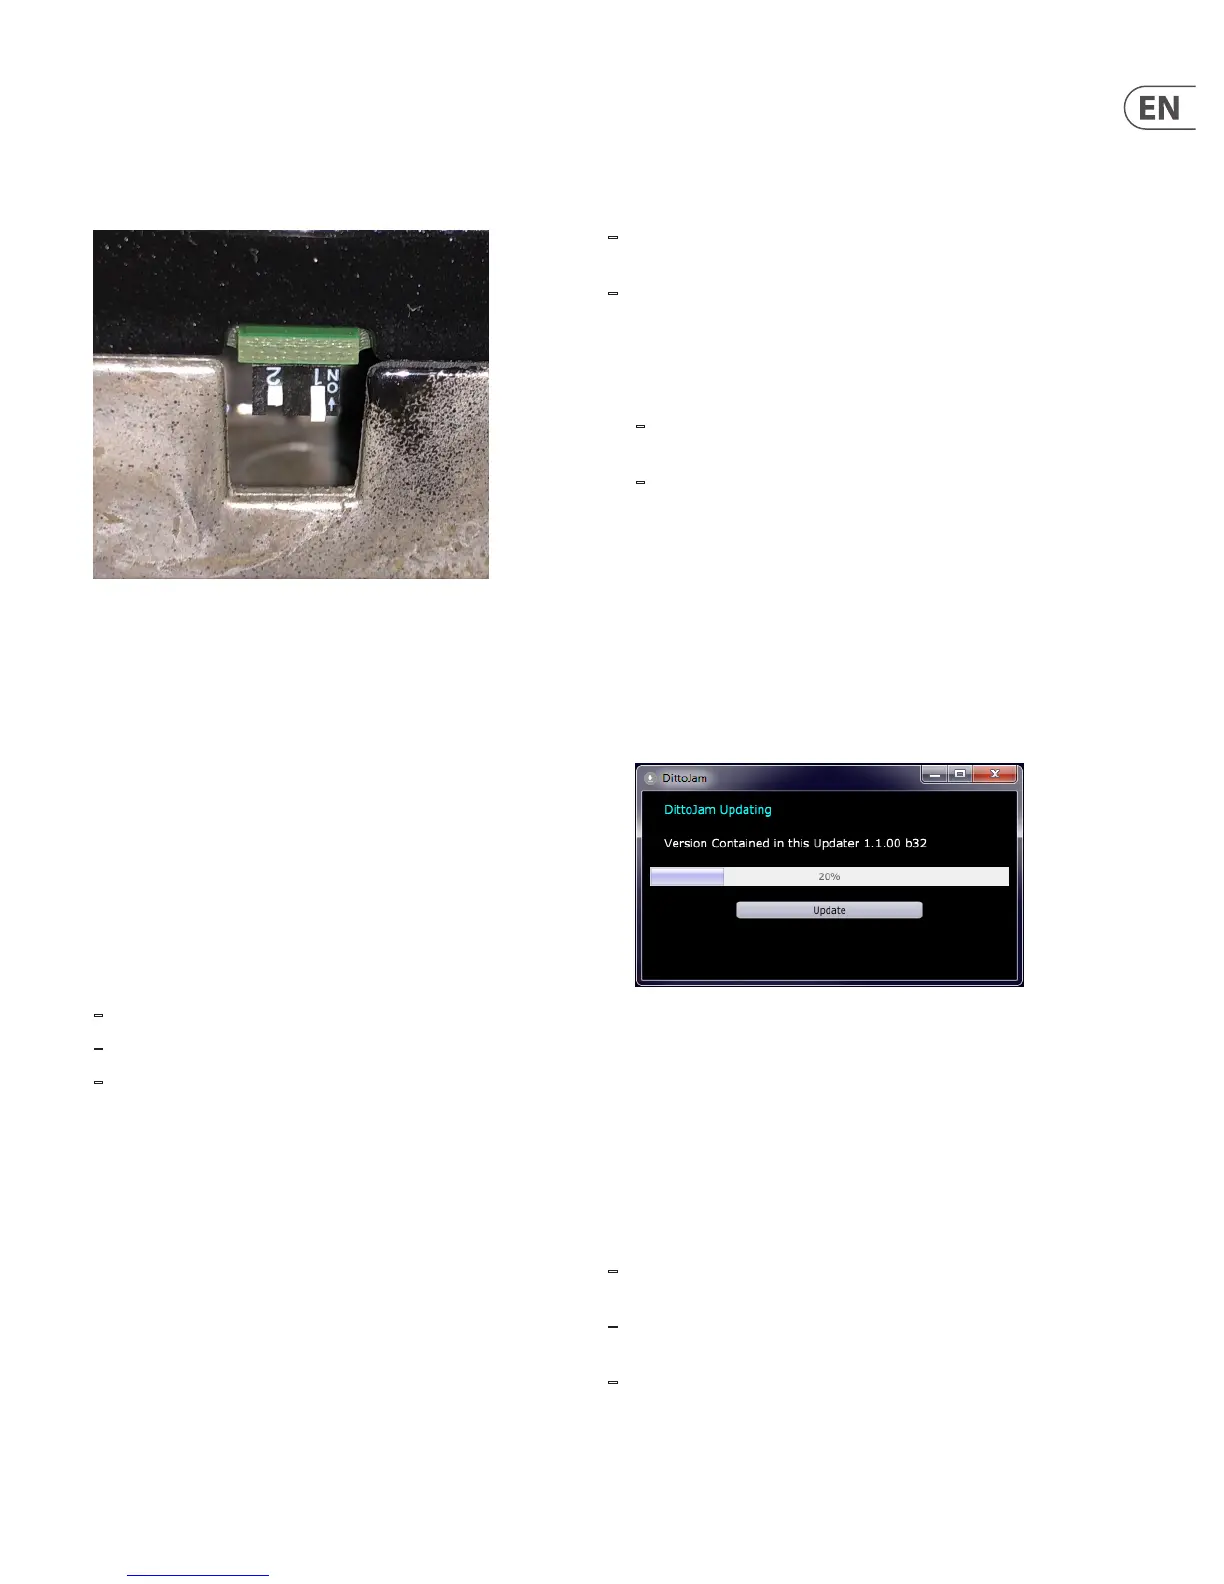
If you remove the battery compartment plate and look to the right of the
compartment, you will see 2 tiny DIP switches on the side. These allow a couple
customizations to the pedal’s operation. The default setting for both switches is
the “down” position, which is set away from the compartment plate.
Switch 1 - Undo/Redo
In the “down” position (default), the undo/redo command is accessed by pressing
and holding the Loop footswitch for 2 seconds, at which point the command
immediately takes eect.
In the “up” position, the undo/redo command will still be entered by holding the
Loop footswitch for 2 seconds, but the Loop LED will ash green until the end of
the loop, and only then will the command take eect.
Switch 2 - Bypass Mode
True Bypass mode is a hard-wire bypass that gives absolutely no coloration of
tone when the pedal is bypassed. This is the default mode for your eect pedal
(switch down).
Using True Bypass on all pedals is a perfect choice in setups with a few pedals and
relatively short cables before and after the pedals.
If…
– you use a long cable between your guitar and the rst pedal or
– if you use many pedals on your board or
– if you use a long cable from your board to the amp,
…then the best solution will most likely be to set the rst and the last pedal in
the signal chain to Buered Bypass mode. Can you hear the dierence between
a pedal in True Bypass or Buered Bypass mode? Maybe, maybe not – many
factors apply: active/ passive pick-ups, single coil/humbucker, cable quality, amp
impedance and more. We cannot give a single ultimate answer, so experiment
with switch 2 in the “up” position to hear what sounds best to you.
6. Maintenance
6.1 Firmware Update
TC may provide updates for the built-in software of your pedal, the rmware.
Updating your TC pedal’s rmware requires…
– a computer running Microsoft Windows or OS X with a standard
USB interface.
– the specied DC power supply for your pedal.
Preparing the rmware update
1. Download the newest rmware from the “Support” page for your TC pedal.
There are updaters
– for Microsoft Windows (these are ZIP archives containing the rmware
installer) and
– for OS X (these are disk image les containing the rmware installer).
2. Unplug all cables (including the power supply) from your TC pedal.
3. Connect the pedal to your computer using a USB cable.
4. Insert the DC power supply plug. The leftmost LED on your pedal should
turn green.
Your TC pedal will now be recognized as an updatable device.
Applying the rmware update
5. Open the rmware update le. The pedal’s current rmware will be listed,
as well as the version contained in the updater.
6. Click “Update” and let the program run. The BeatSense LED will ash red
during the update. At some point, the update window may indicate that the
pedal has disconnected, which is normal.
7. When nished, the unit will return to the loop mode display shown prior to
the update procedure.
6.2 Changing the Batteries
The Ditto X2 Jam can operate on one or two 9 V batteries. However, the unit
can operate signicantly longer with a pair of batteries installed. If you need to
change the batteries, proceed as follows:
– Unscrew the cross-head screw on the back of the pedal and detach
the backplate.
– Unmount the old batteries and attach the new batteries to the battery clips.
Make sure the polarity is correct!
– Remount the backplate.
 Loading...