3
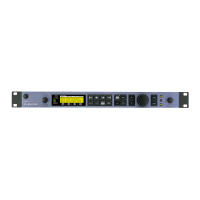
Connection Diagram
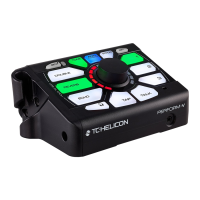
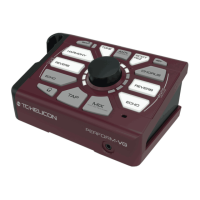
Perform-VE has a lot of connectivity:
• MIDI data is received via the mini-USB port or the 5-Pin MIDI Socket.
• MIDI data is transmitted via the mini-USB port.
• The PEDAL input allows you to connect a Switch-3 or Switch-6 (sold separately) to change presets, toggle
effects and control the LOOPER and SAMPLE features.
• The AUX input lets you mix stereo audio tracks with Perform-VE’s output.
• The balanced stereo outputs allow connection to any ¼” input equipped mixer or powered speaker
system.
• The XLR input is a MIDAS microphone preamplifier, providing the much-loved MIDAS soft clipping
characteristic sound when pushed hard.
For learning purposes, we recommend that you connect a MIDI keyboard to your Perform-VE while you track
along with this reference manual. Your MIDI keyboard will ideally be connected directly to Perform-VE’s 5-Pin
MIDI port as shown above.
Alternatively, your MIDI keyboard can be connected via USB cable to a laptop running music software that
features a MIDI soft THRU capability. You would then connect Perform-VE to the laptop via a second USB cable
and configure your DAW to take incoming MIDI from the USB MIDI keyboard and pass it on to Perform-VE’s USB
port. See your respective software manual for details on how to set up your particular system.

 Loading...