IM-995
Installation, Operation & Maintenance Manual
12
Bearing Installation (refer to safety section)
The following section gives some general instructions on bearing installation. If bearings are to be field installed, the specific
installation manual for the bearings will be provided and should be followed carefully. If provided, check the assembly drawings
and bearing manufacturer's instructions for location of the fixed and expansion bearings. The positions of these bearings cannot be
interchanged. Always follow the bearing manufacturer's instructions.
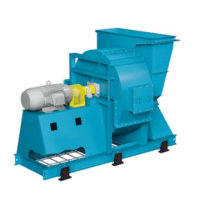
Solid Pillow Block
1. Lightly lubricate the bearing bore and slide bearing into the proper position on the
shaft. Sling the rotor assembly into place and loosely bolt the bearings in place.
2. When bearings are in place, shim appropriately and torque the base bolts using values
from the Tightening Torque table on page 9. Tighten the collar set screws to manufacturer’s
specification. The set screws on both bearings should be aligned with one another. If the
bearing has an adapter mount, hand tighten the locknut to establish the “zero” point.
Next, tighten the number of turns per the instructions furnished with the bearing. Rotate
by hand to be sure the bearings and shaft rotate freely.
3. Ensure the expansion bearing is centered within its housing. If bearings need to forced
onto the shaft then apply force on the inner race/collar only (does not apply to adapter
until the fixed bearing has been bolted and locked. After locking the expansion bearing to
the shaft, position the pillow block to allow for axial expansion, approximately centered
in the pillow block, then bolt to the pedestal.
4. Unless the user orders differently, bearings are lubricated in the factory with a lithium
complex, NLGI grade 2 grease. Refer to the bearing lubrication schedule on the next
page.
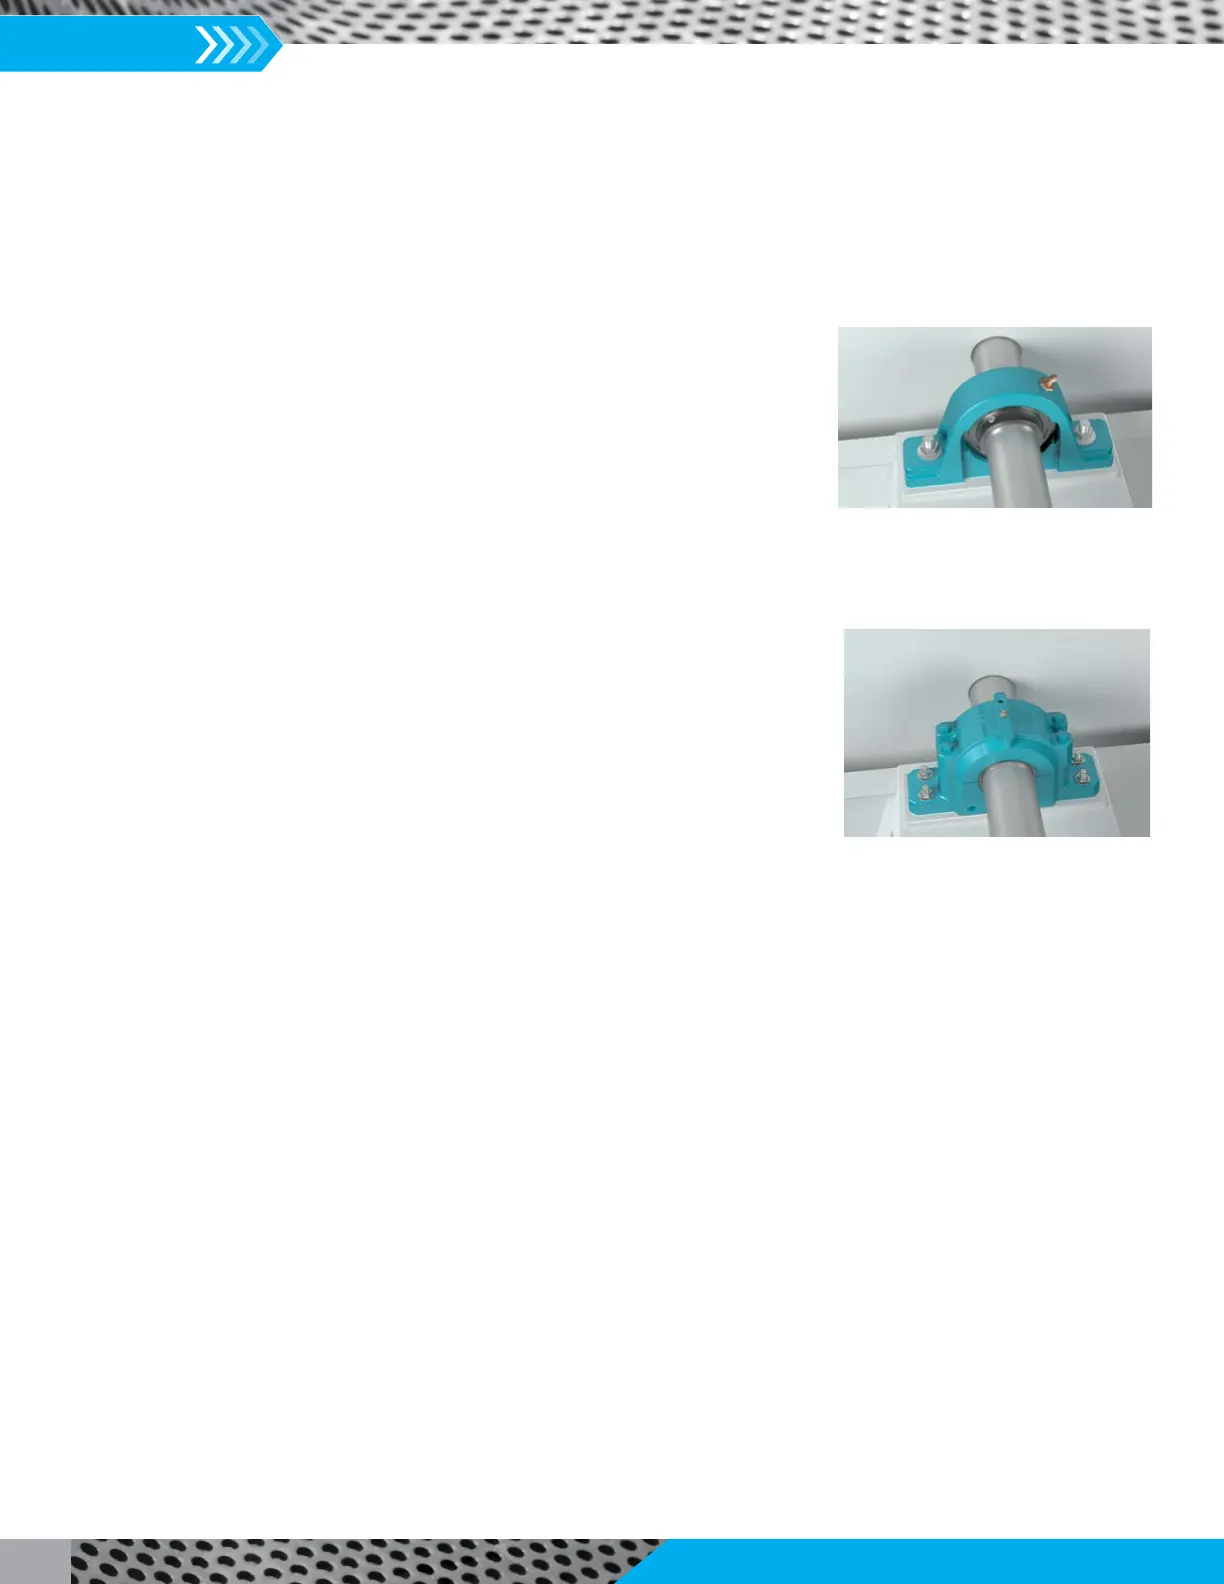
Spherical Roller Bearings with Split Pillow Block Housings
1. The bearings should be disassembled, taking care not to interchange parts between
bearings. Tops of housings are not interchangeable with the bottom half pillow block
from another bearing. Pins locate the top half of the housing to prevent it from being
installed in the reverse.
2. The lower bearing housing should be bolted loosely to the pedestal and seals; bearing
and adapter sleeve should be placed loosely on the shaft.
3. The rotor assembly with the seals and bearings should next be positioned over the
housings and carefully placed into the lower housings.
4. The stabilizing ring, sometimes referred to as the “C” ring, is installed in the bearing closest to the drive sheave or coupling
unless otherwise noted in the drawing. The bearing race should be centered in the expansion bearing. The exception may be on
Arrangement 3 or 7 fans with a high operating temperature. Refer to the fan drawing for location. The “C” ring is not used in the
expansion bearing.
5. When installing adapter sleeves, tighten for reduction in clearance per manufacturer’s instructions.
6. Bend down a tab on the lockwasher after finishing adjustment. Some brands of bearings do not utilize a lockwasher. Instead you will
find allen-head set screws in the locknut outside diameter. Tighten the set screw after reduction in clearance is attained.
7. Grease or oil according to manufacturer’s instructions. Grease/lube will likely include the partial fill of the housing internal cavities.
8. Install the bearing housing cap bolts and bearing mounting bolts. Tighten bearing housing cap bolts and bearing mounting bolts. Torque
to bearing manufacturer's instructions.
Sleeve Bearings
1. The bearings should be disassembled and cleaned with appropriate solvent, taking care not to interchange parts between bearings.
Parts of one bearing are generally not interchangeable with parts from another bearing. Bearing caps are matched to the bottom
half of the pillow block and are not interchangeable with other pillow blocks.
2. The lower bearing housings should be bolted loosely to the pedestal. The lower liner should then be placed in the housing.
3. Oil the lower liners per manufacturer’s instructions and carefully sling the rotor assembly into place, being very careful not to
damage the bearing liners.
4. Install thrust collars and thrust plates in the fixed bearing
5.
6. When handling the liners, be careful not to damage the surfaces, as they are babbitted and are fragile.
7. The housings are generally tapped with a number of ports. Be sure the oil level gauge, circulating oil supply and discharge,
thermocouples, etc., are correctly placed for accessibility.
8.
9.
instructions are shipped with the fan. Instructions can also be found on the bearing manufacturer’s website.
Split Pillow Block Bearings
Solid Pillow Block Bearings